Lazlo Woodbine
Established Member
-
Joined
-
Last visited
Everything posted by Lazlo Woodbine
-
 Good call! I had similar on a BMW but it only did it in reverse which seemed very odd until I found the cause. I'm so far behind the cutting edge that I didn't actually think of a MAF on a diesel..
 -
I don't know about service history but as long as you have the reg number you can check back through old MOTs in the link below. It shows the mileage at each test. MOT
-
I like to start with the easy stuff. No point looking for a big problem when you can check the small possible problem areas easily. Fuel filter was a good call, they so often get forgotten.
-
How's the air filter looking?
-
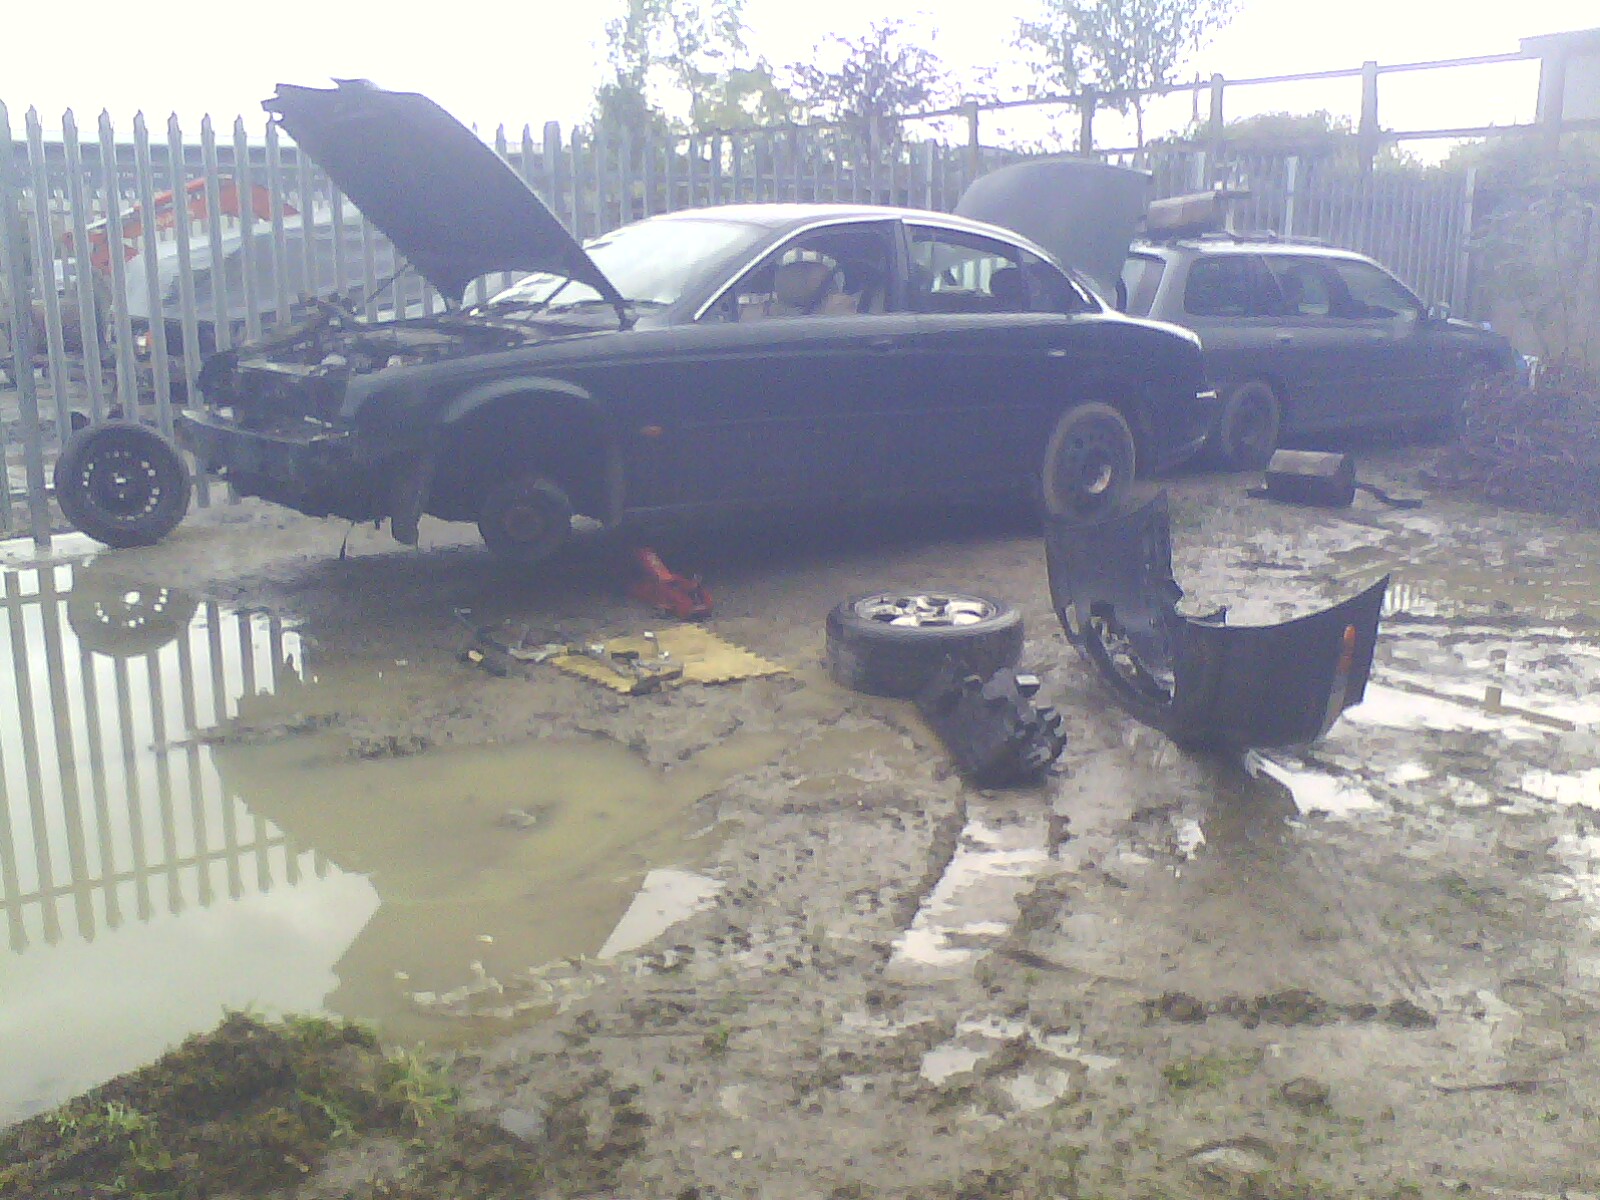
Thank you Joe, yes I should have stated that these are both X200s. I could have done with a double bladder what with all that scrumpy last night.. To anyone considering this; It would be wise to take the cover off the back of the seat and check if it looks like the photos above before buying parts. Ron: Yes I like Canons. My DSLR is a 400d and I love messing about with different lenses and filters, long exposure etc. The point and shoot is a Powershot A10 which is a mere 1.3mp but the quality of the pictures is much better than any of the phones I've had, some of which went up to 5mp or so, allegedly. That said Mrs Woodbine has a smart phone of some sort and I am quite impressed by the images that come out of it. I actually made a macro lens, of sorts, for my 400d out of an old 35mm lens. I removed the front most element so focussing is purely a matter of moving the camera back and forth and the depth of field is non-existent even a f32. So it's not very user friendly, pretty washed out and a bit blurry. But for under a tenner it's good fun. These aren't cropped: Rockin' mad bokeh yo! Etc.


-
Thank you. It's a dead easy job with a good pay off, that makes a nice change. I've been using the phone as a camera for this sort of thing lately as I was getting the DSLR all oily. It shows most things ok but up close focus and bright light is a bit shaky. I have an ancient Canon point and shoot which I'll get up and running for these car jobs just as soon as I find a spare CF card.
-
This has to be the glamorous end of Jaguar ownership no?

-
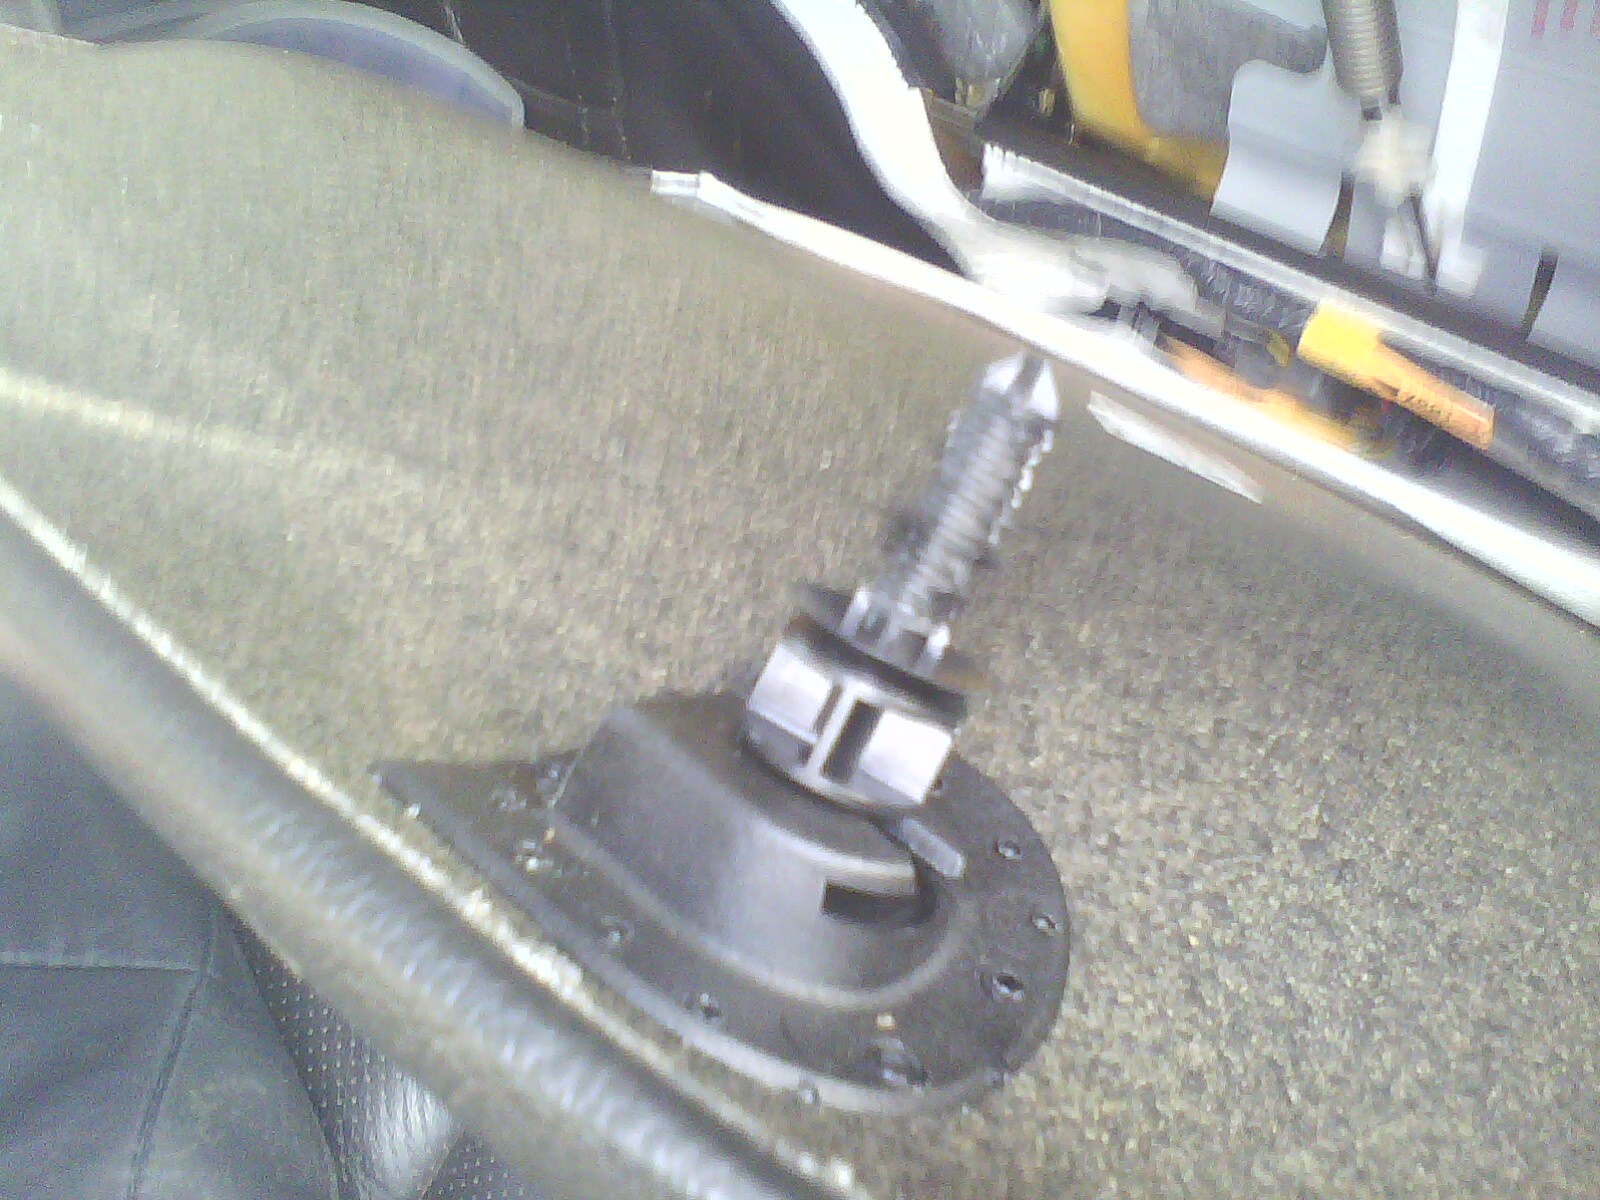
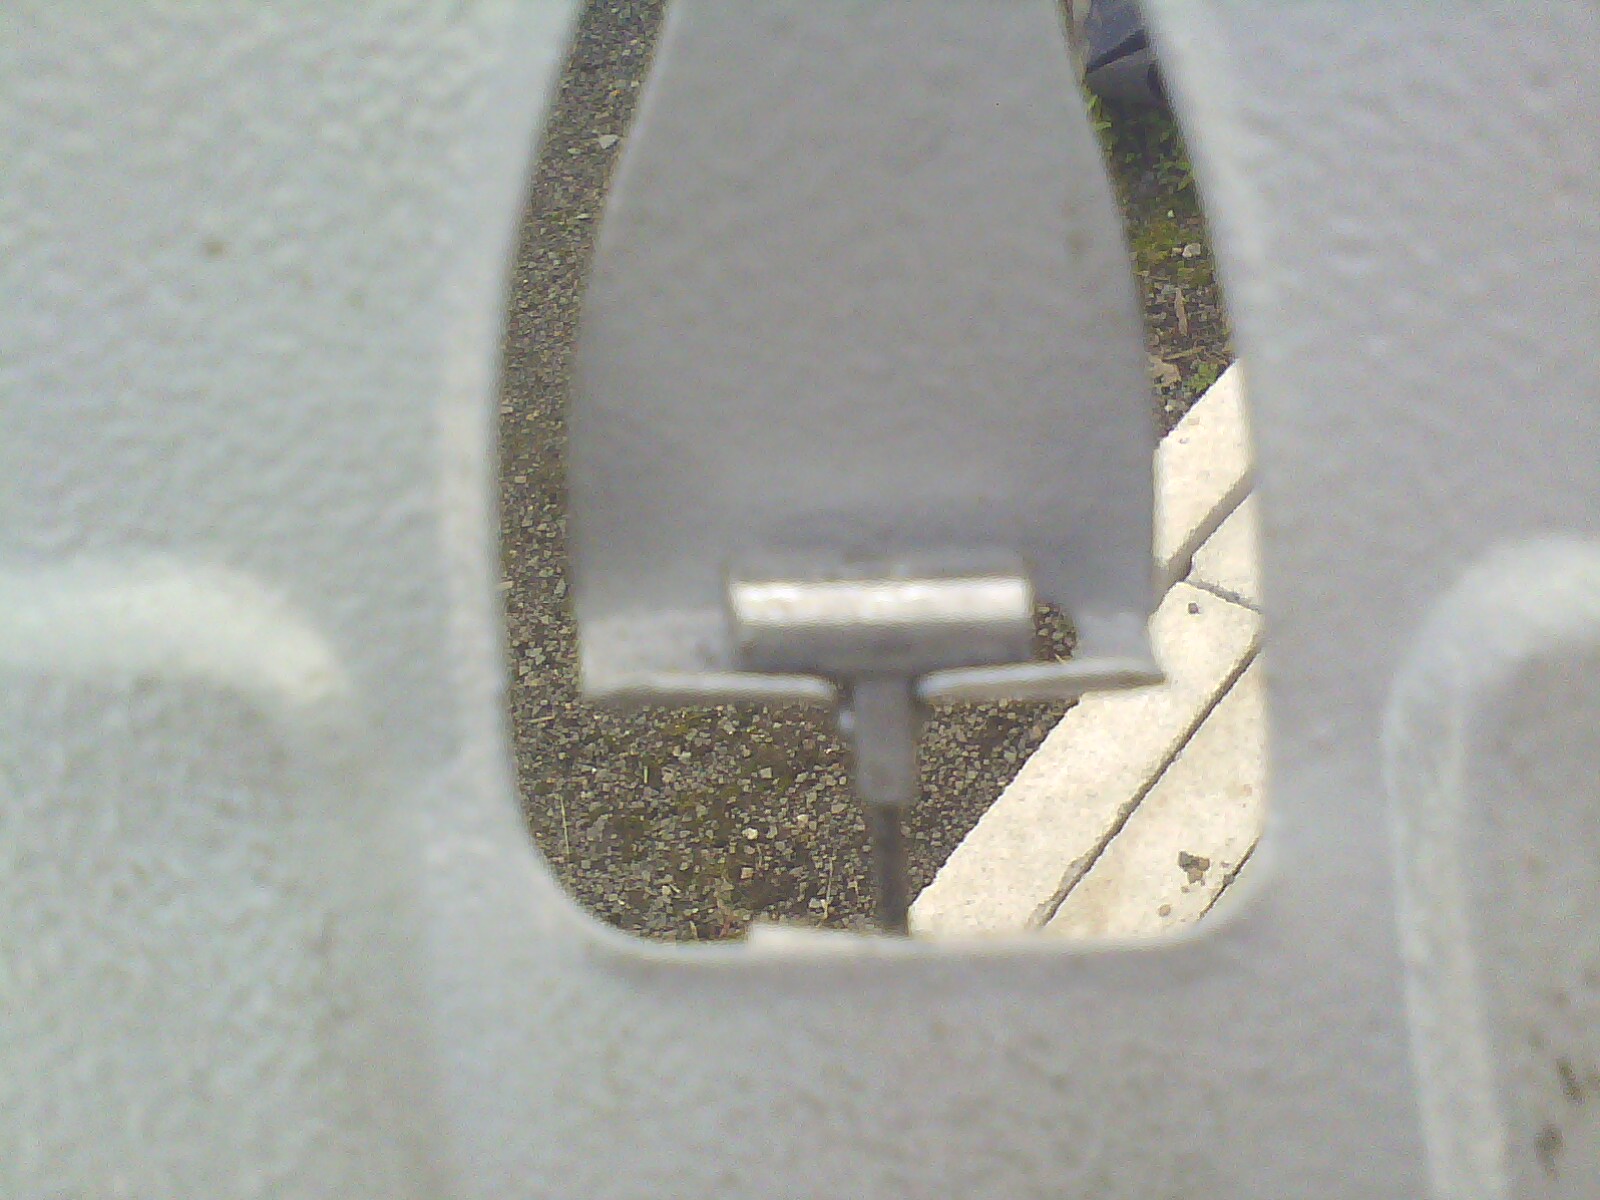
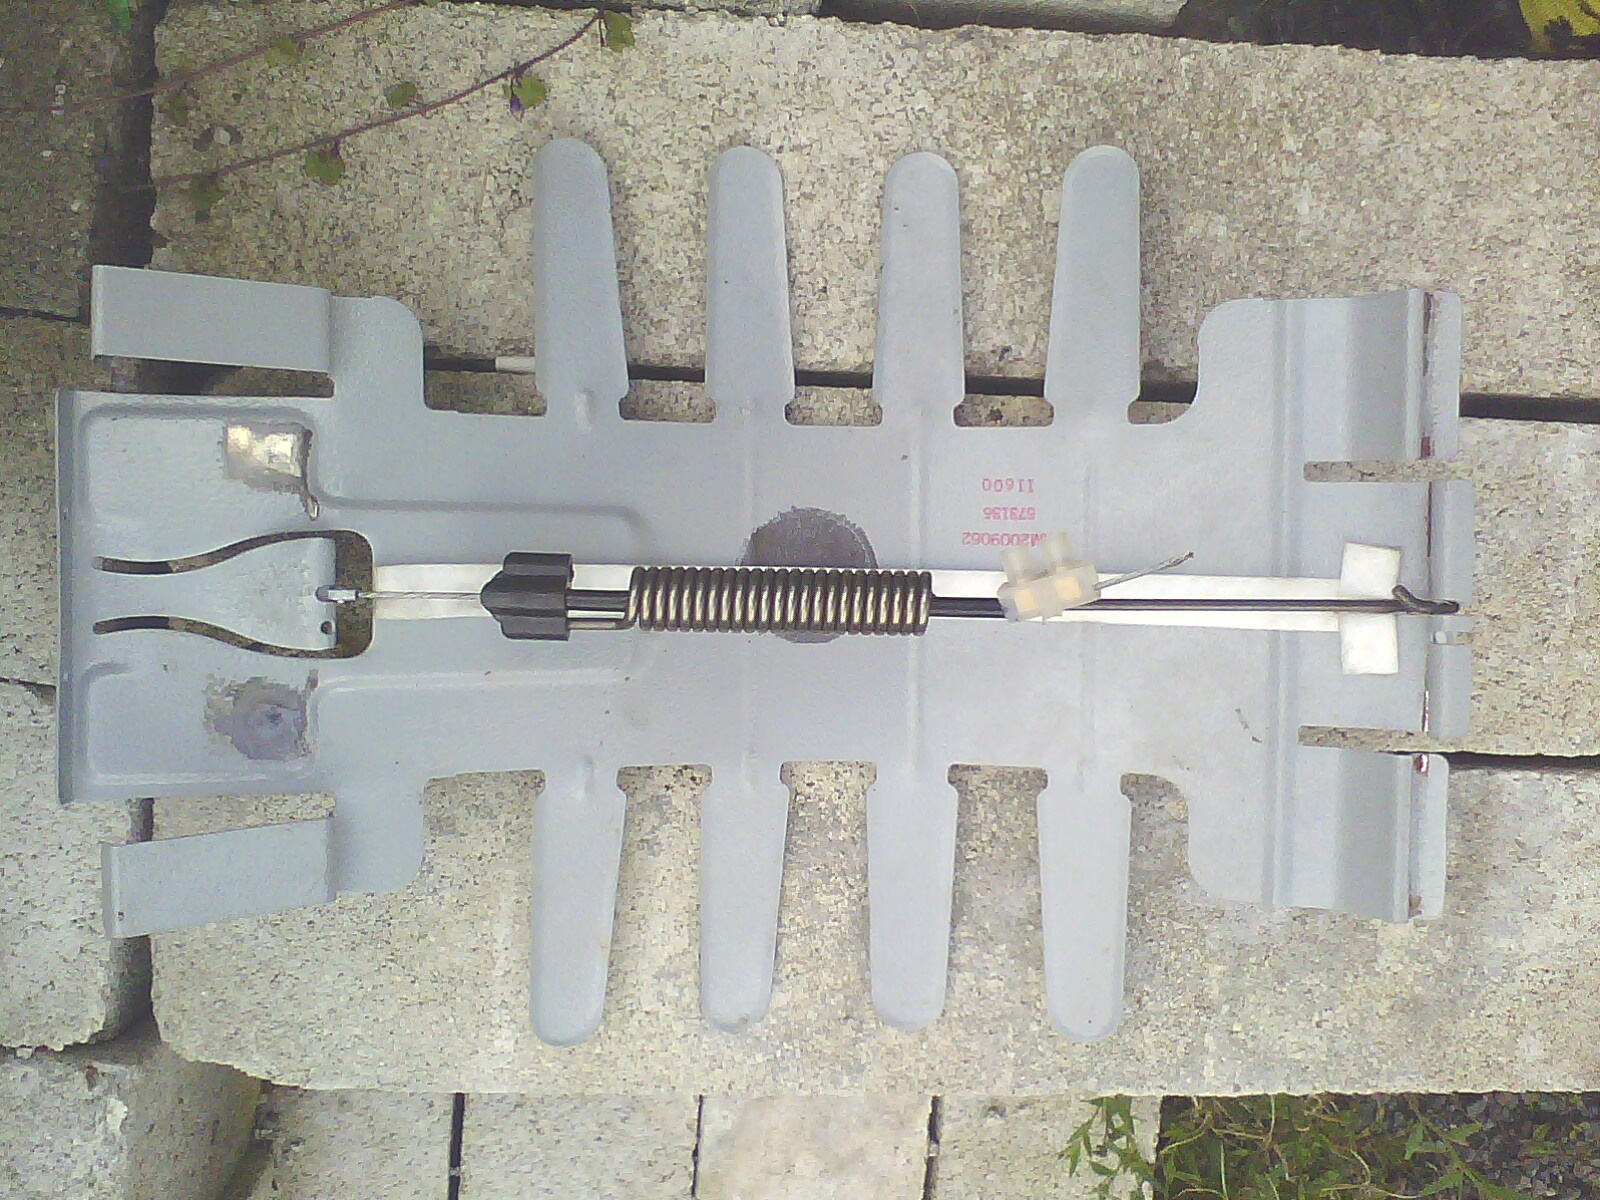
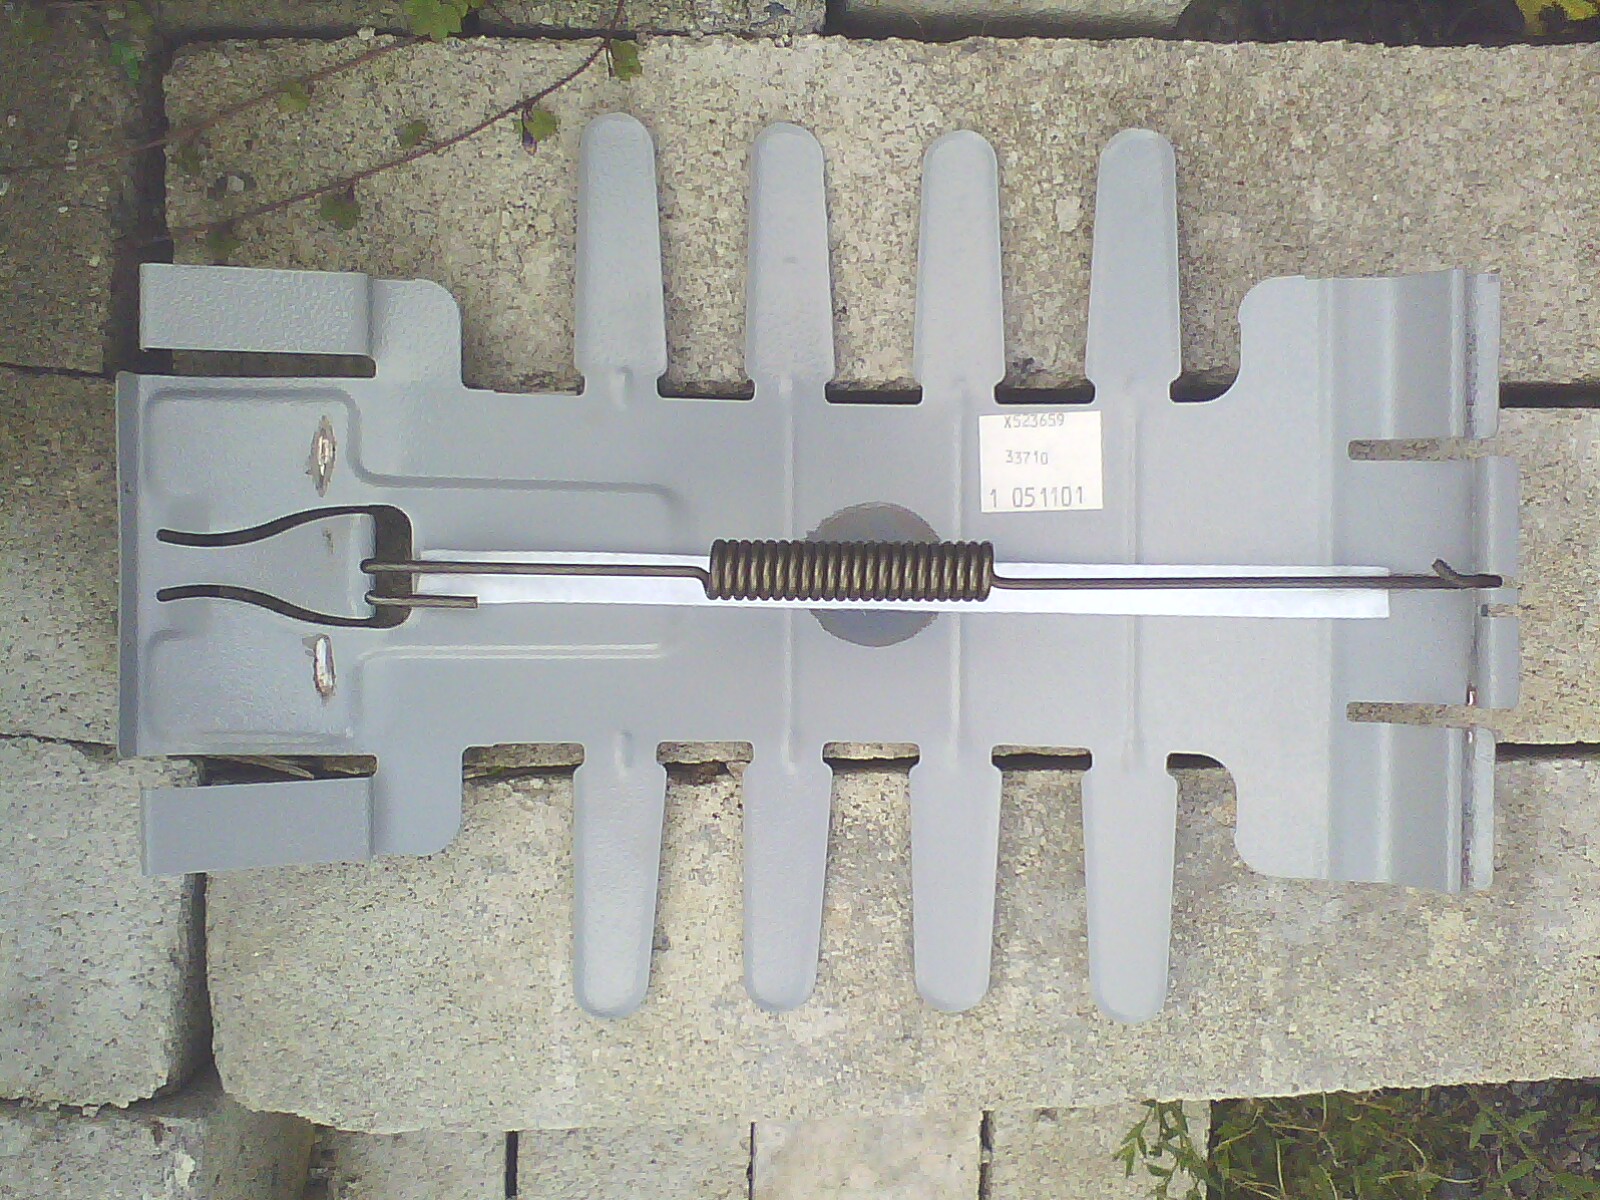
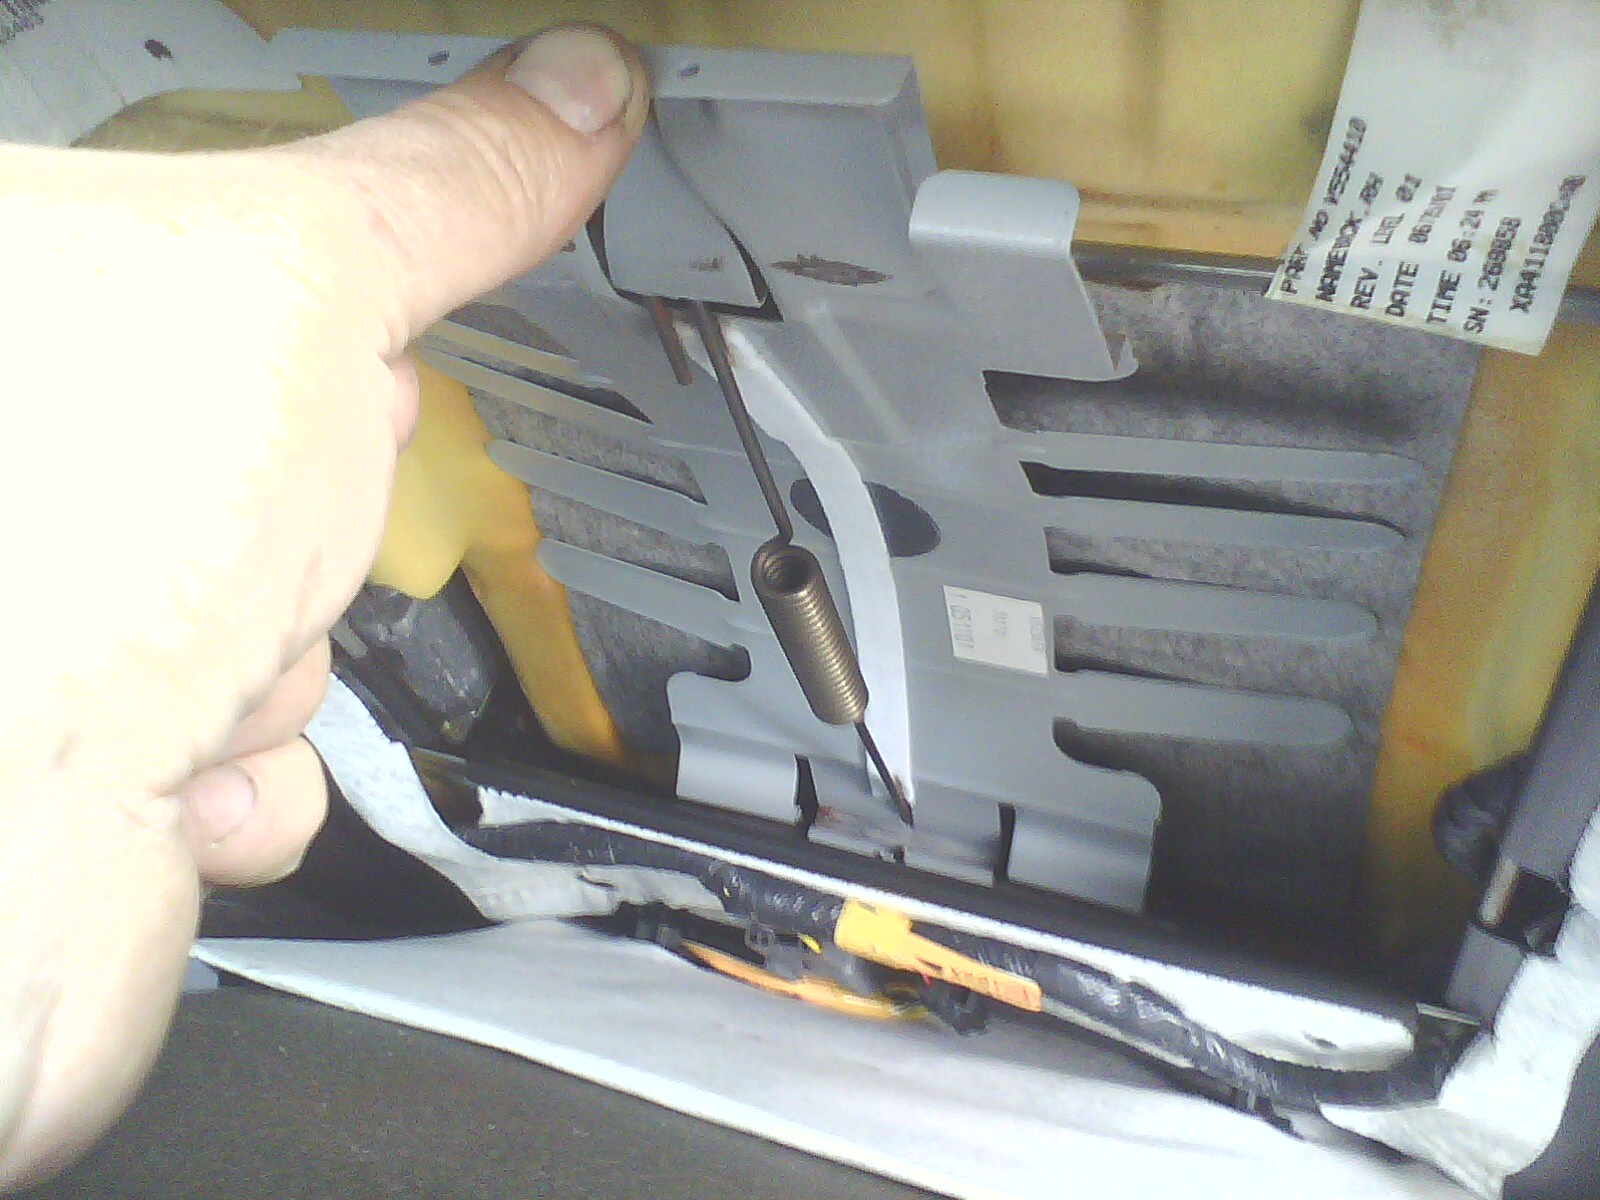
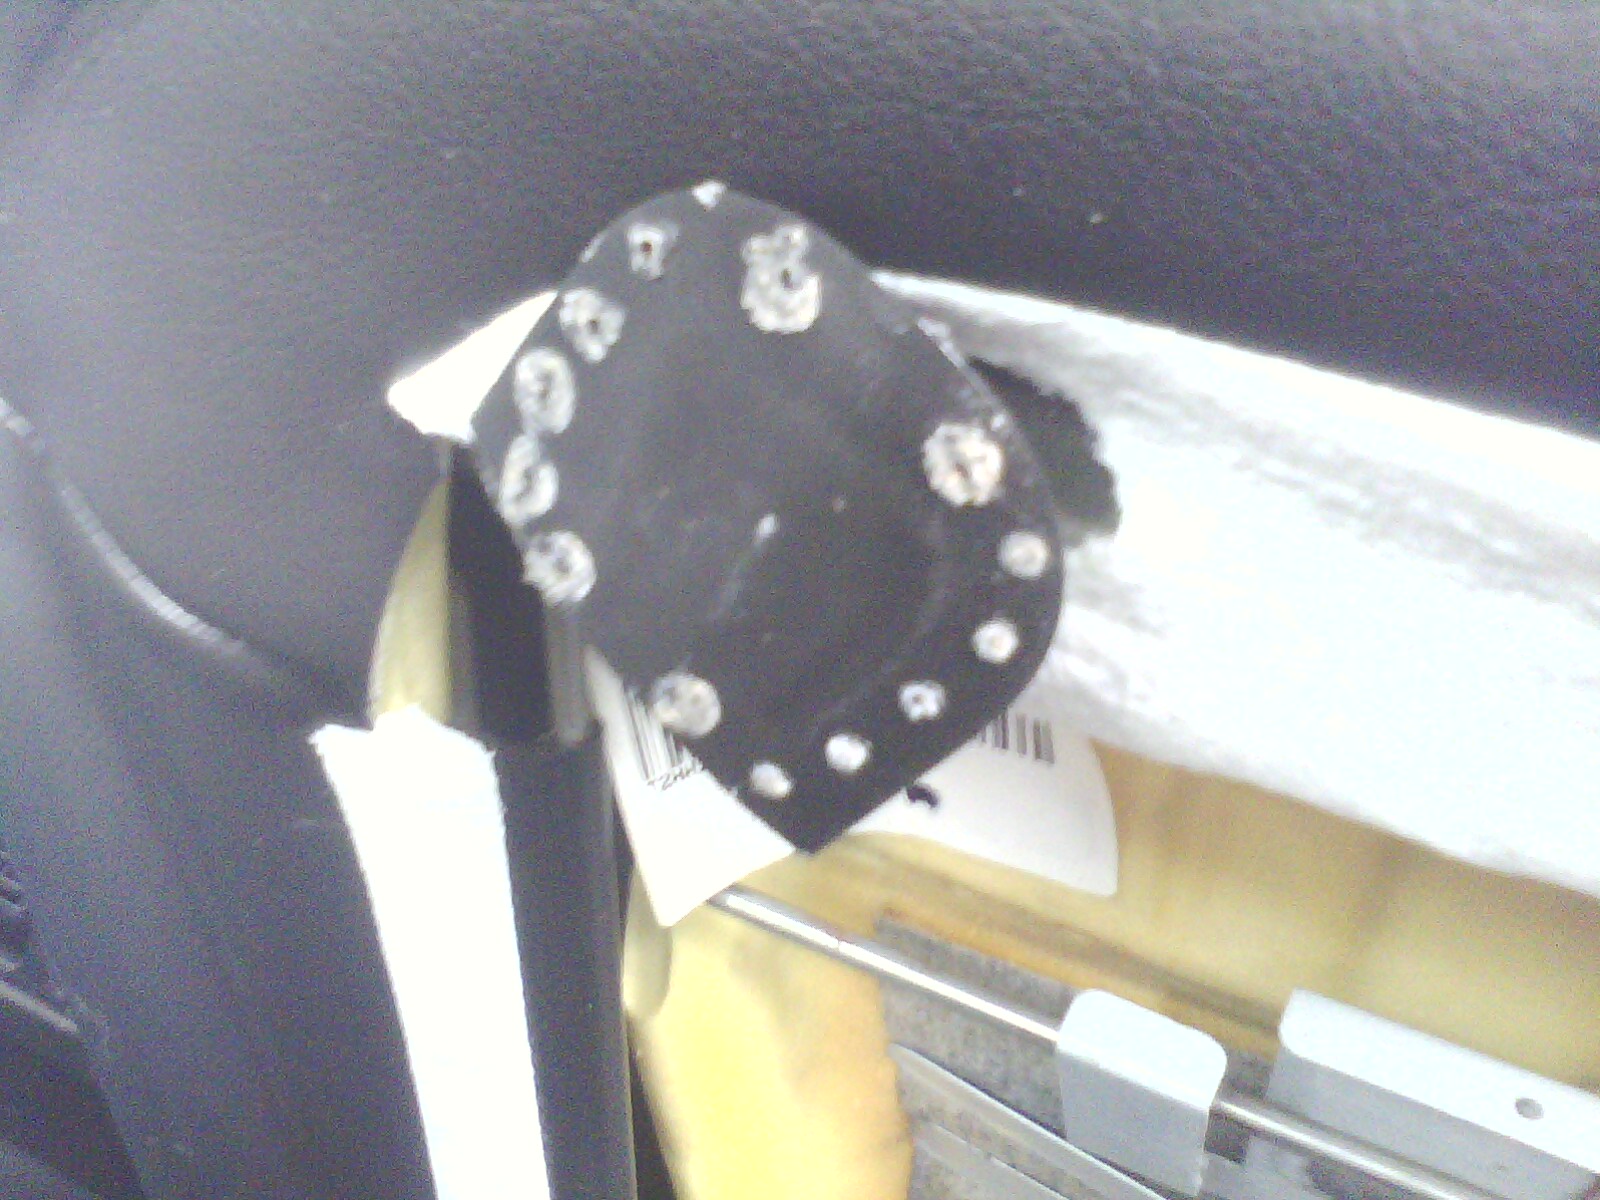
I find the lumbar support in my S-type Sport seats a bit lacking. I knew that electrically adjustable support was an option so this week when I was taking bits off an SE spec scrapper that had it I investigated. I assumed it would be a pneumatic system but it's actually a bit cruder than that; It's a diaphragm of spring steel flexed by a little electric motor with a bowden cable to actuate it. I realised that the motor had been fitted early in the assembly process so would not be easy to remove and refit. I also didn't know if my car had the wiring and it definitely didn't have the switch, which was the wrong colour anyway. So I improvised and I have to say for the time it took me it has been one of the best things I've done to the car. What you'll need: The diaphragm from a seat that has adjustable lumbar support OR you could modify the standard one with a bit of bicycle cable and ingenuity. Pair of decent pliers Electrical "choc block" connector or similar Screwdriver to tighten the choc block First thing is to take the back of the seat off. It simply clips in with a couple of those fir tree jobbies. I was a bit ham fisted with the scrap car and didn't break anything. I treated mine with kid gloves and pulled one of the clips off.. Doh! This is the diaphragm in place although I've actually unclipped this one. It will be obvious how it attaches but don't struggle with it, if you do then you're doing it wrong. Just flex the diaphragm the way the spring does but go further. This is the standard one: And this is the adjustable one which is identical save for the spring and cable:: As you can see I cut through the outer and inner of the cable right close to the motor. I then pulled the inner out and cut the outer about an inch shorter, threaded the inner back through and used the choc block to set the tension. You could be swanky and put a ferrule on the end of the outer but it's wound like a bicycle brake outer rather than multi-strand like a gear outer so it's not vital. It's worth pulling the cable fairly tight to begin with and then driving around with the back of the seat off and the pliers and screwdriver handy to adjust it. Once it's set that's it, put the seat back back on. Obviously if different people drive the car it may not suit all of them and you'll have to compromise, but then they already have to compromise what with having no adjustment at all. Adapting a standard non-adjustable diaphragm would not be a simple as using an adjustable one but I'm sure it could be done. Personally I would shorten the spring and heat it up to make a new hook in it a couple on inches further down to attach a cable to. Be very careful bending springs like this, they are brittle and will most likely snap before bending if not hot enough. This how the cable attaches: The standard diaphragm with the spring has just the same attachment point. A BMX type brake cable has a fairly large end which would probably be usable for this. Whether you buy an adjustable diaphragm or just its spring/cable assembly from a breakers or adapt your own this is a totally worthwhile mod that took me less than half an hour all in. I'm now much more comfortable and unable to slouch in my seat even if I wanted to.


-
Pfffft..
-
I would dig into what the box actually does before hooking it up. I'm not against any particular one but more against the principle of them and the marketing of them being a magic plug-n-play solution. I have electronically "tuned" several diesels and each one responds differently and needs individual settings. A fixed tuning box cannot do this. On my Golf TDi for example I increased the fuelling with a potentiometer. This works by modifying the return signal from the injector pump to the ecu to fool the ecu into making the injectors stay open longer. The range on the potentiometer is 500 - 2.5k ohms. My car didn't over-fuel at 700 ohms but others have done at 1.2k, a massive difference. I also modified the boost pressure sensor in the ecu with a potentiometer to again make it think the values it was reading were something else, in this case I made the ecu see less boost so it would compensate and give me more. Again the settings needed vary wildly across the same engine in different cars. It works for me but as far as real engine tuning goes the fuelling is a bodge and nothing more. These boxes work in much the same way, modifying ecu signals to put more fuel and air into the engine. They are not magic, they will not give more power and economy. They don't give the buyer the knowledge or ability to adjust them whilst at the same time bypassing the safety protocols of the ecu. Unfortunately reliable power costs more than a tuning box.
-
Well thank you. I'm not sure about expert but yes I know where to look now. This Jaguar definitely has the most amount of joints and bushes I've ever had in one car and the majority of them needed replacing. But the car was bought primarily for comfort so as you say there's no reason not to make it as good as possible and just going by how it rides now that will be very good indeed. Being rear-wheel-drive and having 240bhp going through a manual box is just a bonus and didn't sway me at all of course.. The new-old-stock genuine Jaguar upper front arms are ordered as are the Powerflex lower arm bushes and an outer track rod end. I have to go hunt through my pile of bits for a couple of usable brake dust shields and then see if I have any of the monster pop rivets to suit them. I'll probably put a little bit in this thread to cover just the fitting of the upright but there'll be new thread for the front end rebuild.
-
To be honest I cannot see much advantage to an electric car unless you own a power plant. I know someone who does and he had a Bedford CF chock full of batteries but that's another story.. I think the environmental benefits of EVs are shaky to say the least. I get that if cities were full of them and not hydrocarbon burning vehicles then a percentage of urban pollution would be moved elsewhere. But that's the thing, it just moves to somewhere else. A "Zero Emissions" car is actually a bit of an insult as it's just not true, the laws of thermodynamics say this. I don't know how long the drive-trains of EVs will last. Modern internal combustion powered cars are often uneconomical to repair due to relatively minor components and so are scrapped despite being generally sound. Labour is the major expense and until there are a lot of people all over the country competing to service EVs that will be an even bigger problem. I fear that the complex electronic control systems and components will economically write off many EVs much earlier in their lives than conventional cars. This bothers me a lot as I believe a car effectively gets more environmentally friendly the longer it lasts as the waste involved in scrapping it and making new replacements is avoided. I think dust to dust emissions are the only way to gauge how environmentally friendly a car really is. Ones that are uneconomical to repair before the emissions they have produced in their lifetimes exceed those produced manufacturing a replacement one are all too common and it's not right. The car industry can bang on about saving the planet all they like but sales and profit will always come first, if it didn't then cars would be made to be genuinely repairable not throwaway.
-
Thank you! I actually like doing all this stuff. Obviously it would be nice if the car didn't need work but then I wouldn't have paid so little for it. On the plus side doing it this way means it's got new components, not just serviceable ones. I'm looking at buying some new upper front arms (genuine Jaguar ones no less) to fit at the same time as the re-bushed lowers even though I don't actually know how worn they are. I can get a bit of movement in the bushes with a pry bar but the ball-joints will only tell their tale once it's all apart. They're integral to the arm, joy.. If I do replace them then it would then have all new joints and bushes at the front bar the track rod ends, an outer one of which is to be replaced next week anyway. The rear upper arms were replaced by the previous owner about 25k ago. I replaced the lower arm bushes a few weeks ago so all that's old there is the ARB bushes and drop links. Oh and a track rod which I will buy a standby for. I'm not counting damper bushes in all that. I replaced one front lower one while chasing the knocking that turned out to be the ARB bushes. But really they don't affect things as much as the arm bushes as they don't allow geometry changes. I am still toying with the idea of some Bilstein B6 dampers, but they are huge money so unless a long, low interest credit arrangement is possible then it won't happen. I've spent over twice what I paid for the car in replacement parts and general service stuff but it still stands me in at well under a grand so I'm very happy with the return. Just don't bring the hours of work I've put in into the equation!
-
I had a ride in a Leaf. It was the weirdest feeling especially as you set off. You know sometimes when you're sat in traffic and the car next to you pulls forward and for a brief moment your brain tells you you're moving backwards? That's what it felt like, no sound and no vibration to tell you you were under way, just movement.
-
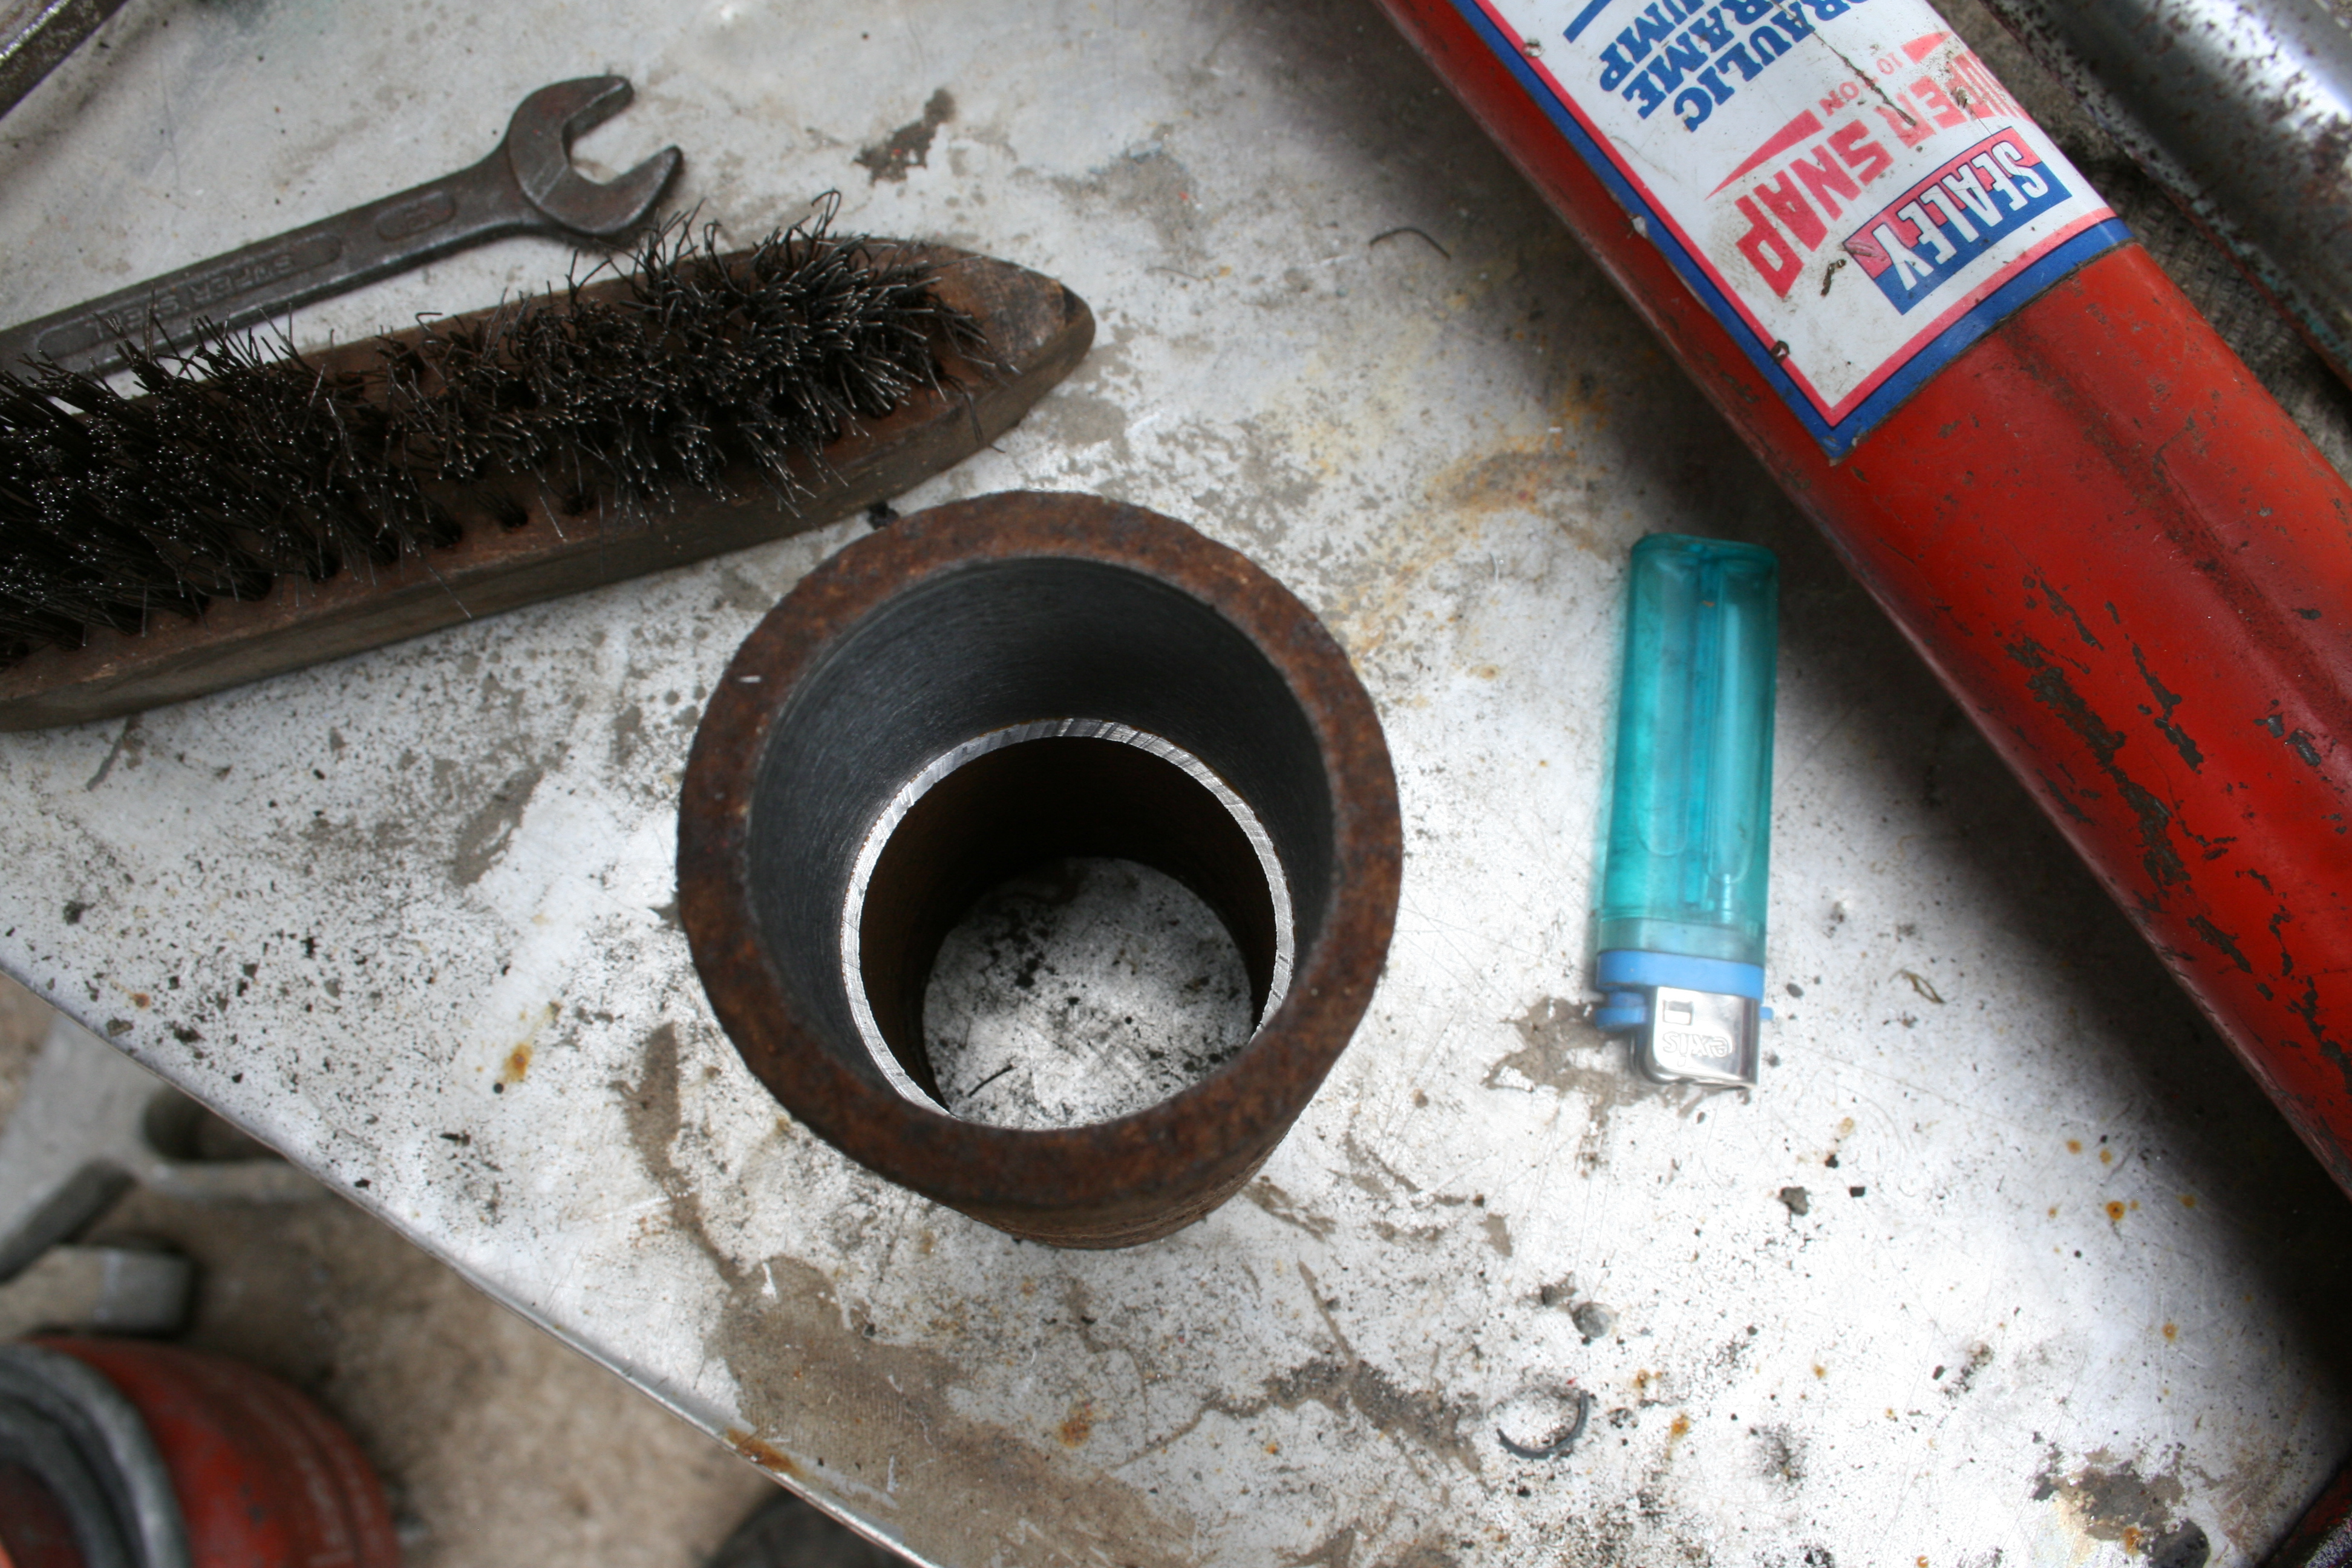
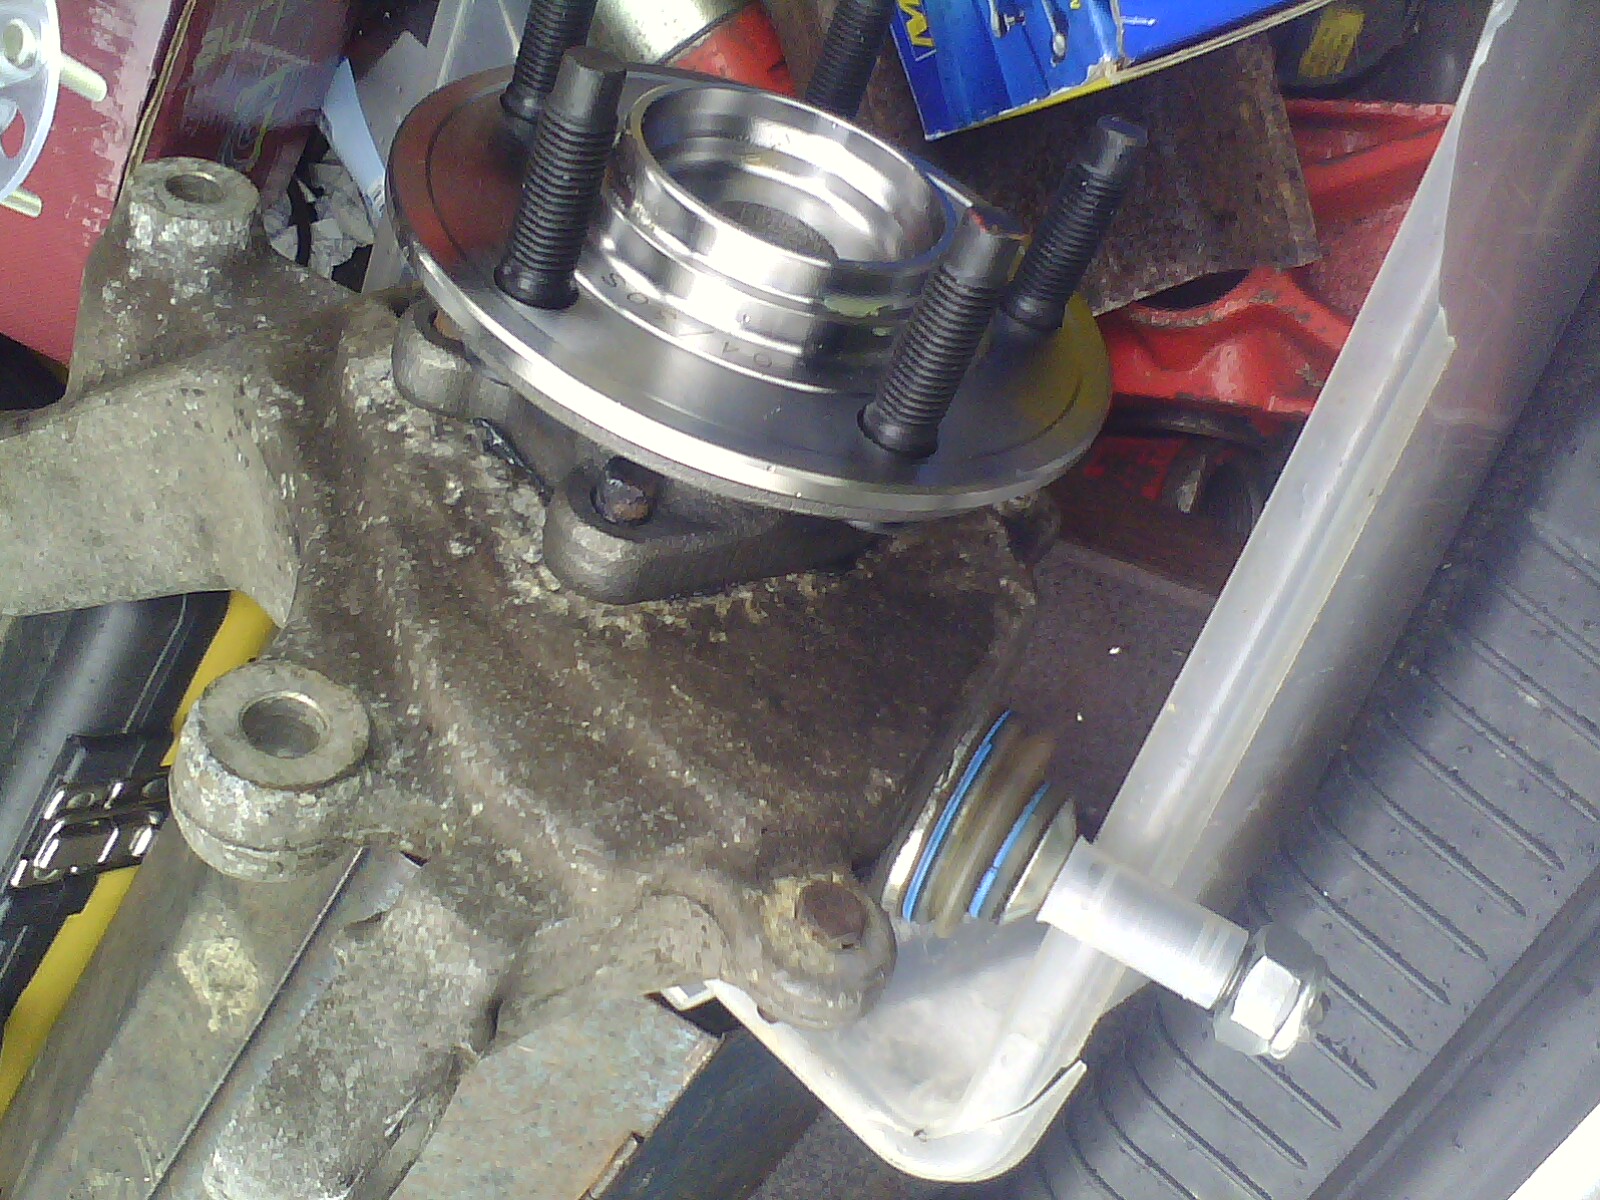
Well I fitted the new ball-joint and hub in the upright today. I didn't use the press at all, as said before the upright is a really awkward shape to get in it. Yes I could have made up some bracketry to mount it but it would have been a lot of faff. Instead the ball-joint took a chilly little holiday to the bottom drawer of the freezer. The upright was going to go in the oven but for some reason Mrs Woodbine was not cool with that.. Instead I heated it with a blow lamp until it was too warm to touch then put the the two together. I actually ended up with the ball-joint balanced on the nose of an anvil and then inverted the upright over it ready to go together. I reused the piece of steam pipe from the lower rear arm bush job to go over its pin and onto the upright. It was just the right size and sat happily on it surrounding the ball-joint register. Steam pipe With another pair of hands and eyes to make sure it was going in straight I boshed the steam pipe gently with a heavy hammer and got them together halfway with no trouble. Within five minutes though the upright had cooled and the ball-joint had warmed so any temperature expansion/contraction advantage was gone. At this point though that didn't matter so much as the ball-joint was well started and definitely in line. From here on we pushed it home gently in a vice. I know it may sound like an horrific way to do such a job but with some sympathy towards the materials involved and carefully ensuring that the pieces go together in line with each other it's a perfectly good way to do it. It is true that easing it in with a press would be more controlled and harder to get wrong but plenty of care needs to be taken either way. I have the greatest interest in the long term safety of my suspension and wouldn't do a job if I didn't know it was going to be done adequately. The hub pretty much just dropped in. I cleaned the hole it sits in and coated it and the hubs mating surfaces with CV grease, I used this for its stickiness and temperature stability. Although the old hub came out easily the other spare upright had needed about 12 tons, I'd rather avoid having that fun again in the future. The hub, £48.95 from eBay with 2 years warranty and an ABS sensor. Cheap but I'm willing to take the risk. Ideally I'd not do the job again soon but even if lasts only 60k miles it's good value The ball-joint. Under £20 from the local factors with a three year warranty which at least implies they're confident in it.. I would have liked to put top quality parts on for sure but I'm not in a position to do that and have other jobs to budget for. Such as the new Powerflex Black lower front arm bushes which are next weeks job, watch this space (actually it will be new thread but you know what I mean).


-
Thank you. I'm looking at various options now. I'm all Linux nowadays but XP was the last Windows I really got on with so no worries there. I'll probably try to run the whole lot off USB or maybe make an XP partition on my HDD.
-
Hey Joe, do you reckon you'd be able to do a thread as a sticky on here with a guide as to what's needed to get set up with the Jaguar IDS/SDD software?
-
As I said in your other thread, I think it's bad insulation on one or more coils.
-
Result! Shame about the charger but at least you're in there, and more importantly someone else put the effort in!
-
http://jaguarclimatecontrol.com/diagnose/
-
If it is the tank Berkshire Jaguar have Meyle ones for £50. I don't know how much the antifreeze would be but it shouldn't take more than an hour to fit and do a complete coolant change. New coolant in alloy engines is a good thing to do fairly often anyway.
-
I would suspect something on the expansion tank. I would say the cap itself but the neck has that wall around it to funnel excess over the back. Cleaning it all off is certainly a good start. I have procured a spare cap before (for another car) and fitted a tyre valve in it to pressure test the system. Just a thought.
-
It is a lot, lot better. I don't know exactly how much the tyres had to do with it as I only did 3 miles with the old tyres and new track rod but it does seem smoother. I'm so relieved to have the track rods sorted. It felt like an old solid axle 4x4 before with the back end geometry constantly changing. Unfortunately I'm rarely satisfied which is why I'm keen on new bushes at the front end as well. There's much more I'd like to do but barring any other component failures that should be enough for a while. I'm still dreaming of a set of Bilstein B6 dampers but that's a ways away yet.. I would have thought a clonk would be either upper arm ball-joints or ARB bushes. It could be worn out upper arm bushes but in theory they should make the handling really bad as it would allow uncontrolled camber changes. My car had new uppers only a few thousand miles before I bought it, which was nice. Well if you fancy Cornwall I'm sure we could arrange some mischief to get up to!
-
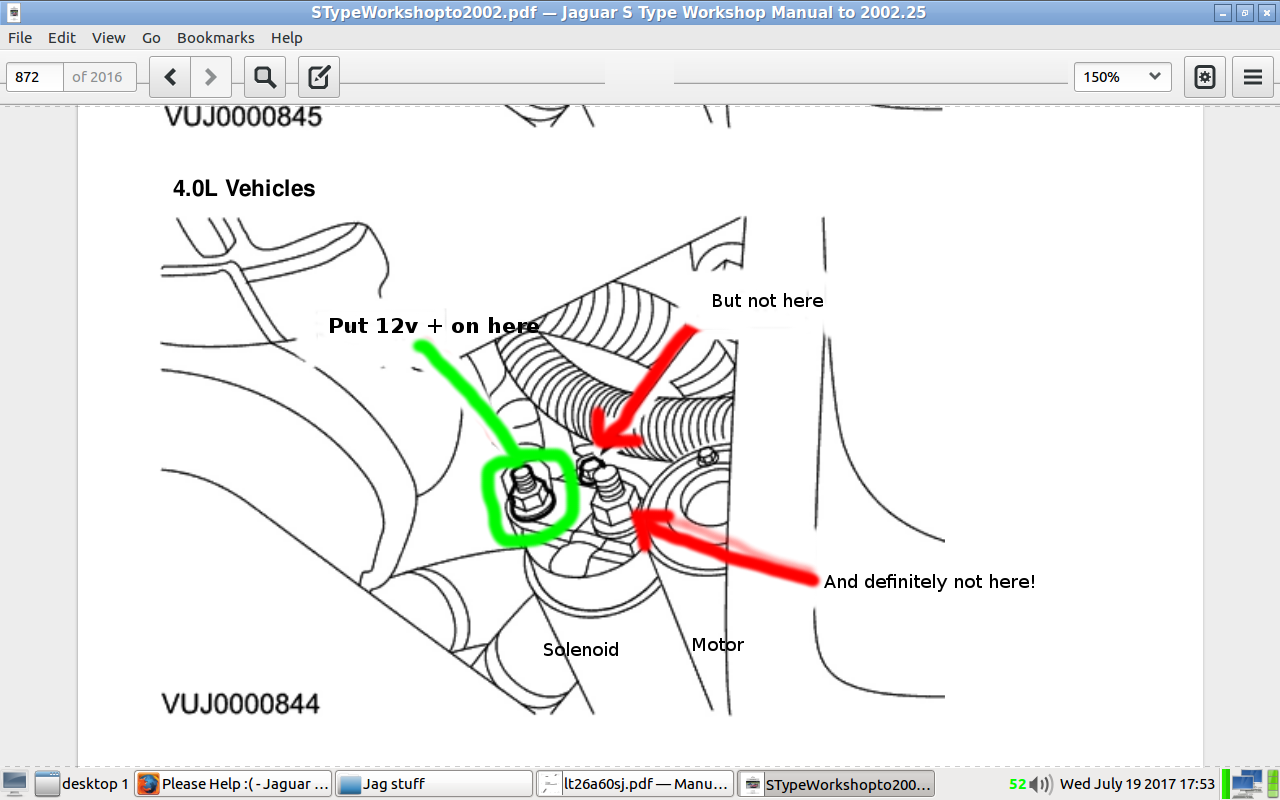
The starter motor can be found where the engine and gearbox bolt to each other. You'll have to crawl in under the car about level with the front of the front doors to see it. I think it's on the passenger side on the V8. The starter motor has a relay on it known as a solenoid, it's basically a switch to turn on the starter motor. This solenoid has three positive terminals on it, see the picture below. The one on the left in the green circle goes directly to the battery so 12v+ on here will power up the car. The one at the top with the thin wire goes to the ignition switch, don't use it. The one on the right goes to the starter motor so definitely don't put it on there! In case you're in any doubt the one for the starter motor will almost certainly have a flat metal plate clamped under the nut which goes through the outer case of the motor, passing through a rubber or plastic insulator on its way. So it should be easy to identify. Make sure the one you put 12v+ onto has a big thick cable leading away into the depths of the car, this will be the cable to the battery. The best thing to use would be a wire with a biggish crocodile clip, the sort you would see on a battery charger. A jumper cable might do but may be a bit bulky. Connecting to this solenoid should be the very first connection you make, then connect the other end to your 12v source (charger, spare battery or even one in another car). Only once you know that both ends are secure do you want to complete the circuit by connecting the negative of the power source to the chassis of the car (actually the engine block's probably a better place). There are various modules which may well start drawing a current as soon as they get power so there may be some small sparks as you connect the negative. Keep this rig connected for as shorter time as possible, so if someone else is handy then get them on standby to press the boot release as soon as you make the circuit.

-
I get where you're coming from. I had such problems with a car of mine once that I bought another because it cost me less than taking another week off work. Stick a for sale ad up on the forum and maybe a cheeky thread here to link to it.