Leaderboard


Popular Content
Showing content with the highest reputation on 06/04/2017 in all areas
-
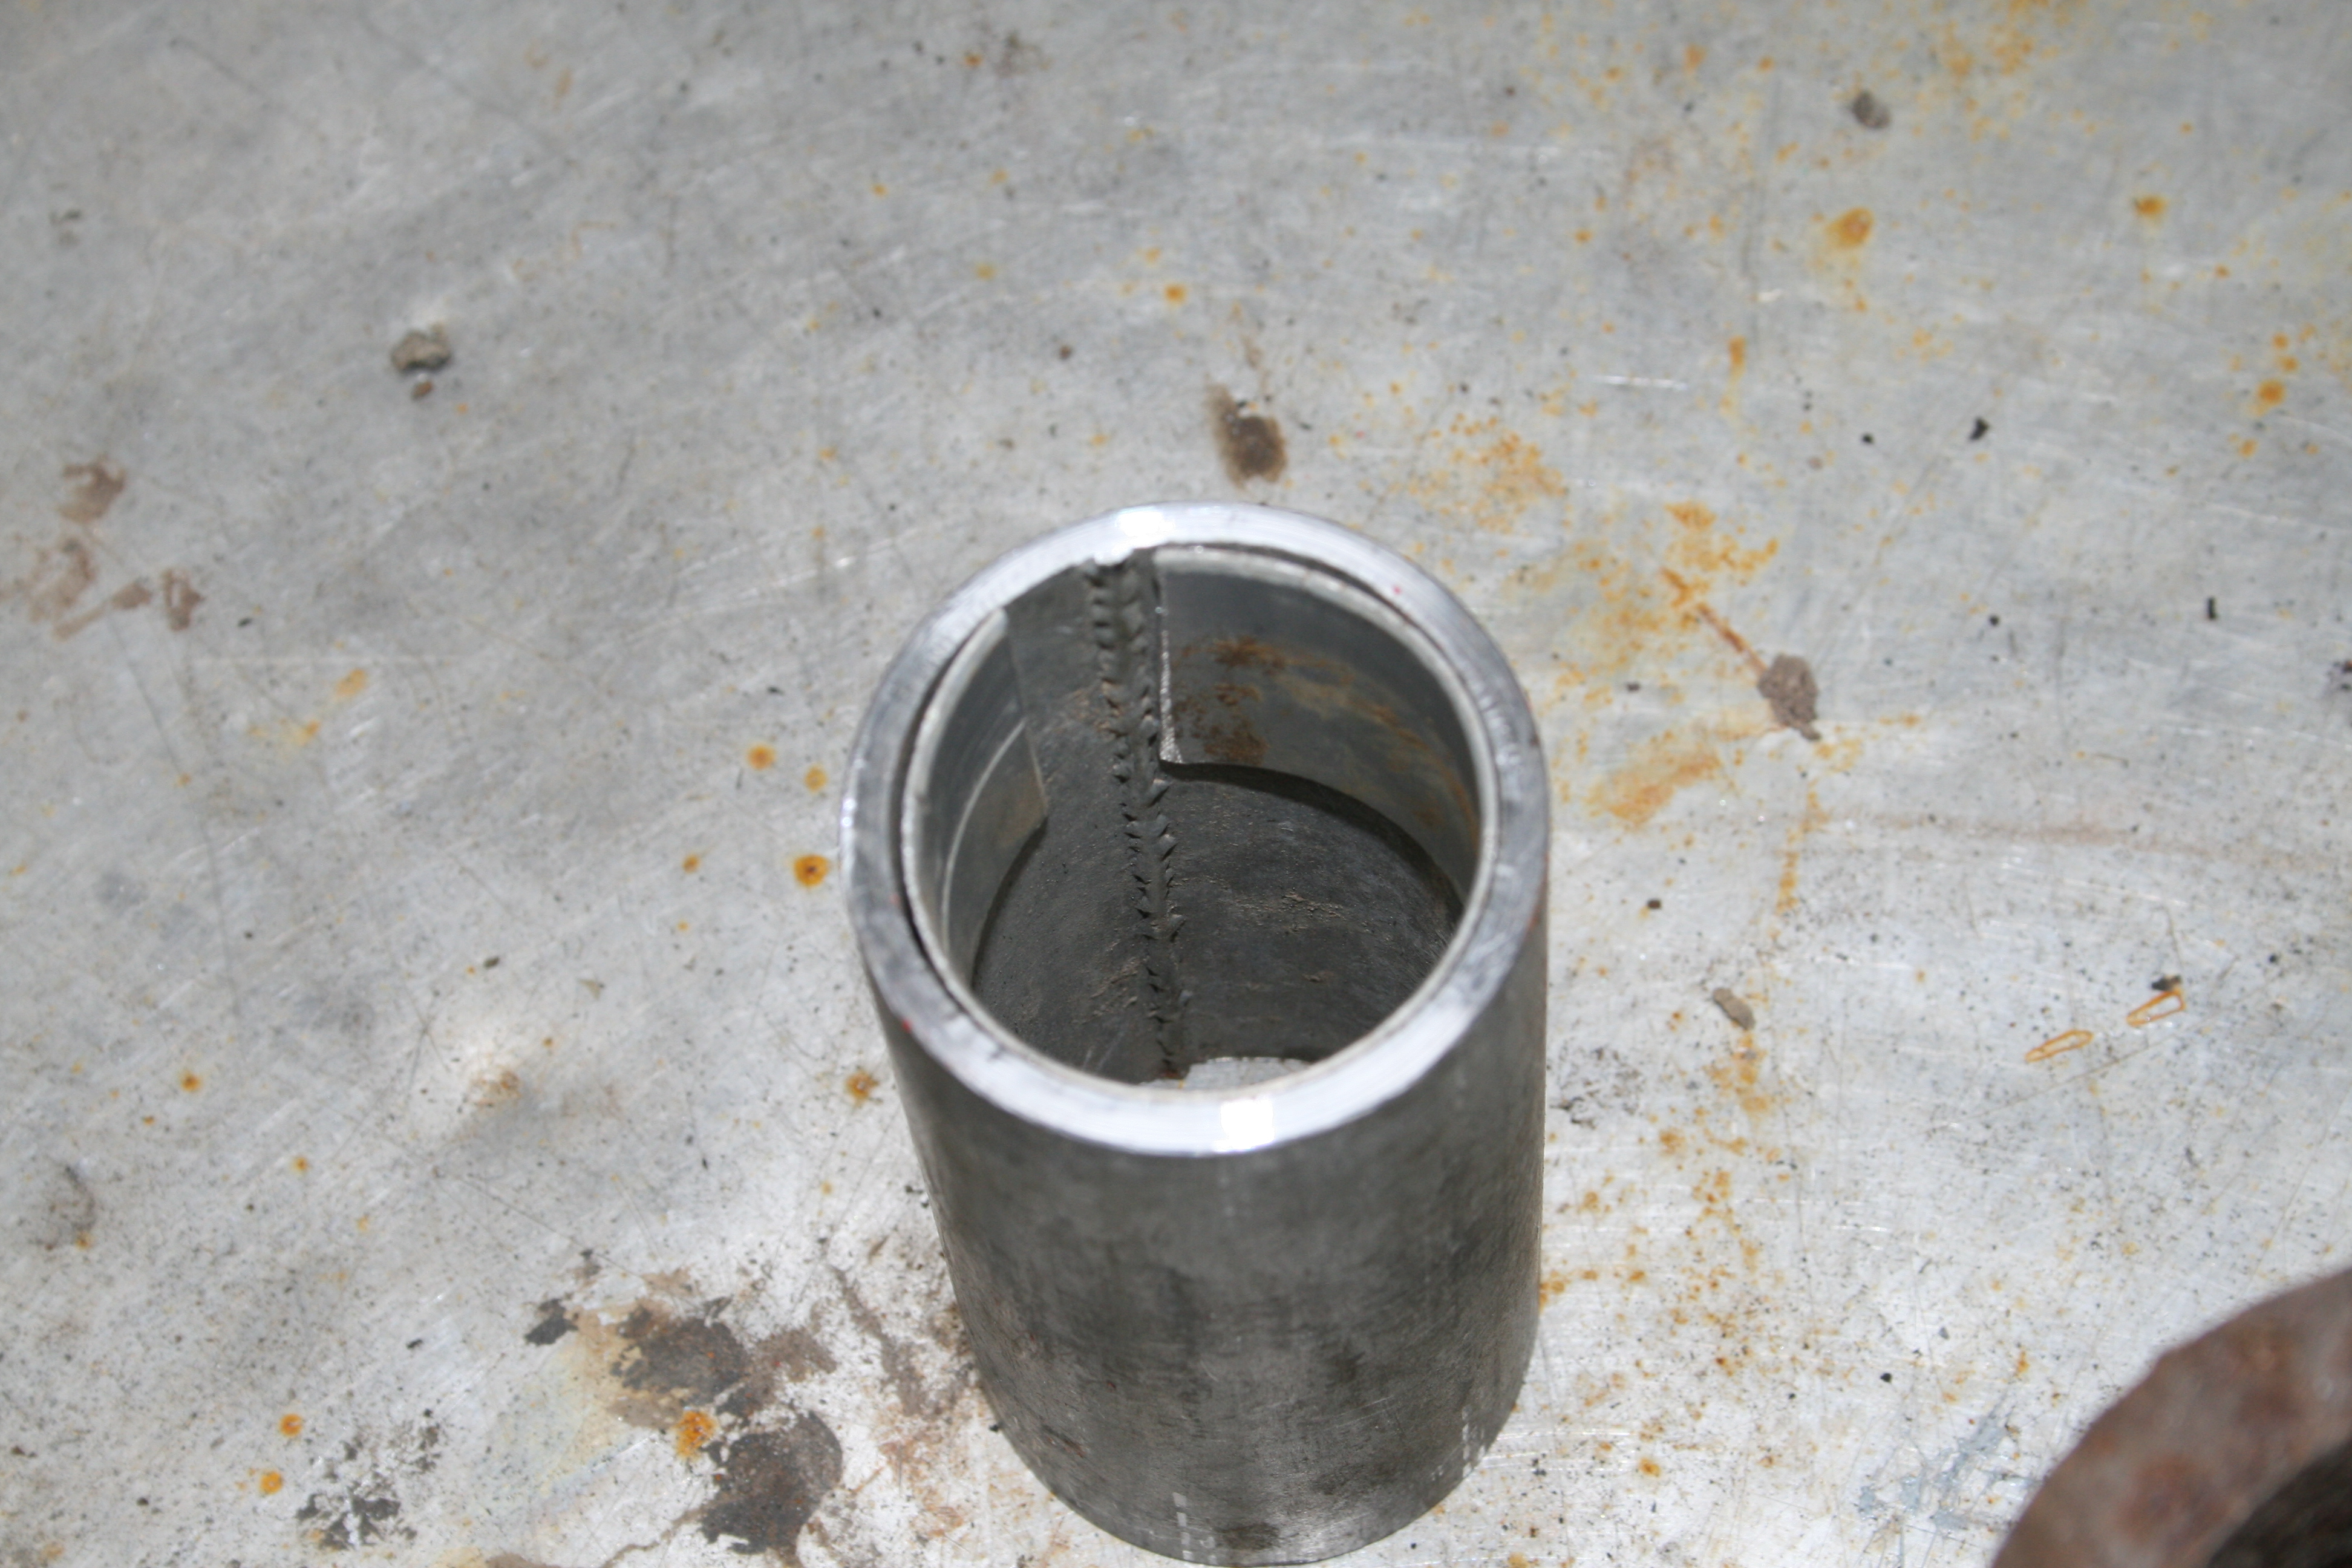
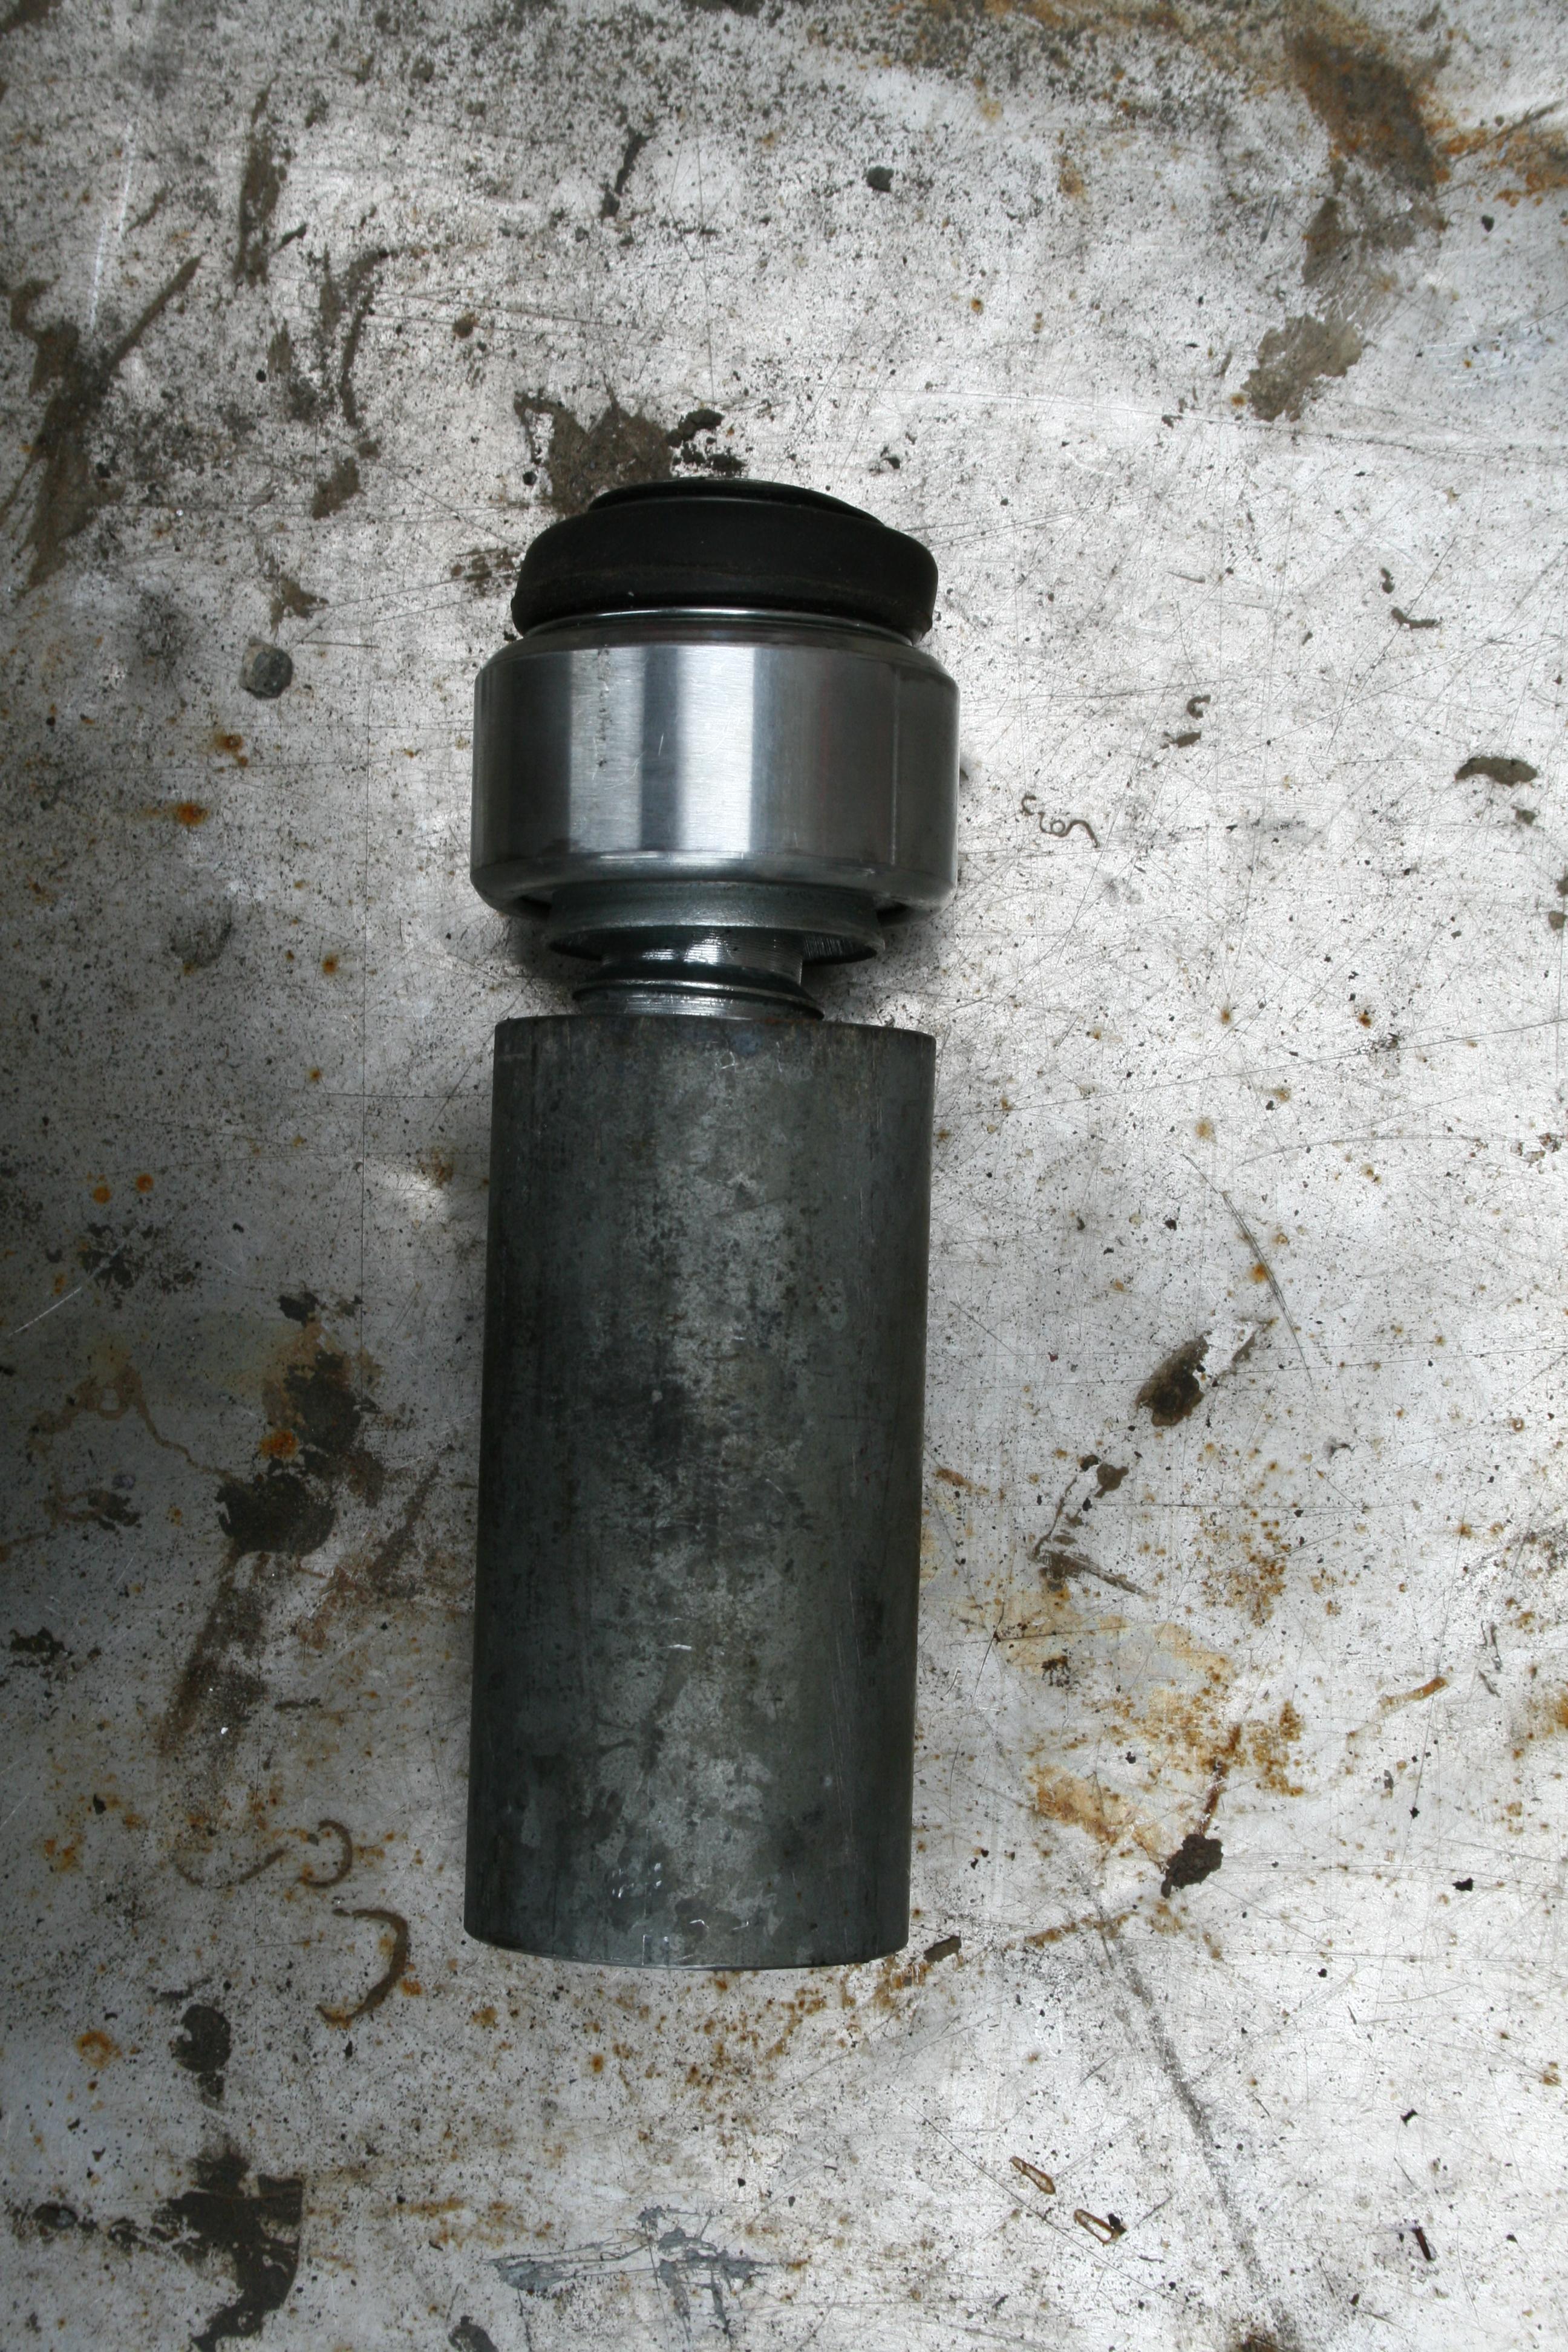
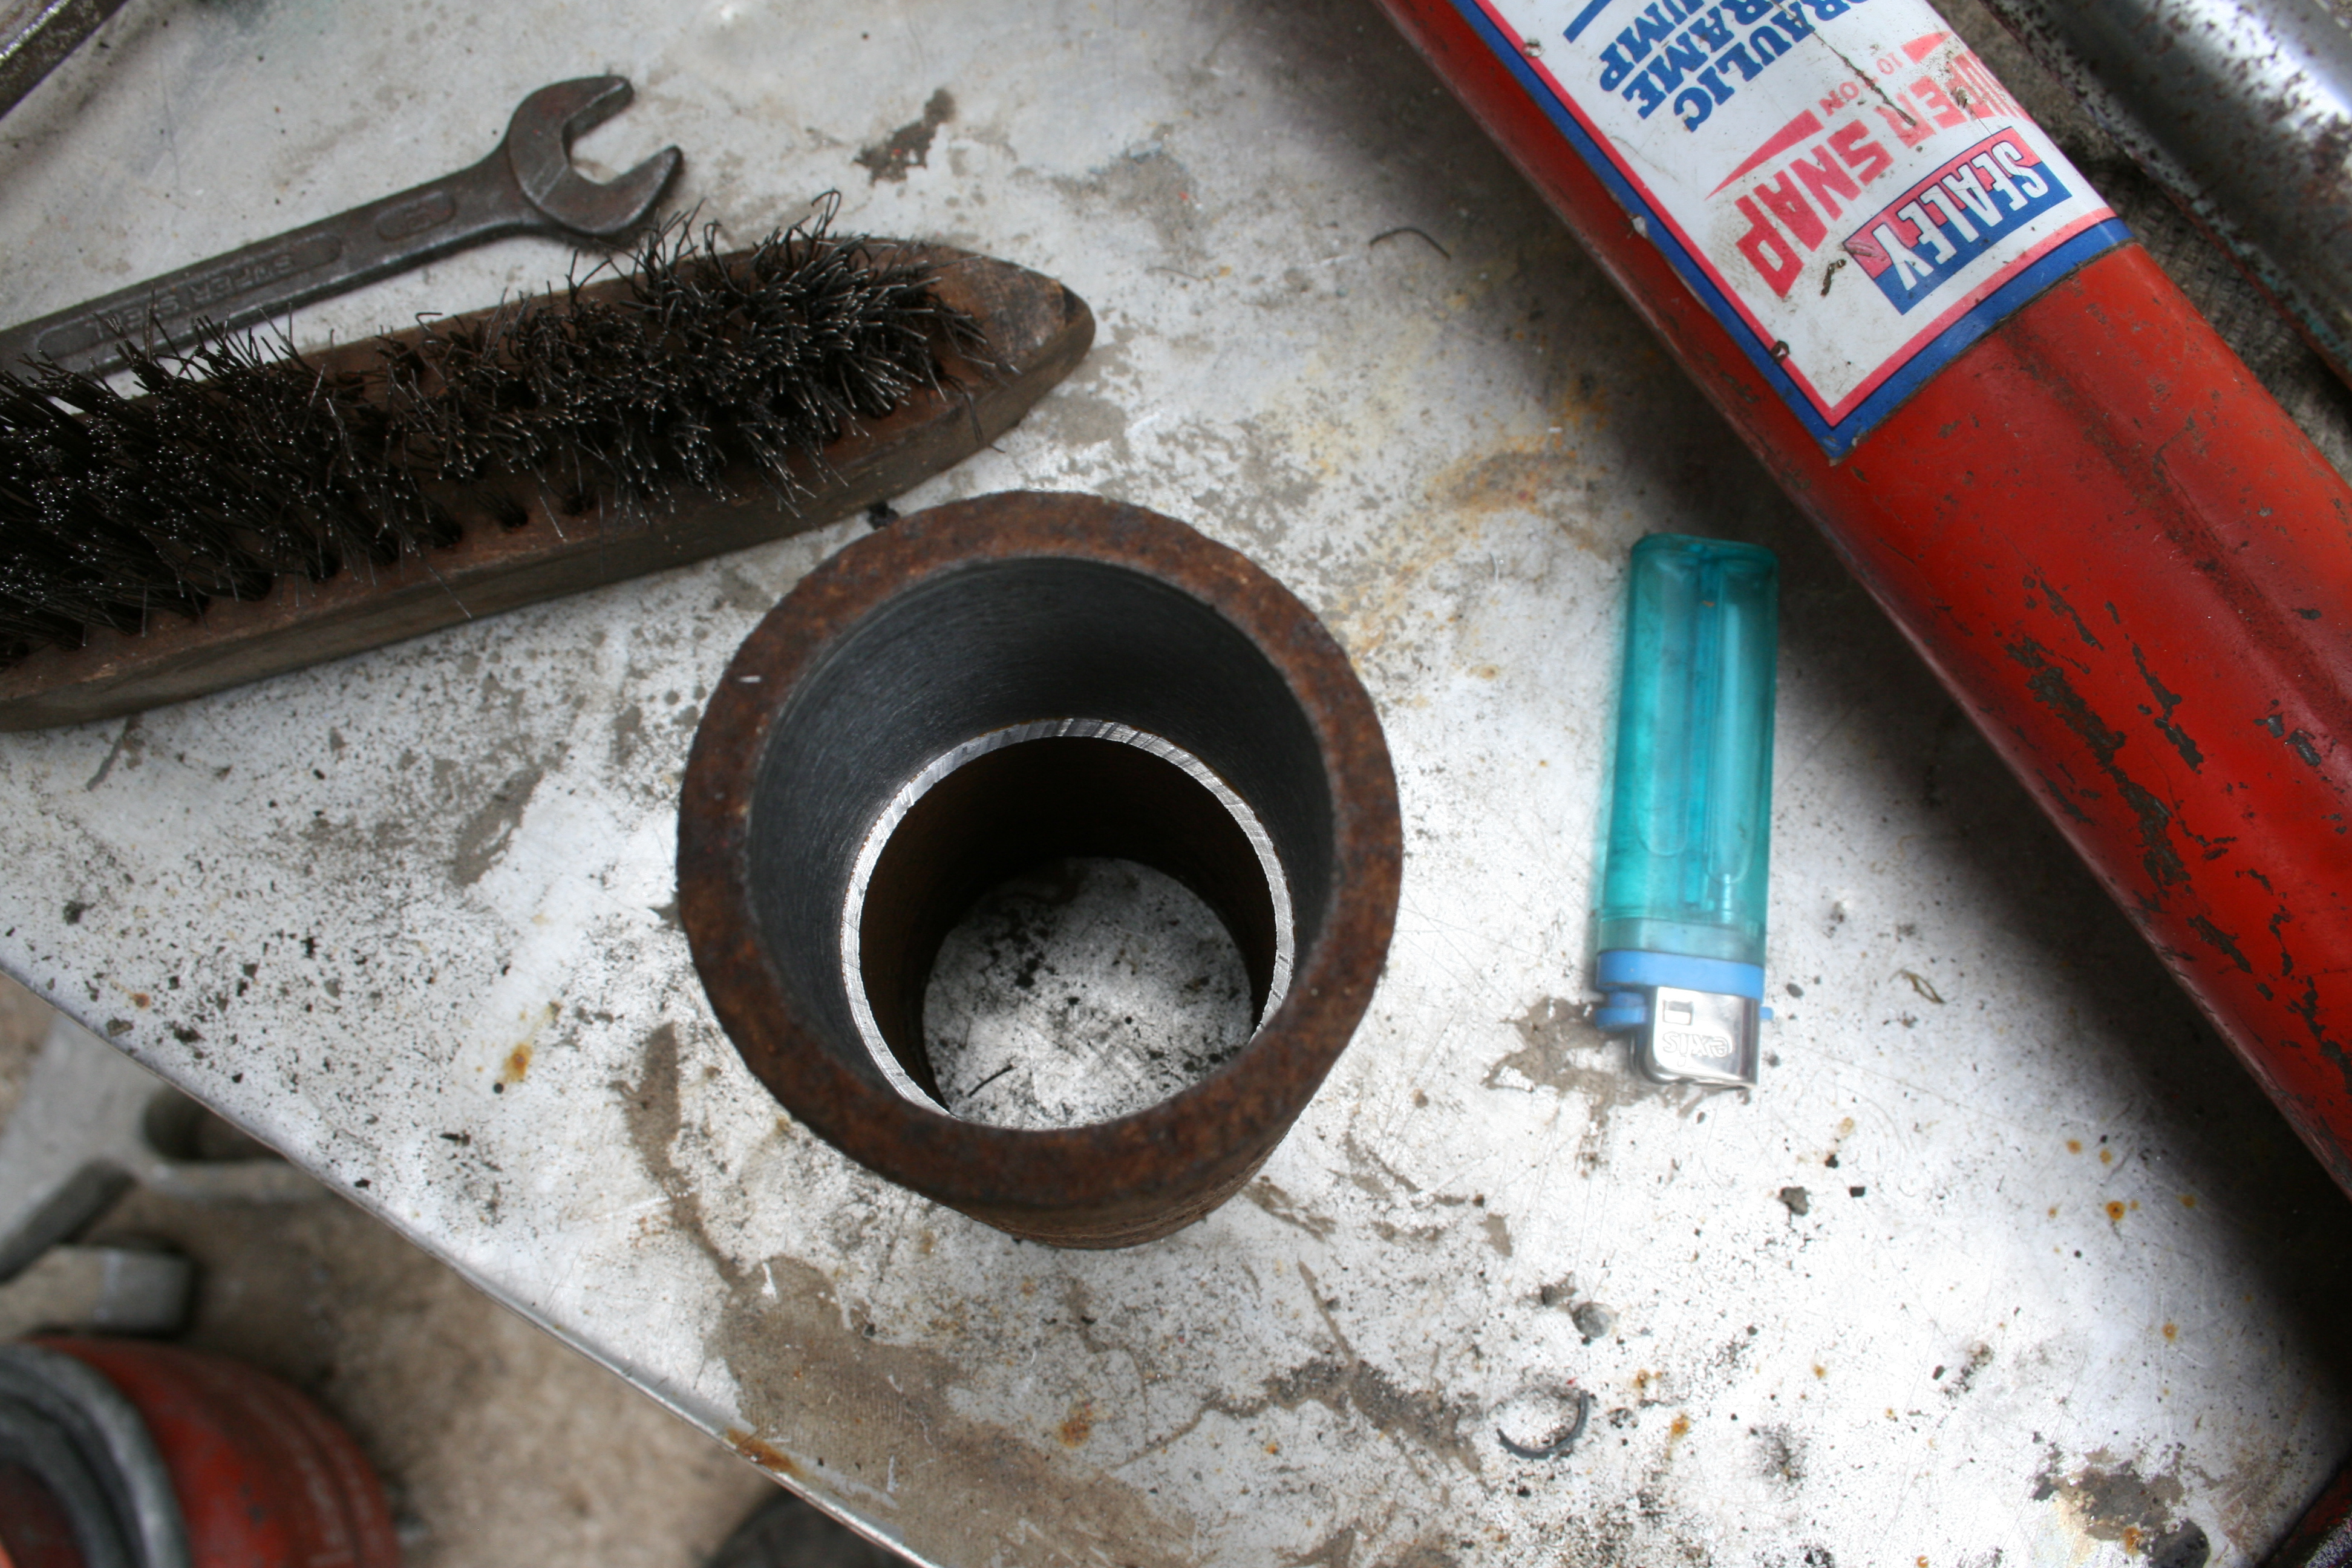
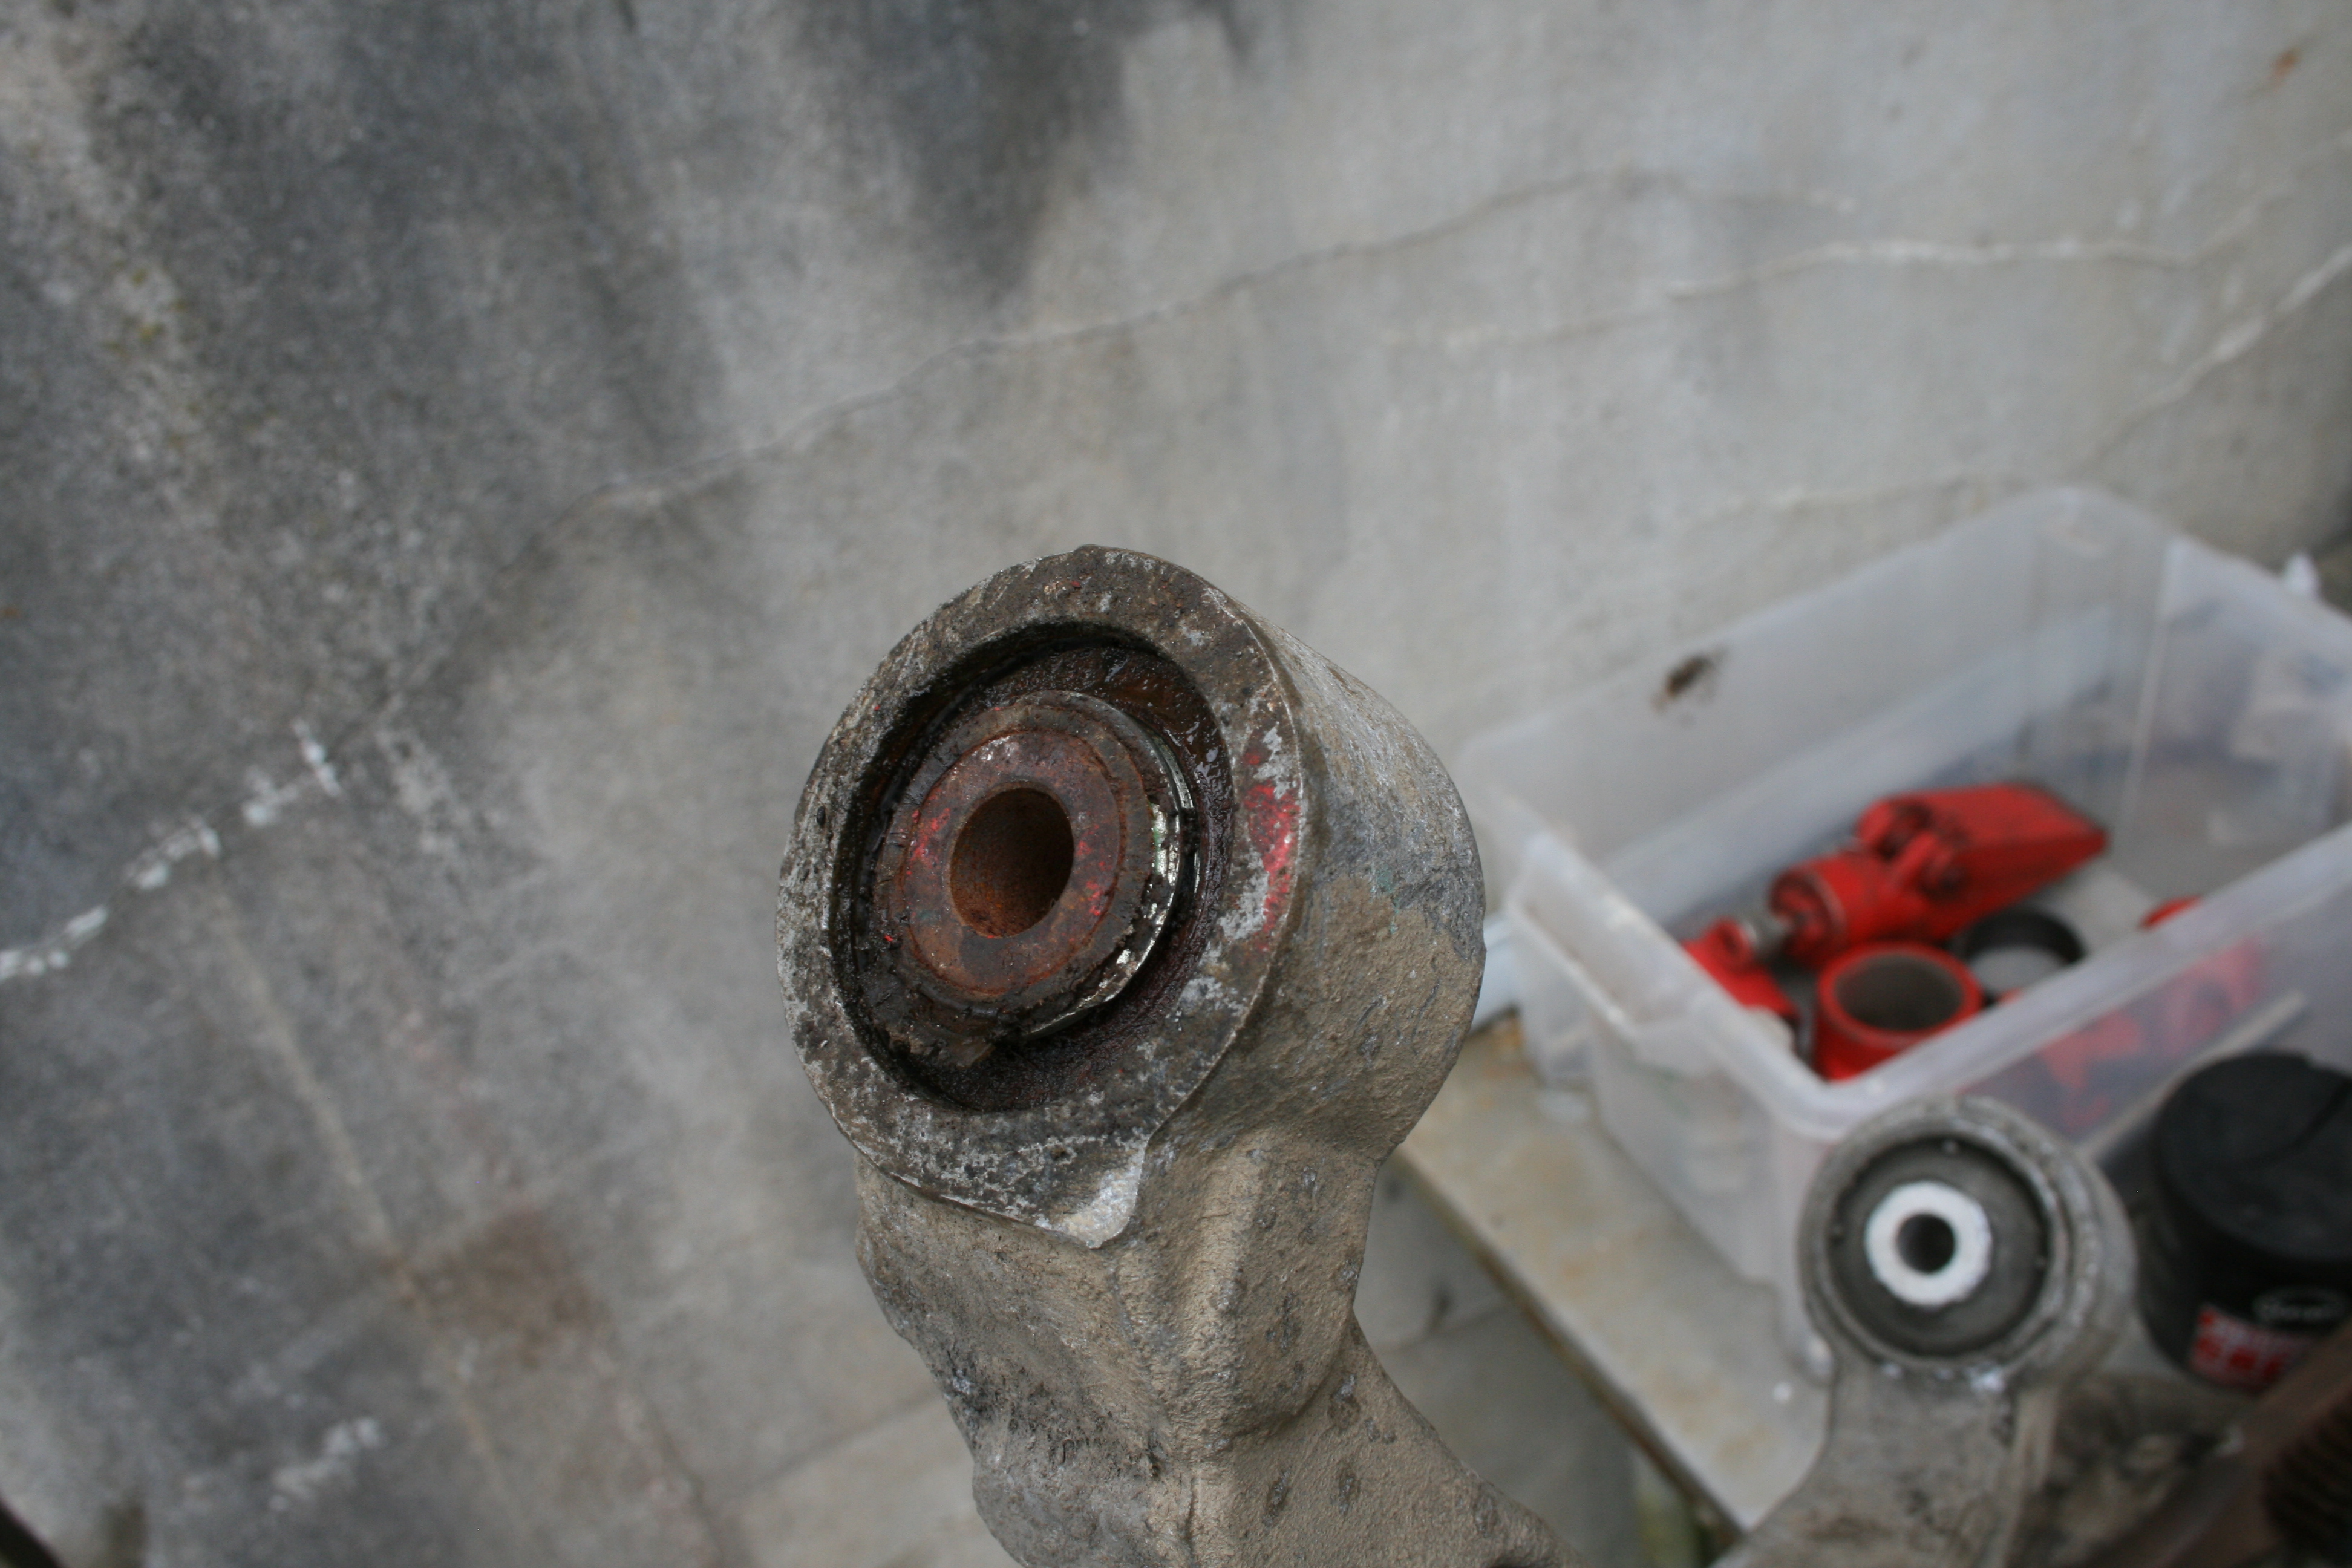
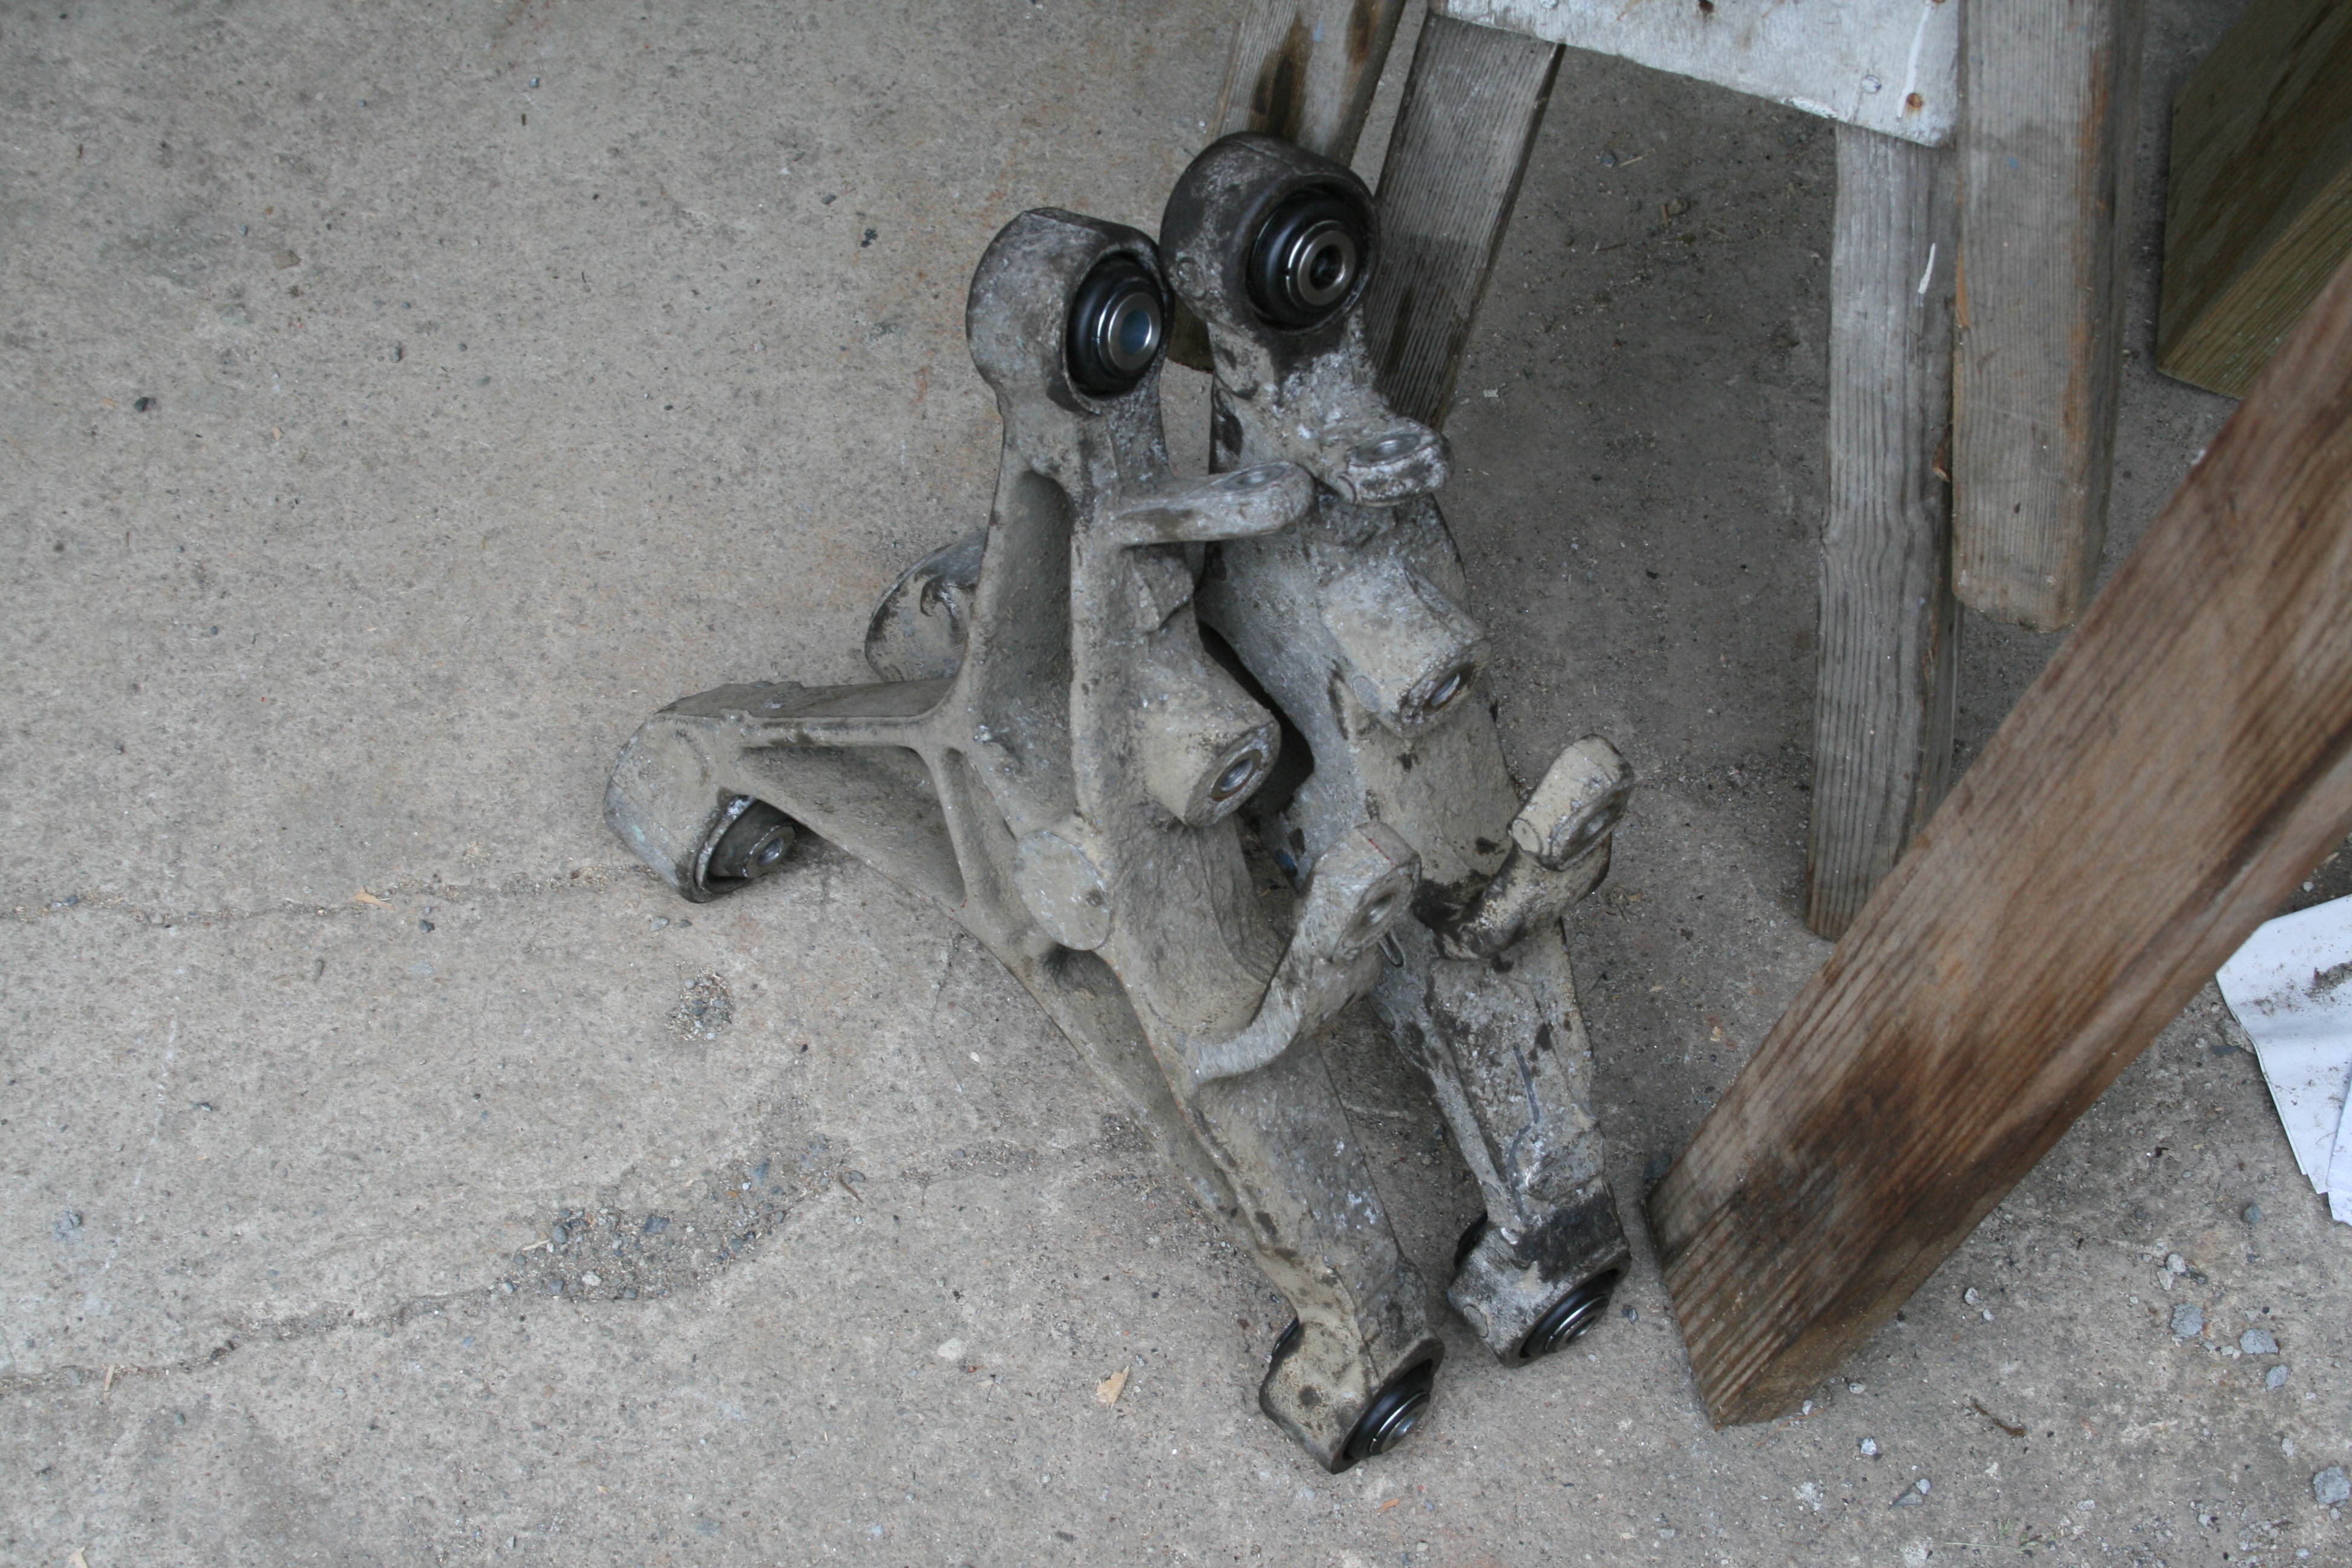
I finally got some new bushes for the rear of my car and set about fitting them to the spare lower rear arms I had for just this porpoise. I replaced only the pillowball type bushes (31Av & 31AW in the diagram) which go in the rear inner and outer registers on the arms. The inner front (31AU) is a solid rubber bush which seemed to be perfectly serviceable on both arms. Diagram: The first job was to make a tool to push the bushes in and out with. This is a piece of 1 3/4" water pipe. Inside it is a piece of aluminium to make it a snug fit on the seal lip of the bush purely to locate it centrally. . This tube is to support the arm and allow the old bush to pass through as it came out. It's a piece of old steam pipe from the railway, it was probably around when Dr Beeching was in short trousers. You can see where it's been machined out to allow room for the bush without needing pinpoint precision. Here's one of the old knackered bushes. All of them were loose from wear but at the same time unable to rotate axially as they were designed to. I didn't actually take any pictures of the bushes coming out. Once it's all position it's not really the time to stop to take snaps. Suffice to say I stacked up the steam pipe, then the arm then the water pipe, line it all up and press. There was no real drama, they all let go quite easily and the tools did their jobs. One arm sans bush. The registers were cleaned up with a sandpaper drum(?) in a electric drill. This was just get rid of any corrosion present. One thing which you must be aware of is that only one end of the register is machined flat and at right angles to the register itself. This is the side that must be down on the bed of the press to get the bush to go in straight. I did purposely push the insides out of one of the old bushes to have a look. An interesting design but I really think the sealing should be more robust. All of the seals were in tatters, much the same as the ones on my car.
 1 point
 -
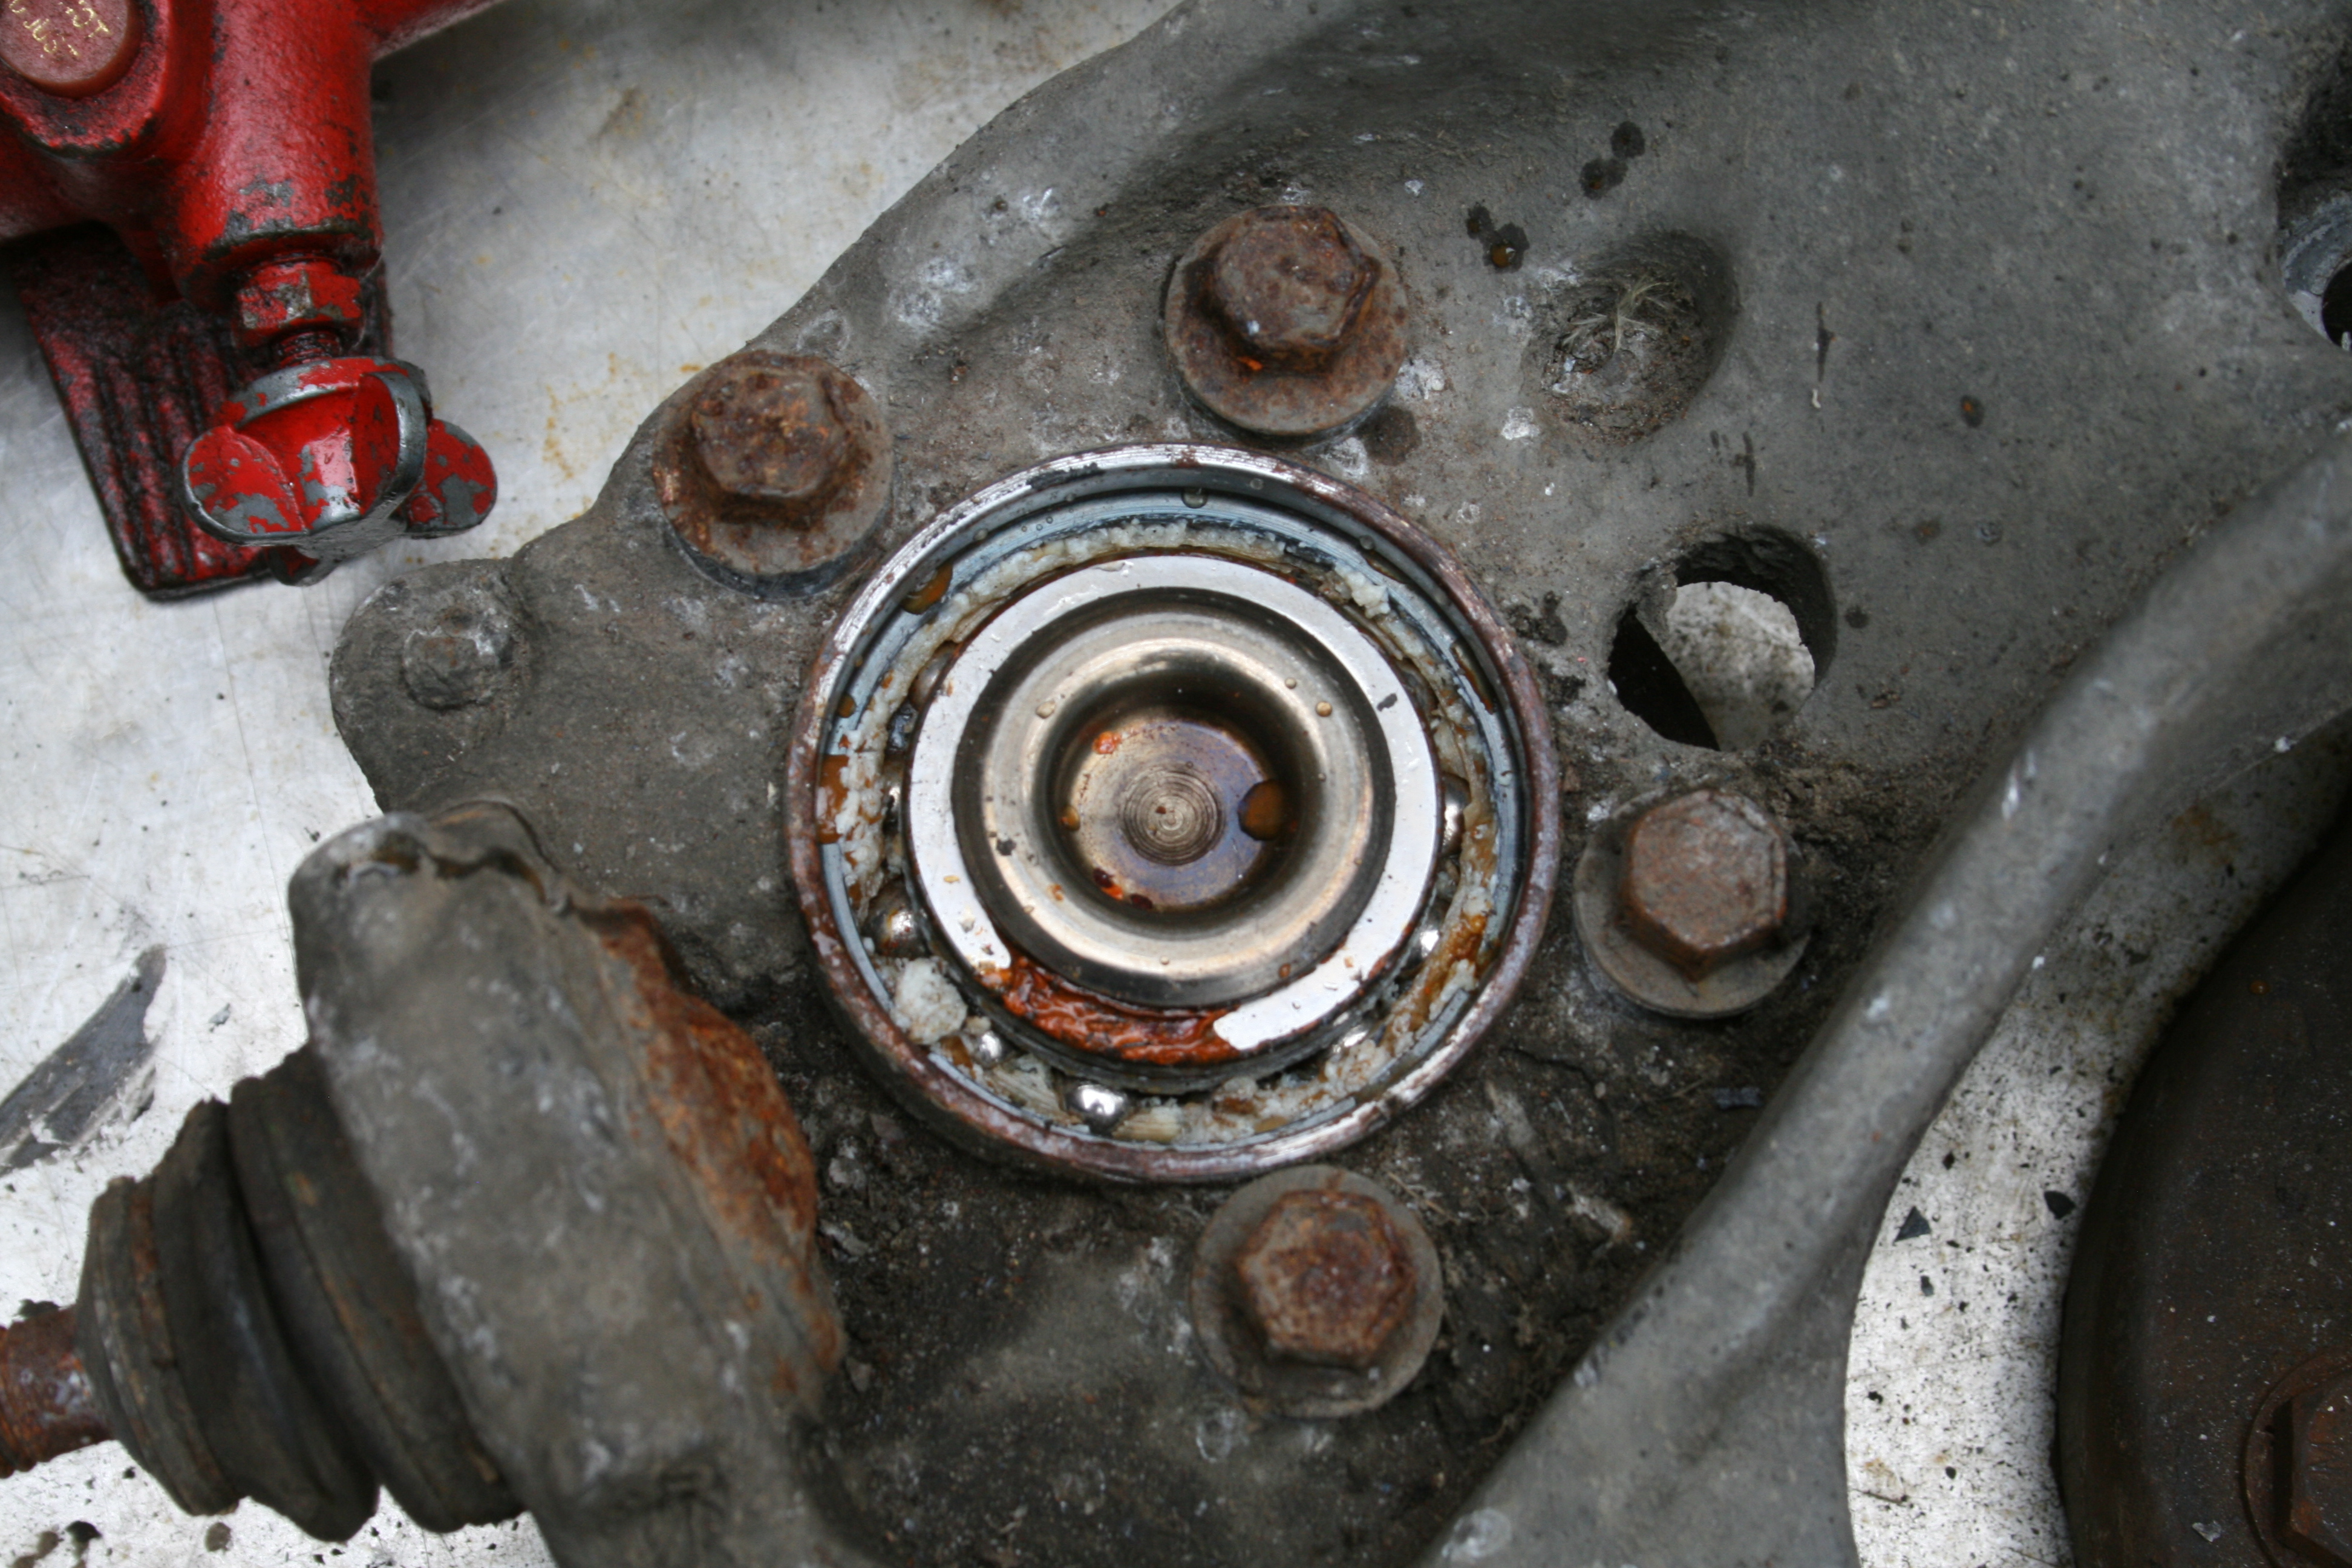
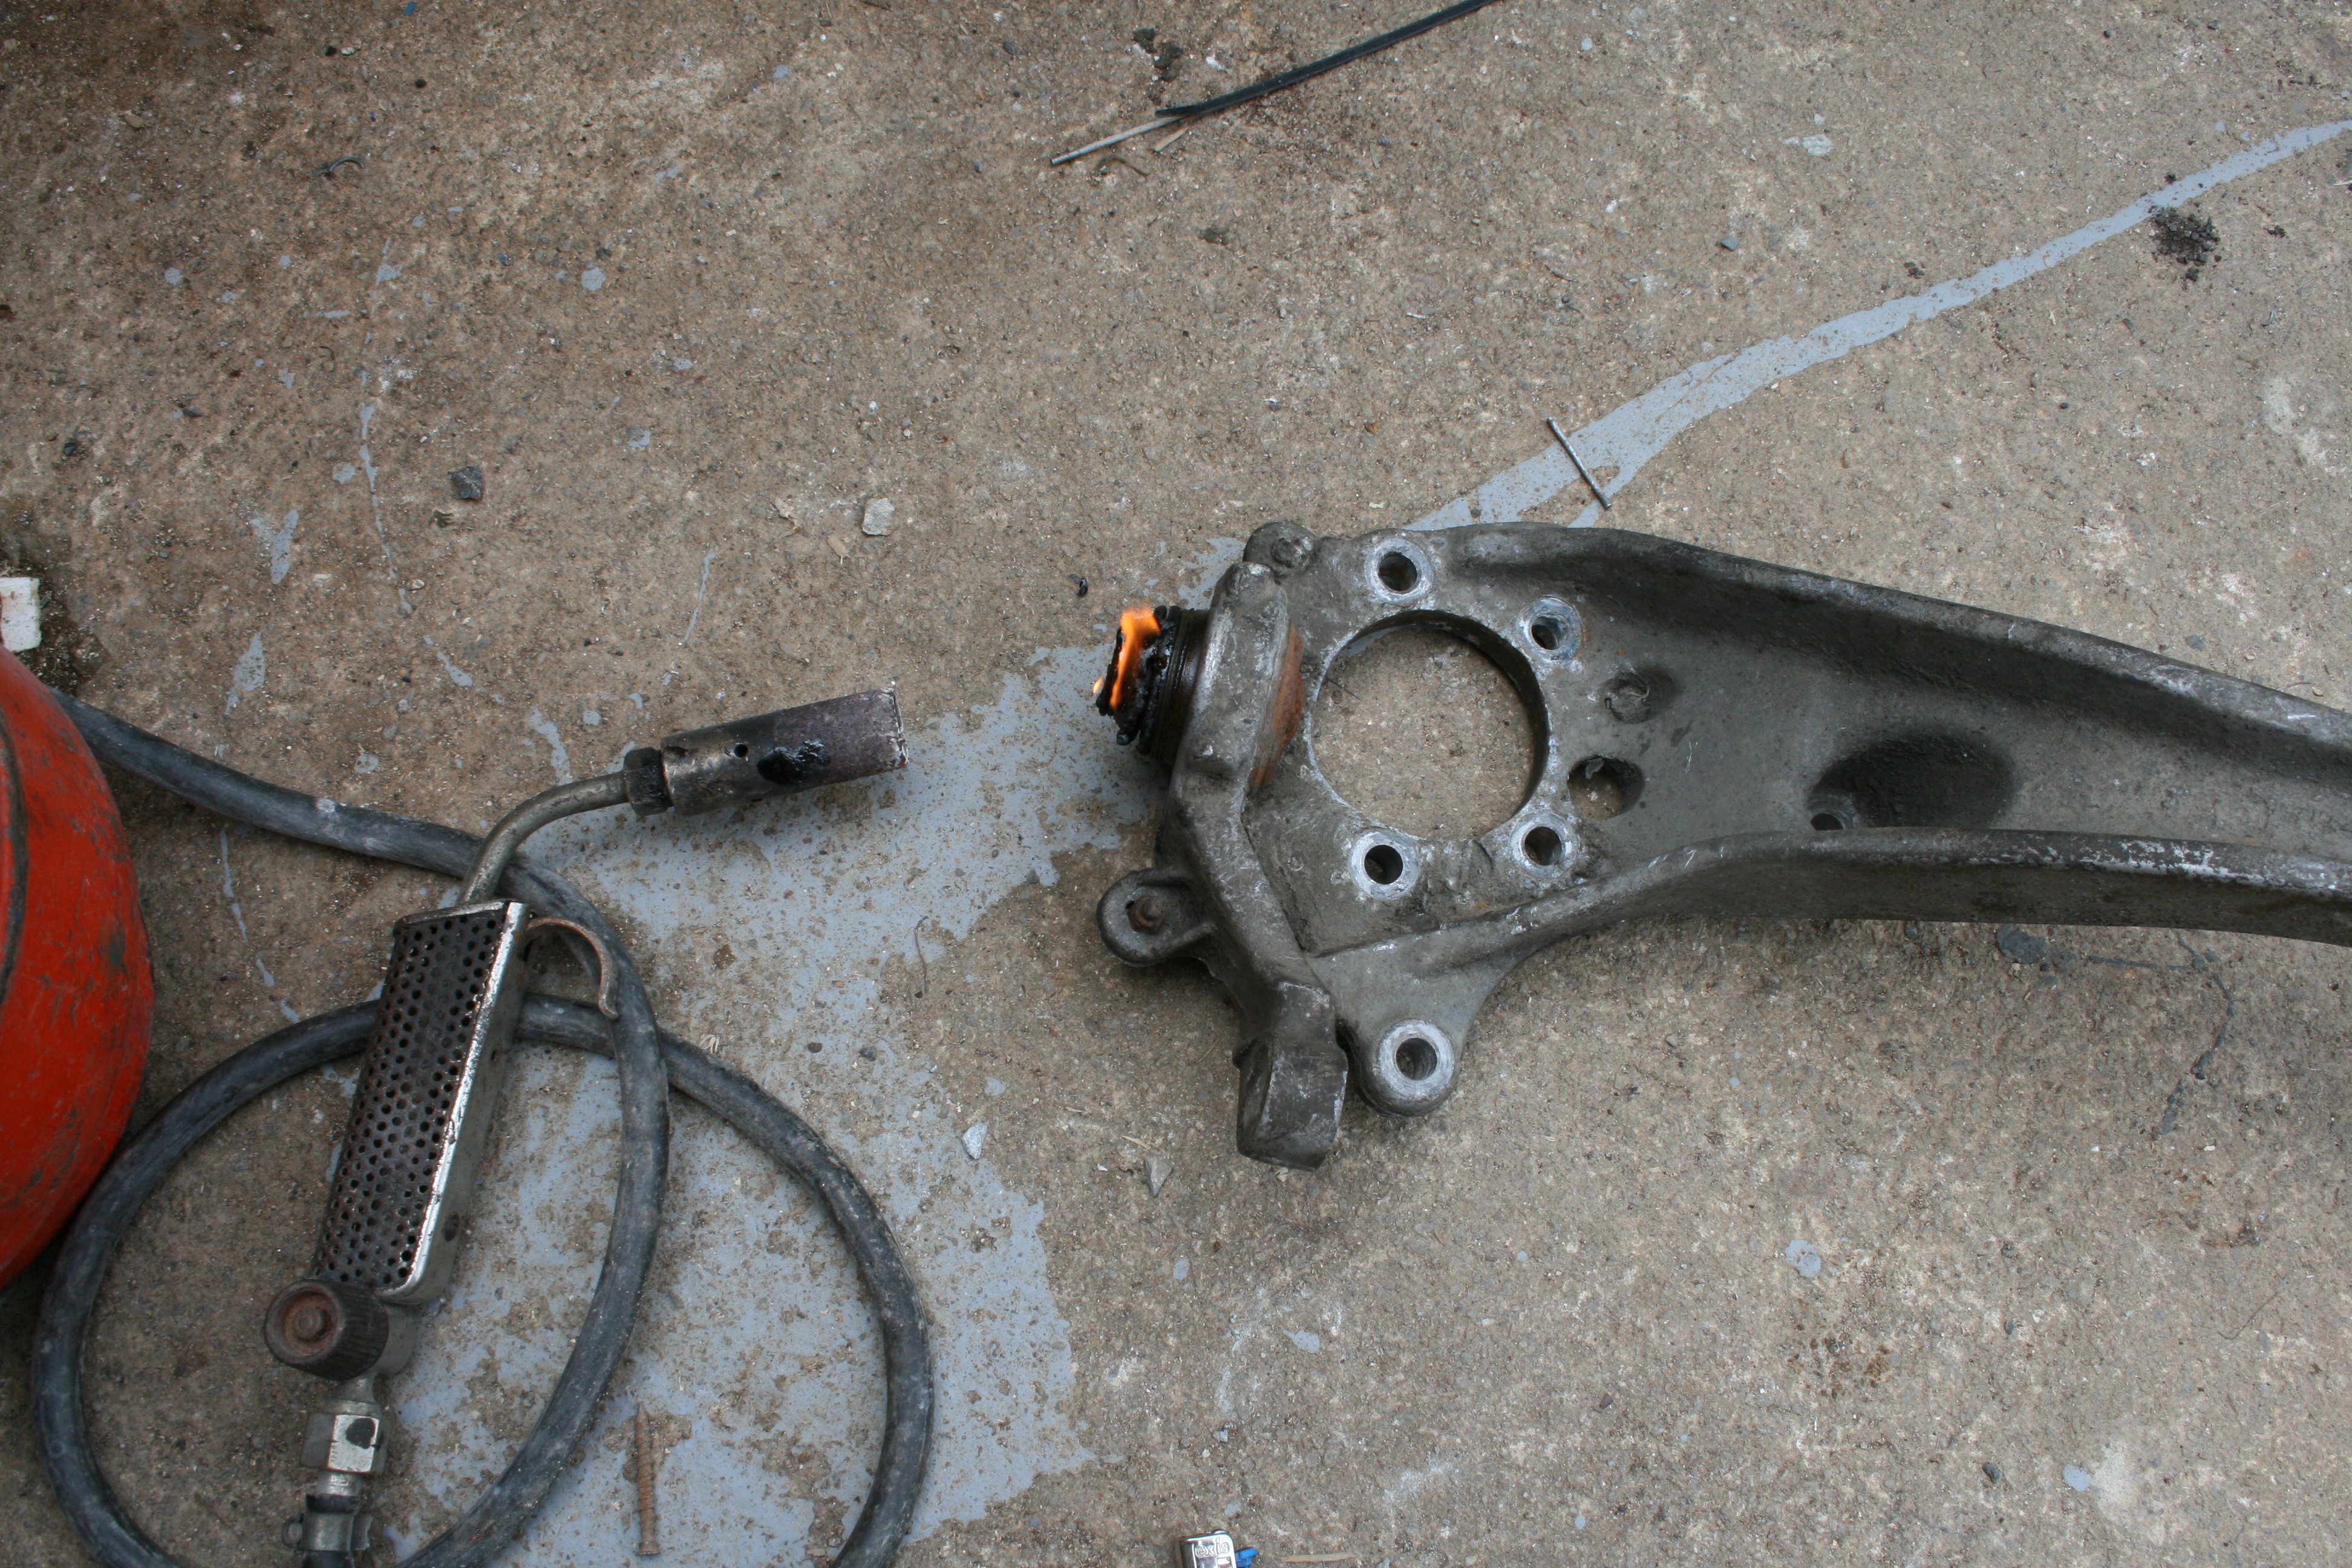
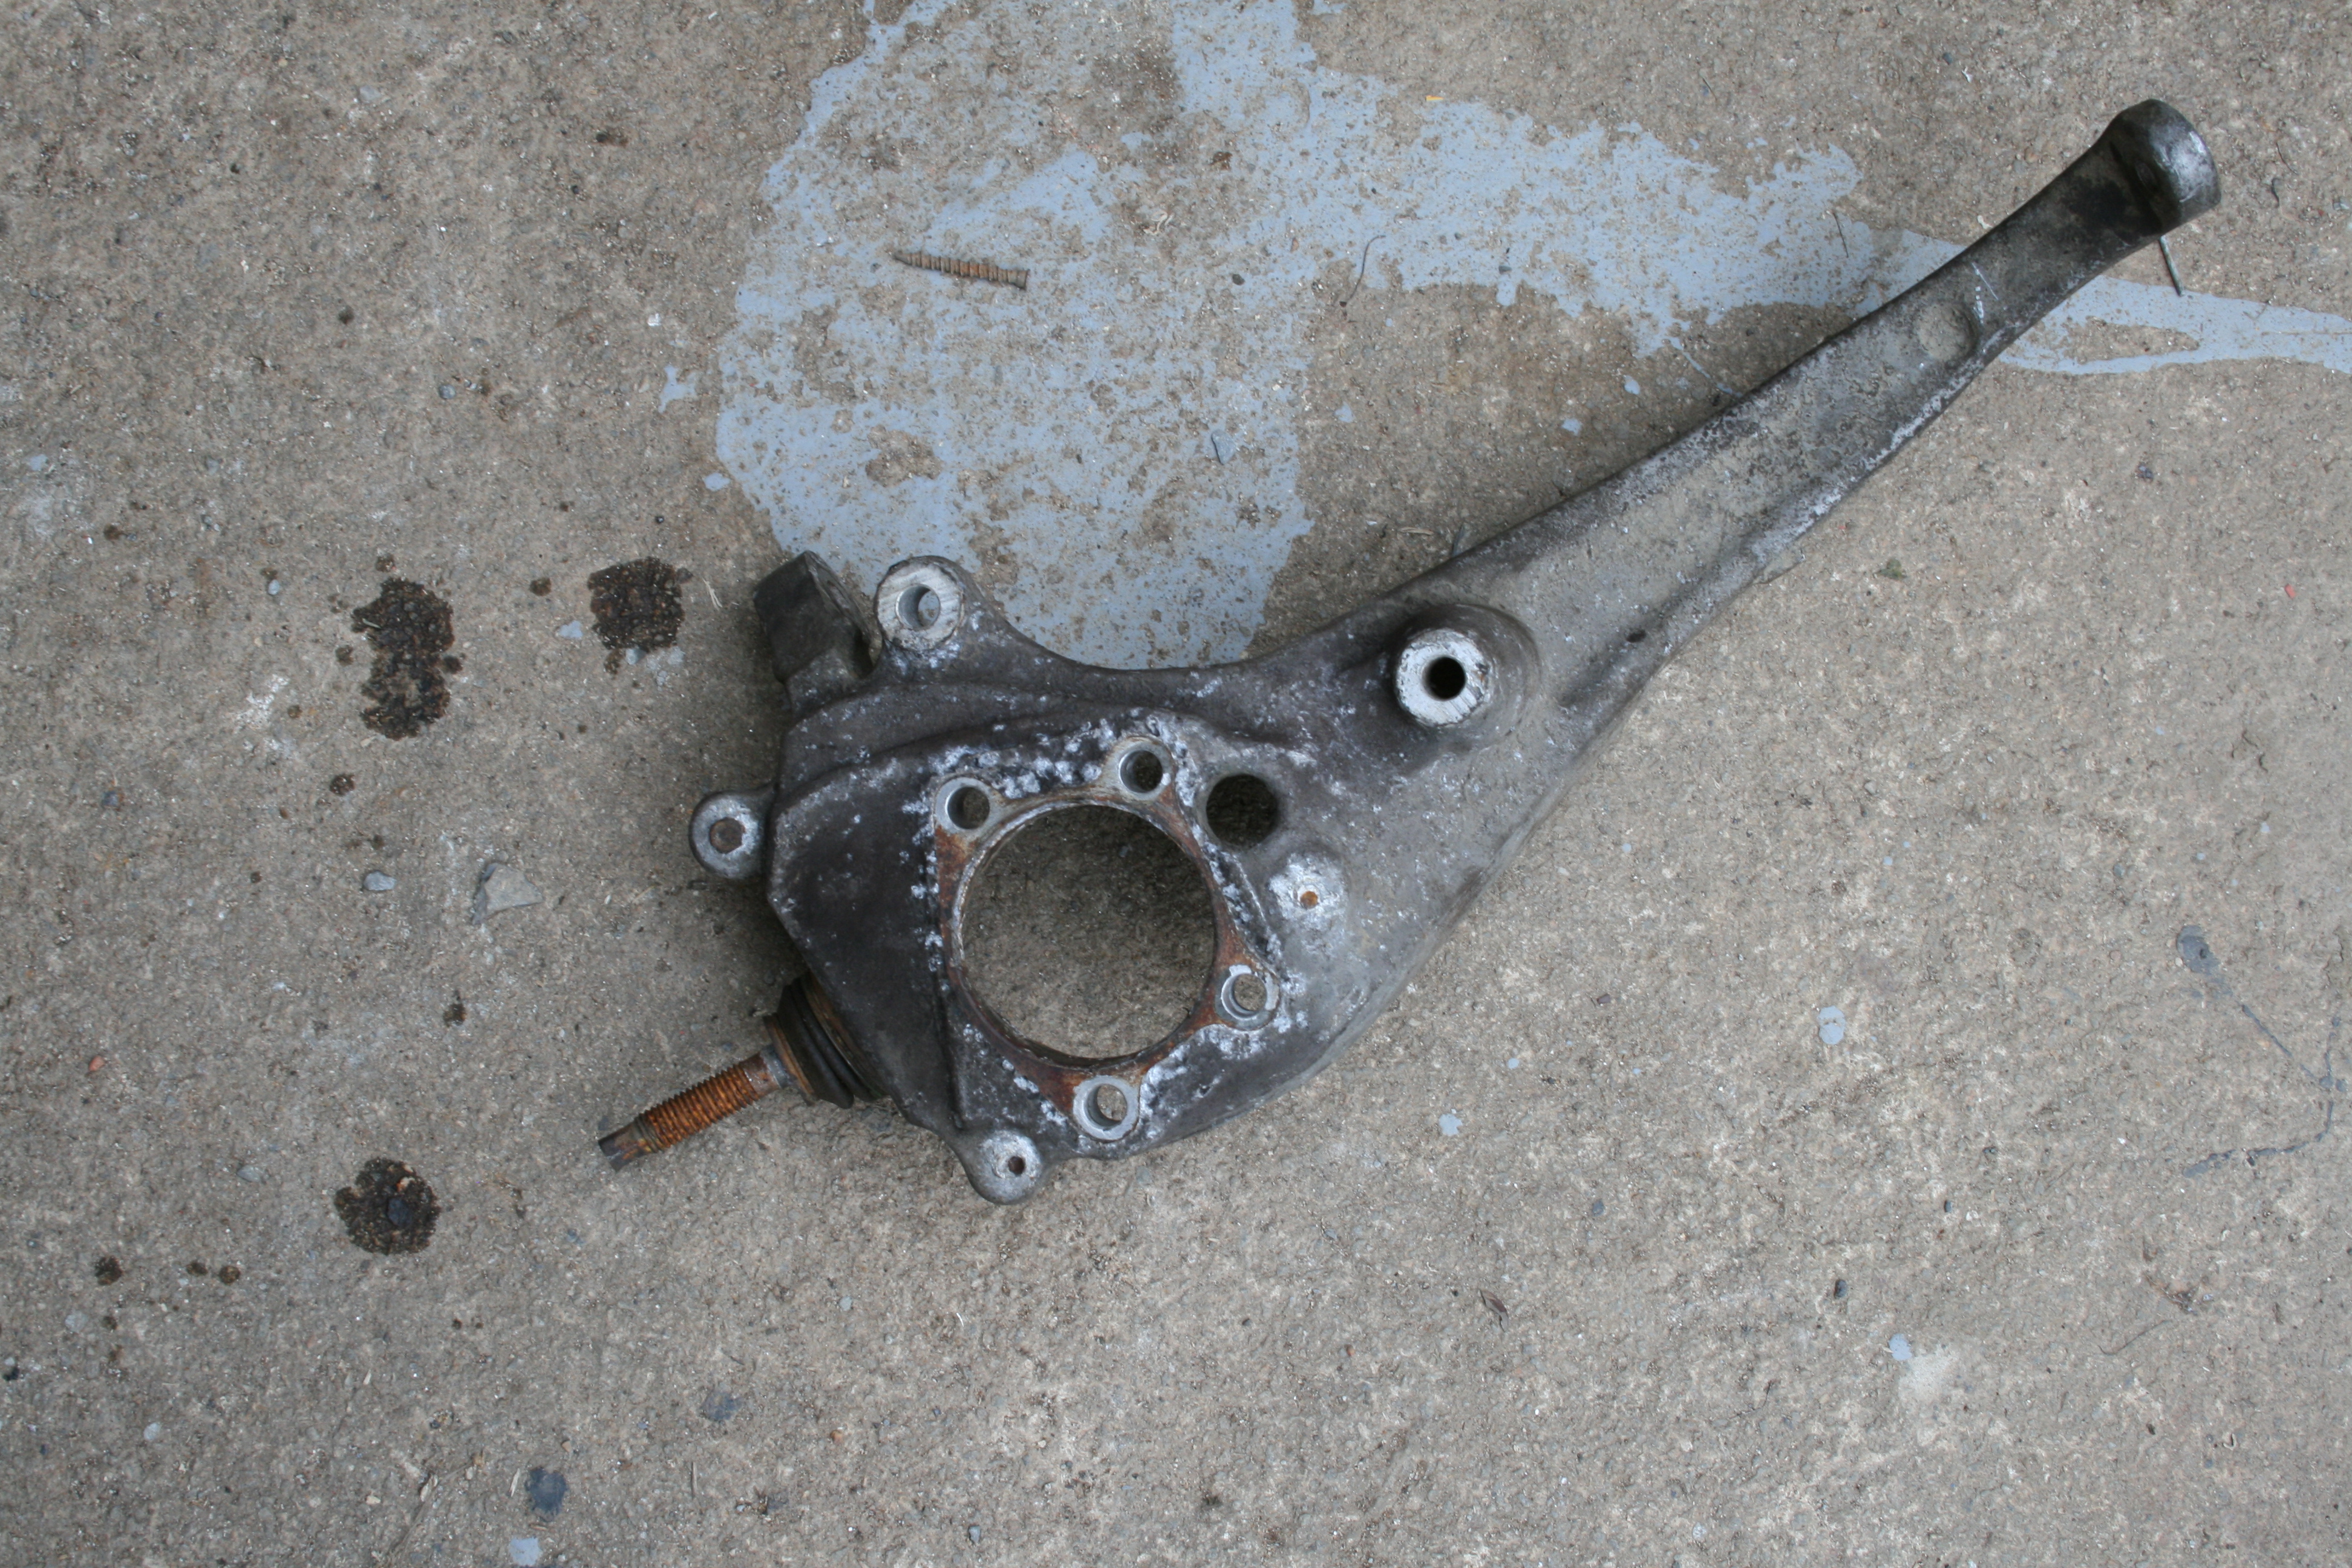
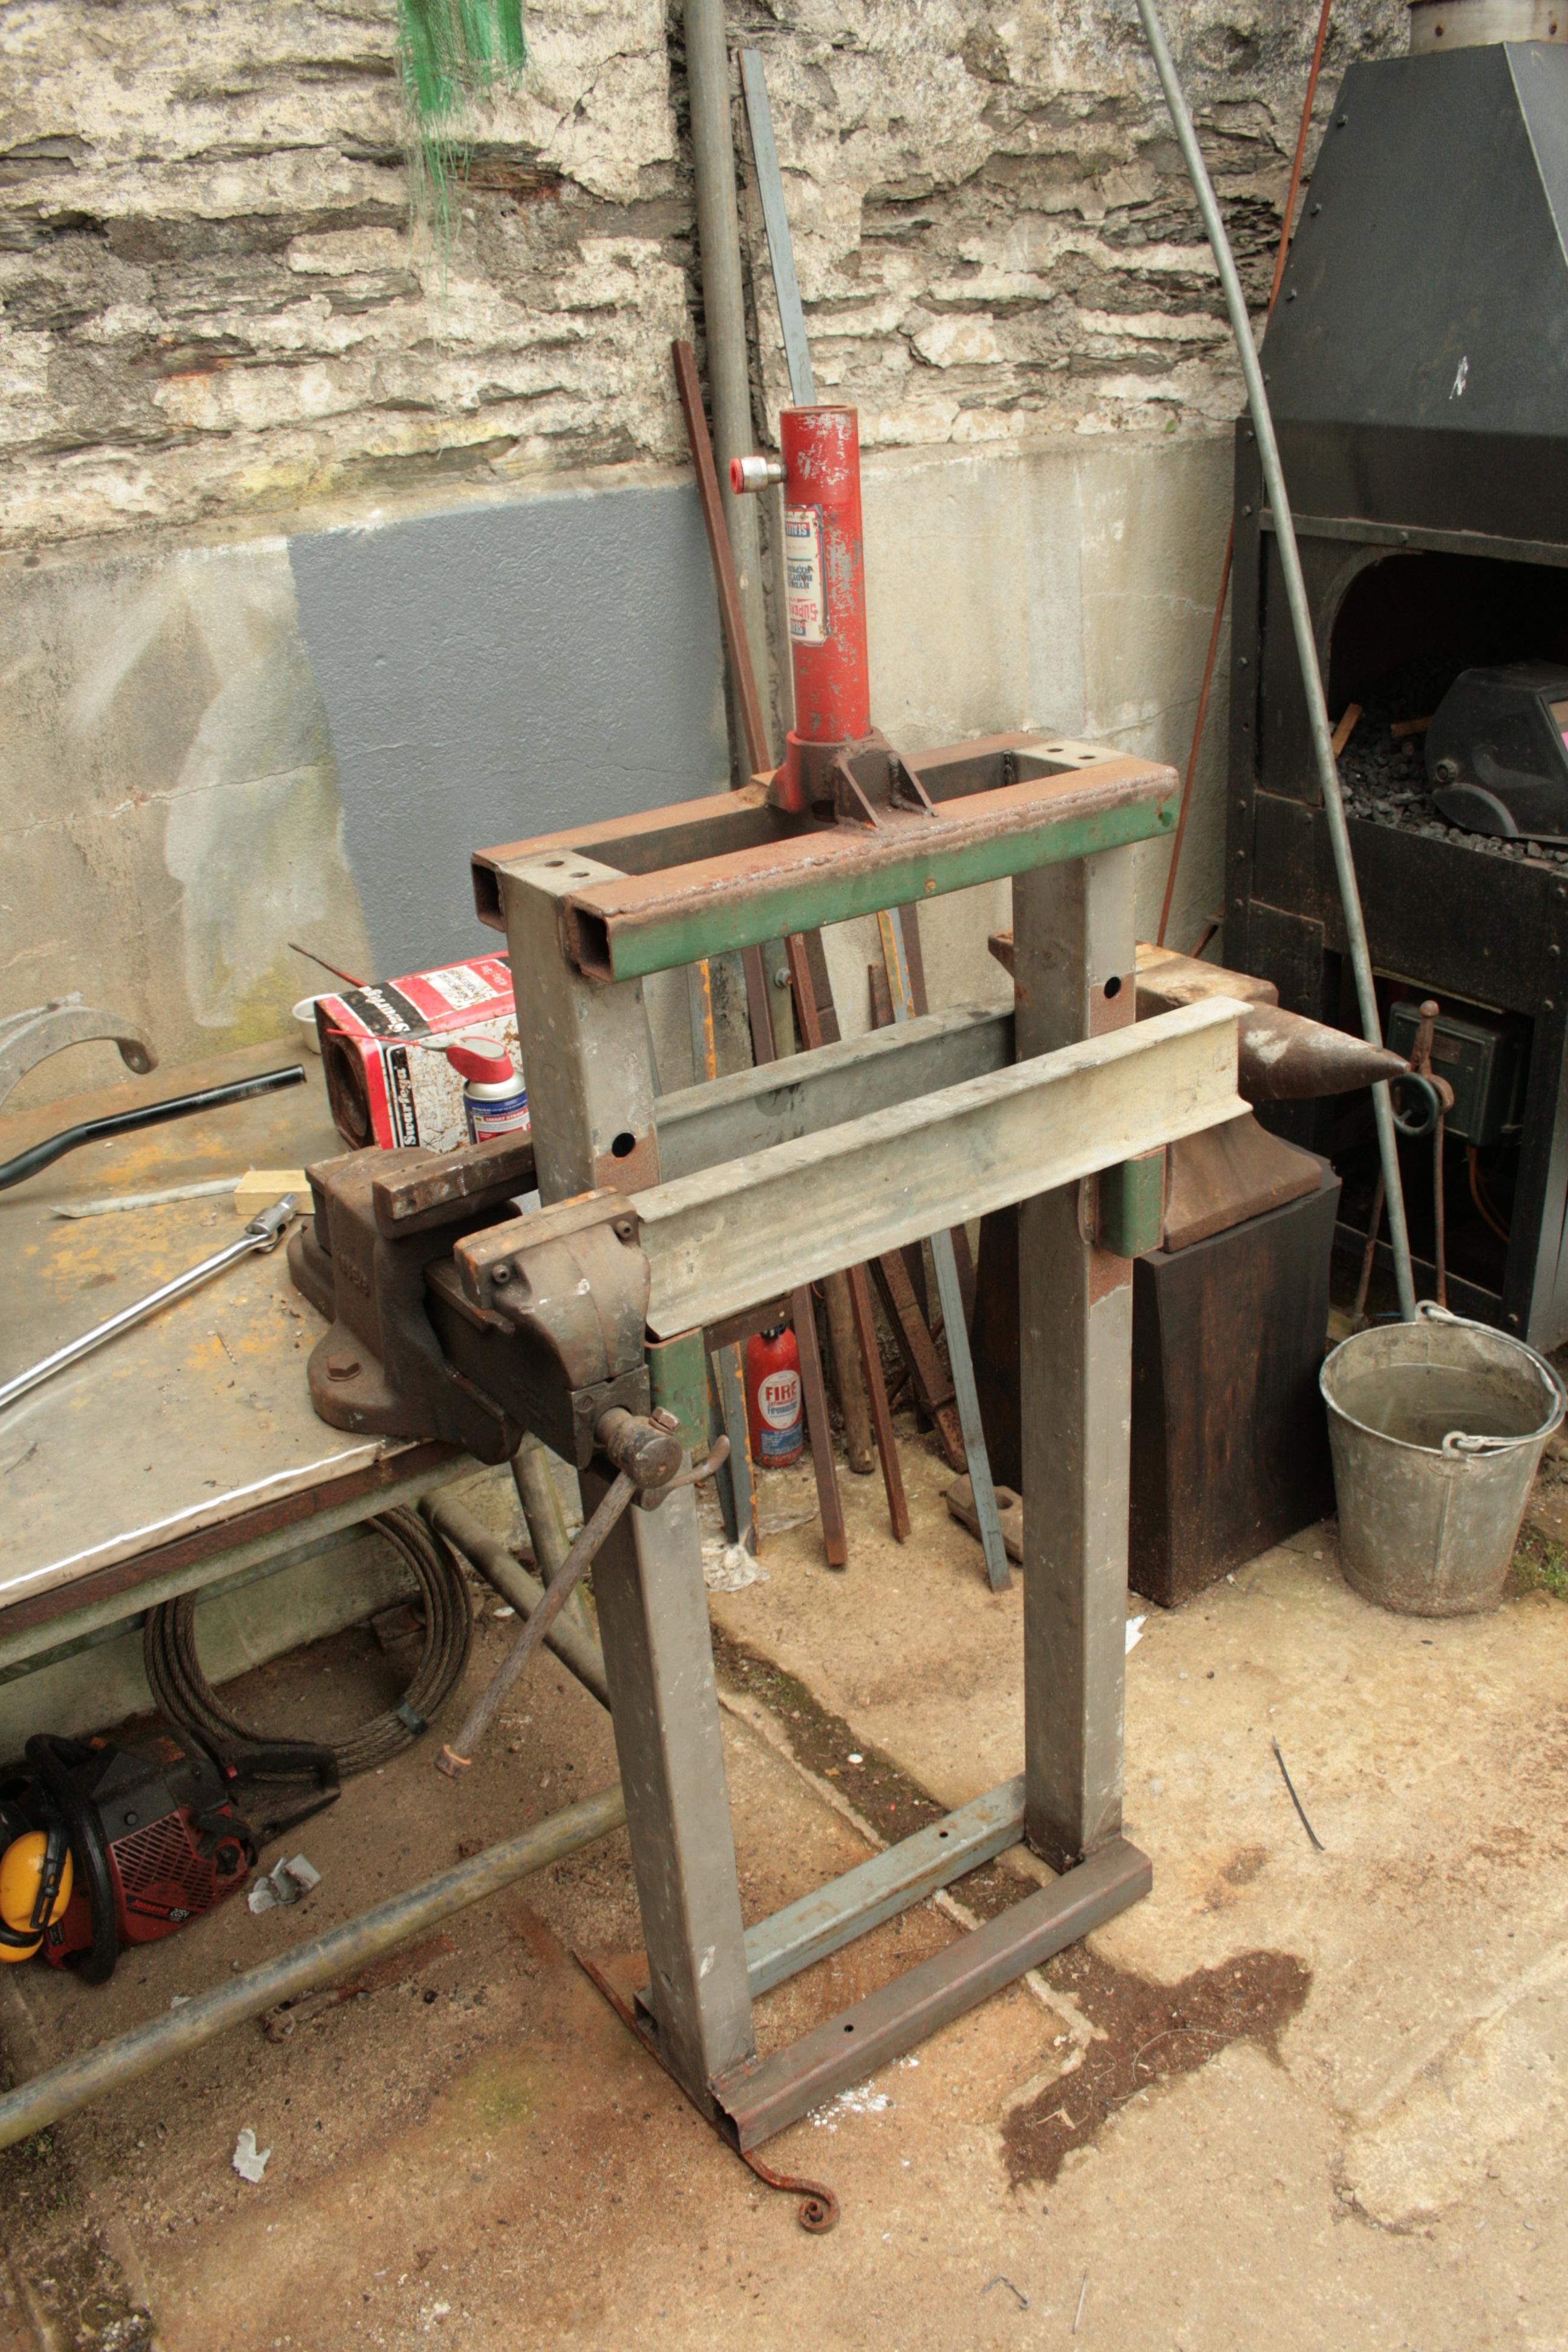
Here I press out the hub and ball-joint from my spare o/s front suspension upright ready to fit new parts. It's not a complicated job as such but you do need the right kit and the ability to hit things really hard without breaking them. This is a basic diagram of the front suspension : The home made press frame which utilises a porta power hydraulic chassis repair ram. Here's the upright in the press. I loosened the four bolts but left them in an equal amount so I could push on them all at once to start with rather than the centre of the hub. This lessens the chance of the hub going out of alignment and damaging the upright: A clearer view of the back of the hub: This hub came out with barely any pressure, unlike the ball-joint which was stuck so very tight: Setting fire to it didn't help.. I cut the pin off as it makes it easier to push, hammer and generally abuse the joint. Eventually the ball-joint let go. It took two of us, a lot of heat in the upright and lots of hammering to get it to move. Once it moved a little getting it out the rest of the way was easy. I did the other side last year and in contrast the ball-joint was dead easy whilst the hub put up a real fight and took over 12 tons to push out. I actually prefer that it that way around because getting the upright correctly set up in a press for the ball-joint is very tricky. The upper end of the upright is right in the way and as you can see there's very little meat on the upright around the ball-joint to get a purchase on. Having anything even a little of centre is not an option, you have to be spot on with these sorts of forces involved and the consequences of distorting the alloy parts are pretty big, especially if it's your cars original one. All in I would say that this is a doable but awkward job with many variables relating to the corrosion holding onto the hub and ball-joint. It could be easy, it could take you all afternoon. Personally I wouldn't tackle it with the original upright from my car, only with a spare one as I did here because if it goes wrong then you aren't stranded with no car and no spare upright. I have heard of them being scrap because the hub is stuck so tight.. Fitting the new hub is easy as it's not a true interference fit, just snug. The ball-joint is different. It's purely interference and the same things that make it awkward to remove in a press make it a pain to fit. I will be exploring different options and will update as and when I do it.
1 point
-
Hi again With regard to an independent for service etc...........we travelled from our base just west of Birmingham, to Elite Performance & Jaguar at Derby.......not too much of a trip, but well worthwhile. We took our XK X150 for its annual (on time) service and were well impressed. We got a very thorough interpretation of our "baby" and a reasonable bill as well, everything done just right. Guess where our S-type is going when she becomes due for attention?! Main contact initially is the boss - John. Happy growling, as always. Start practicing the Jaguar grin!1 point
-
Welcome to the Club, James. I had a 2.5 litre V6 x type AWD on a 2005 plate and found it a very nice car indeed. It was in a metallic red and looked really spectacular in the sun. Good luck on your search, I am also from Sutton Coldfield; My X type, and my current S Type. Regards, Peter,
1 point
-
Hi One of the most important check you have missed is sills, they can suffer with severe corrosion on the sills, year unrelated effects early ones and also late ones, so is a must to check, the sills can completely rot away, but still pass a mot, as they are covered will a plastic cover, cheers Joe1 point
-
Hey Joe Many thanks for the link, that's great. Having watched, we have realised that we took a close look at your S but the reg plate didn't register with us..Doh! Your S looks excellent and as its a s'charged * - well! As you'll have gathered by the film from John, we managed to arrive way early.....about 08:20 actually, we don't like being late for anything. Nevertheless, good fun to watch (and listen to) the arrivals, and what a friendly bunch. My partner used to take part in various classic shows 20 or so years ago in his Wolseley 6/80, and found that sometimes it could be a tad cliquey; the Breakfast Club is a great idea, not to mention the opportunity to inspect the Jaguar Collection. Bliss! By the way, on the subject of a previous thread, about the brightwork window trims, we have investigated further and it looks like, if perfection is required, new has to be the way to go. Once the "milky" appearance begins, the trims aren't restorable, second-hand will likely go the same way, and the alleged chroming procedure is, according to two high quality platers who attended the Jag Parts Day at Stoneleigh, not likely to succeed.....the base material is not at all suitable. Unfortunately (or alarmingly, according to your viewpoint), new comes out at around £600 all in, unless, of course, maybe some enterprising outfit like Barratt etc. decides to do reproduction....hint! At least with new, you could avoid the harsh detergents etc which come with car washes etc (which we don't use, but previous owner may have done), and so avoid the same thing happening again. The Breakfast Meet left us with one small dilemma.......our XK, as you saw, is in Lunar Grey with Ivory trim, our S is in Seafrost with light beige/mushroom. We saw, at the meet, a lovely S in Lunar Grey with grey trim, and a XK in Seafrost with ivory trim. They all look grand. My partner says wouldn't it be good to have two matching pairs. Consequently, I've stopped his pocket money for a while! All the best, and as always, happy Growling Carole & significant other1 point
-
I use the EBC yellow stuff front and rear combined with Mintex disks, I can't see the advantage on a road car of fitting the more expensive EBC rotors as any I've removed have never been warped or had pressure cracks. Can only advise purchase from the pads from an official EBC supplier as with most expensive items these days the Chinese make fakes. Whether EBC are now supplying pads with the 'u' cut out to fit the wear sensor I don't know as the last set I purchase never had and complained to EBC because I had to use a disk grinder on 2 pads to cut the metal backing to accommodate the sensors. As Joe said there's a lot less dust, There again my style of wheels are easy to clean plus I have 20mm spacers fitted. My old set which are now fitted with winter tyres weren't so easy to clean whatever pads were fitted.
1 point
-
I use the EBC yellow stuff front & rear, W1 point
-
Hi A good collection of clips and photo at jaguar breakfast club https://www.youtube.com/watch?v=_2s9r7PQdyU cheers Joe1 point
-
HI I went today, Its was a great turnout and a good selection of cars there weather turned out great saw your XK there it looked great cheers Joe
1 point
-
Well done again, but do consider Berkshire Jag Spares for future parts, they've really looked after me, so happy to recommend1 point
-
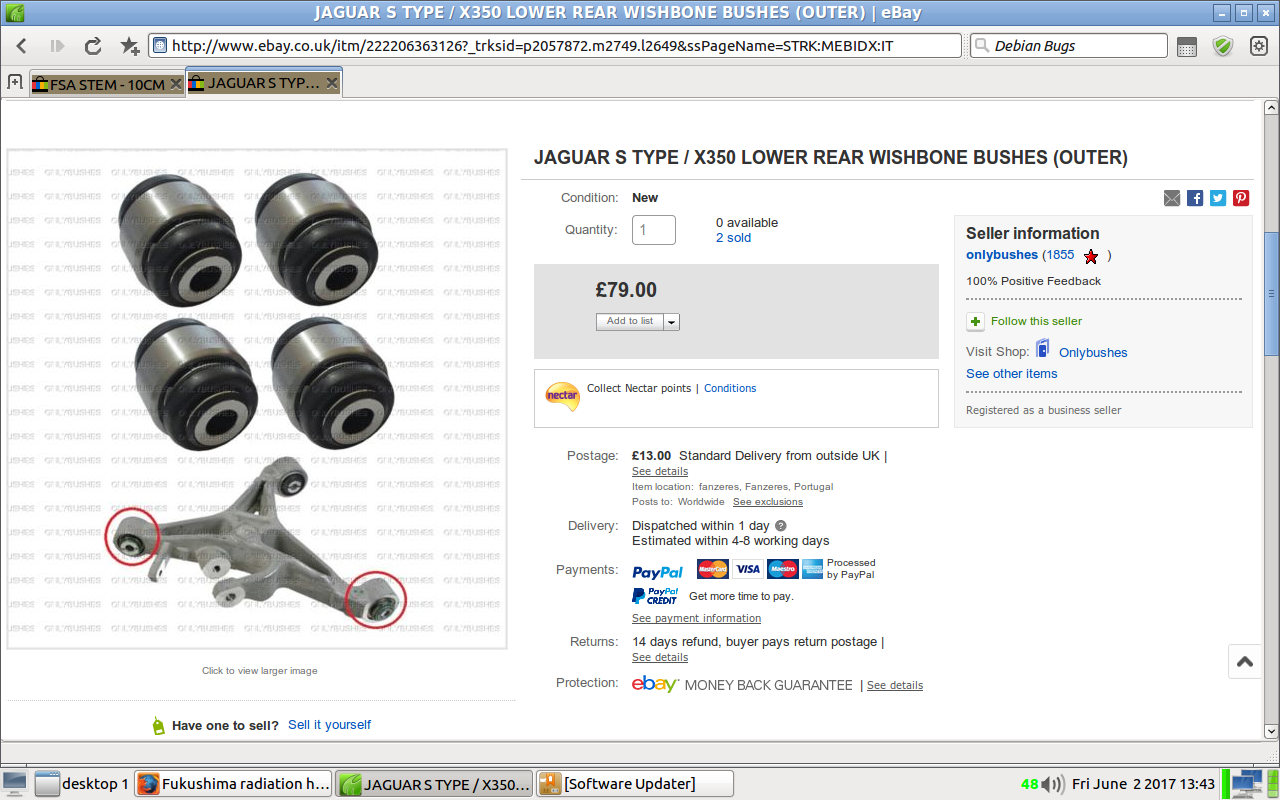
Thank you. I will set the tracking and see how many miles I can get out of the rear tyres, about 3k miles I reckon, one has slow puncture though. I paid £92 delivered for the bushes from http://www.ebay.co.uk/itm/222206363126?_trksid=p2057872.m2749.l2649&ssPageName=STRK:MEBIDX:IT As I said in another thread I waited for a month for Racing Green to show some small degree of customer care before giving up and getting these instead. They arrived in five days, no messing about. The track-rods came from d2pautoparts10 on ebay. The chap was very polite and apologetic when I called about the failure so it's only the product I have beef with so far. Unfortunately a lot of the time the majority of examples of a particular component are off the same production line with different brands stuck on the box so it's difficult to know what you're buying. Had just one failed then I could have put it down to a single manufacturing error but both of them are bad so I'm more inclined to think that they're just rubbish. The exacerbated wear did cross my mind but then even if it had reduced their life by, let's say, a ridiculous 90% they would still only have a life of 30k miles and that's still rubbish. No chicken about it, it's a big proposition for a lot of people. I could not have even attempted it without quite a lot of tools, space and time, all valuable commodities. If I earned even a half decent wage then it wouldn't have been economically viable to do it myself. Not that that would have stopped me, no I like doing these things myself and above all learning and gaining experience. One mistake I have made in this thread is in the title. I put XK instead of XF, is there any way to change it?
1 point
-
Well done Sir, get the tracking done and those new tyres on and you'll be all set and hopefully impressed with the transformed handling I bought the refurbed lower arms as a complete assembly for c£160 per side, may I ask what you had to pay for just the bushes to do this yourself? Sounds dodgy re the wear on the track rod balljoints! Which supplier / make did you use, sounds as if they should be avoided! Although wear could be exacerbated by other suspension wear etc. Like you I would prefer not to risk the job without a spare set to work on off the car, which is why I chickened out and bought the complete assemblies1 point
-
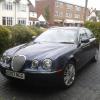
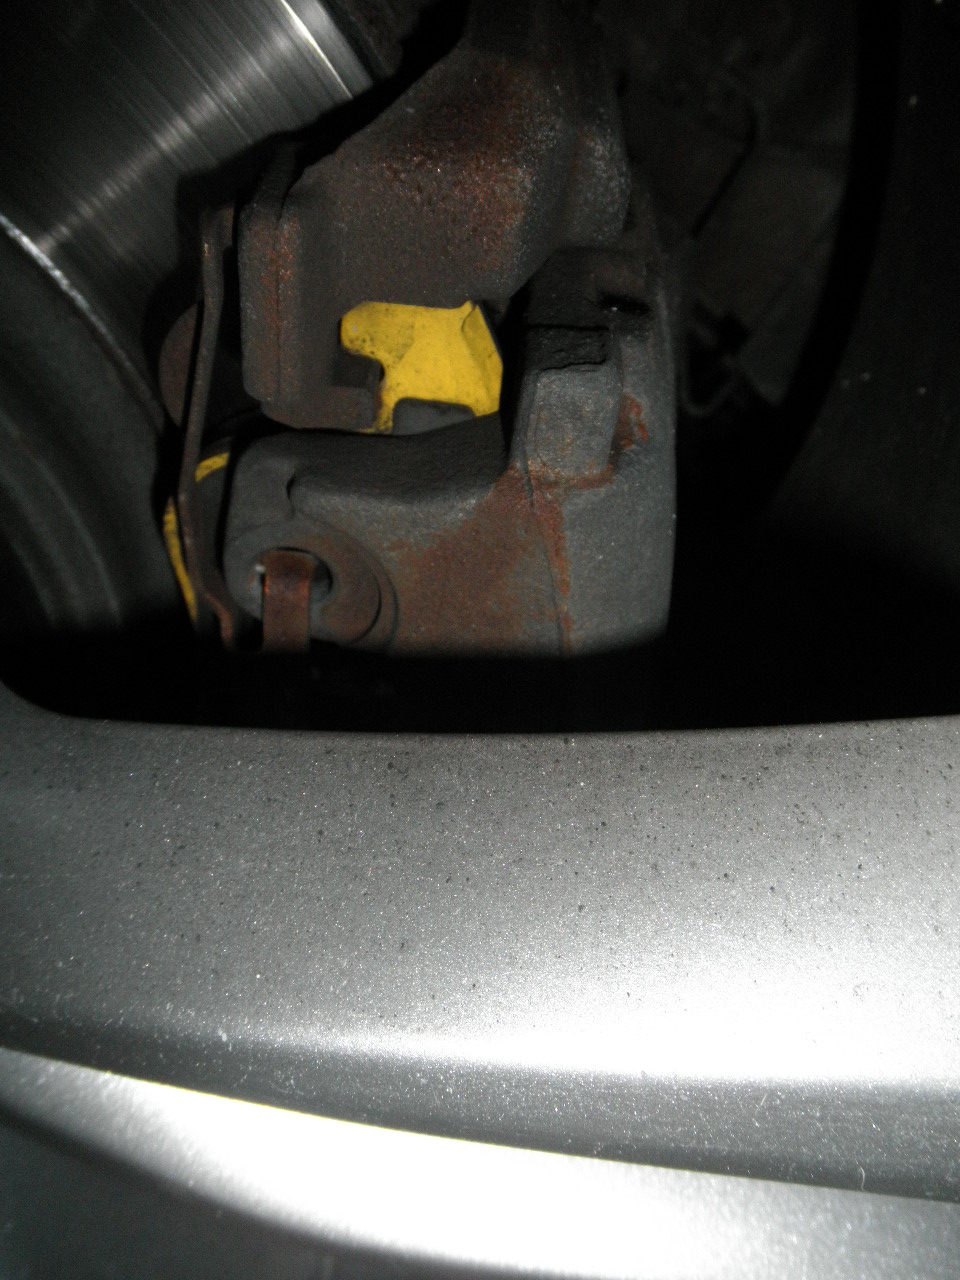
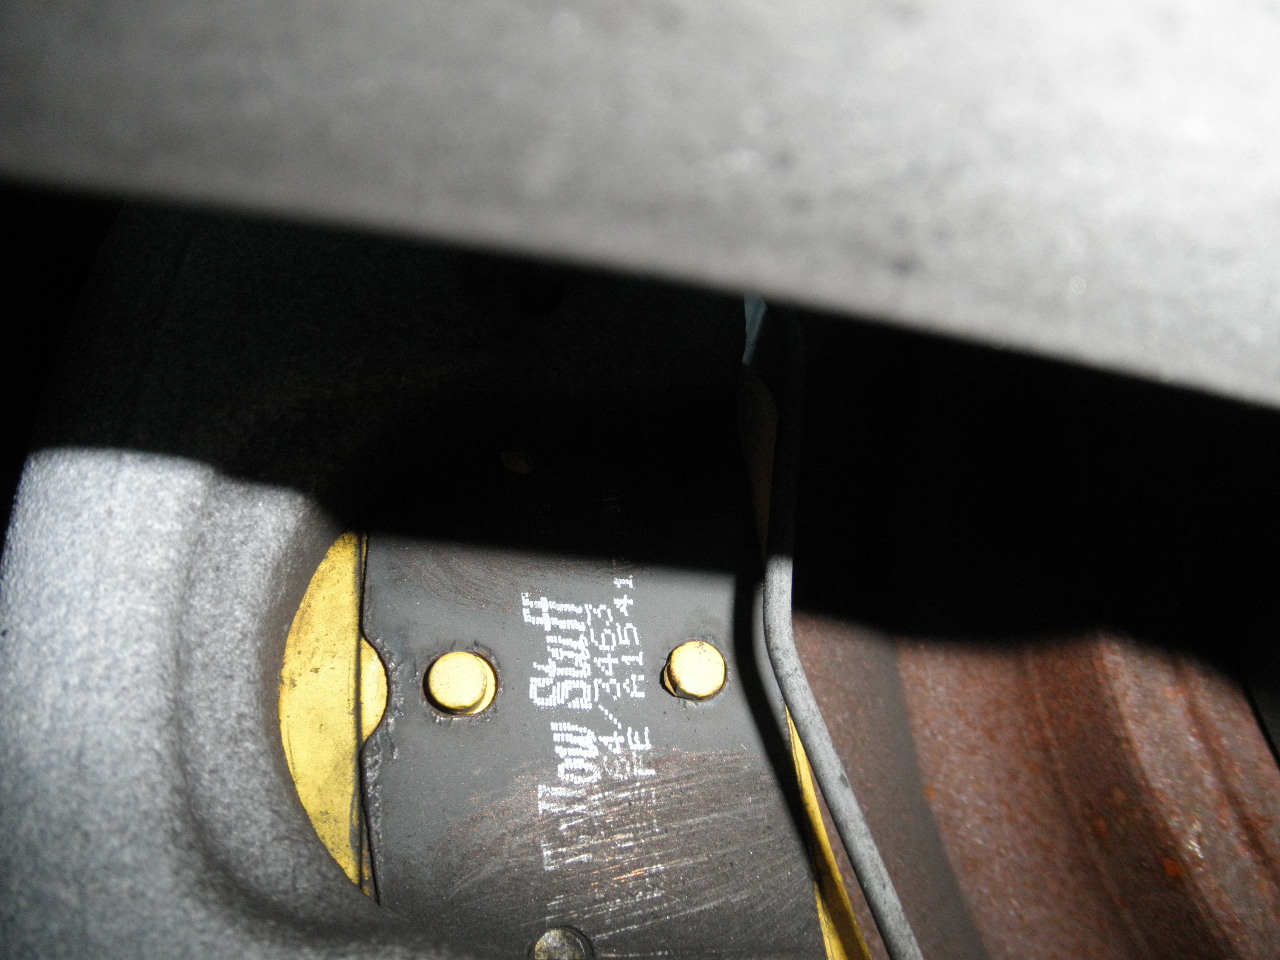
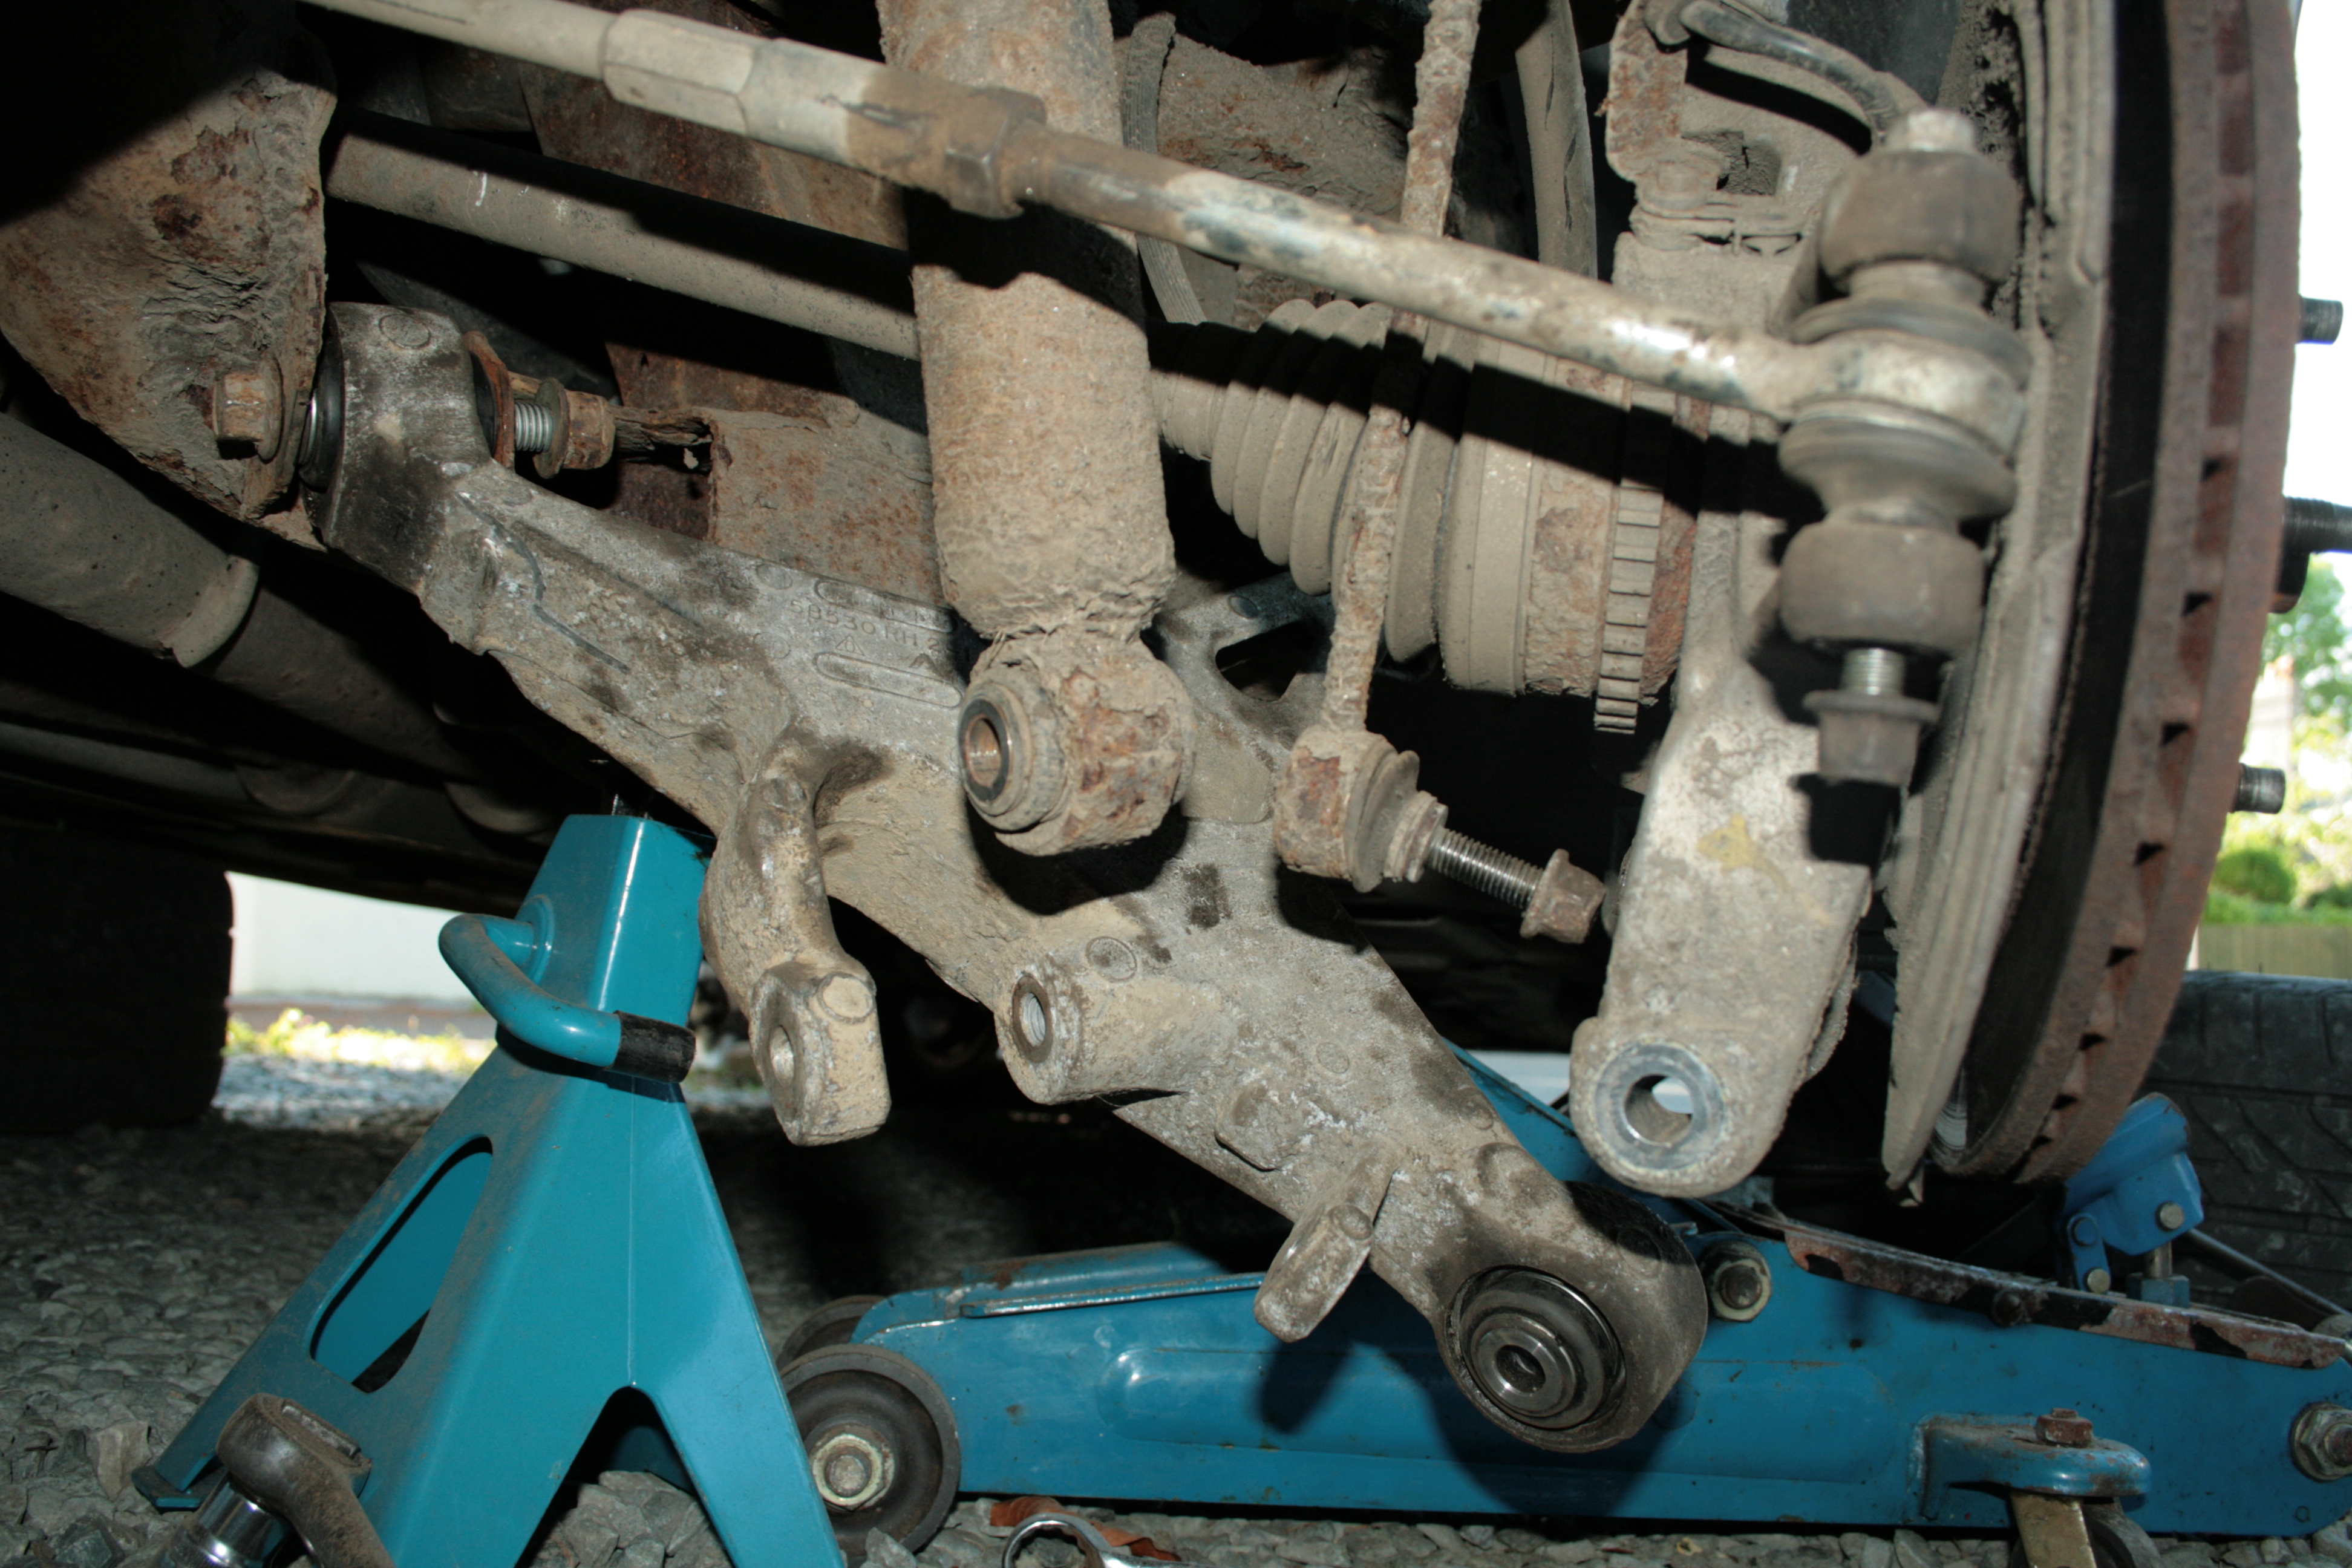
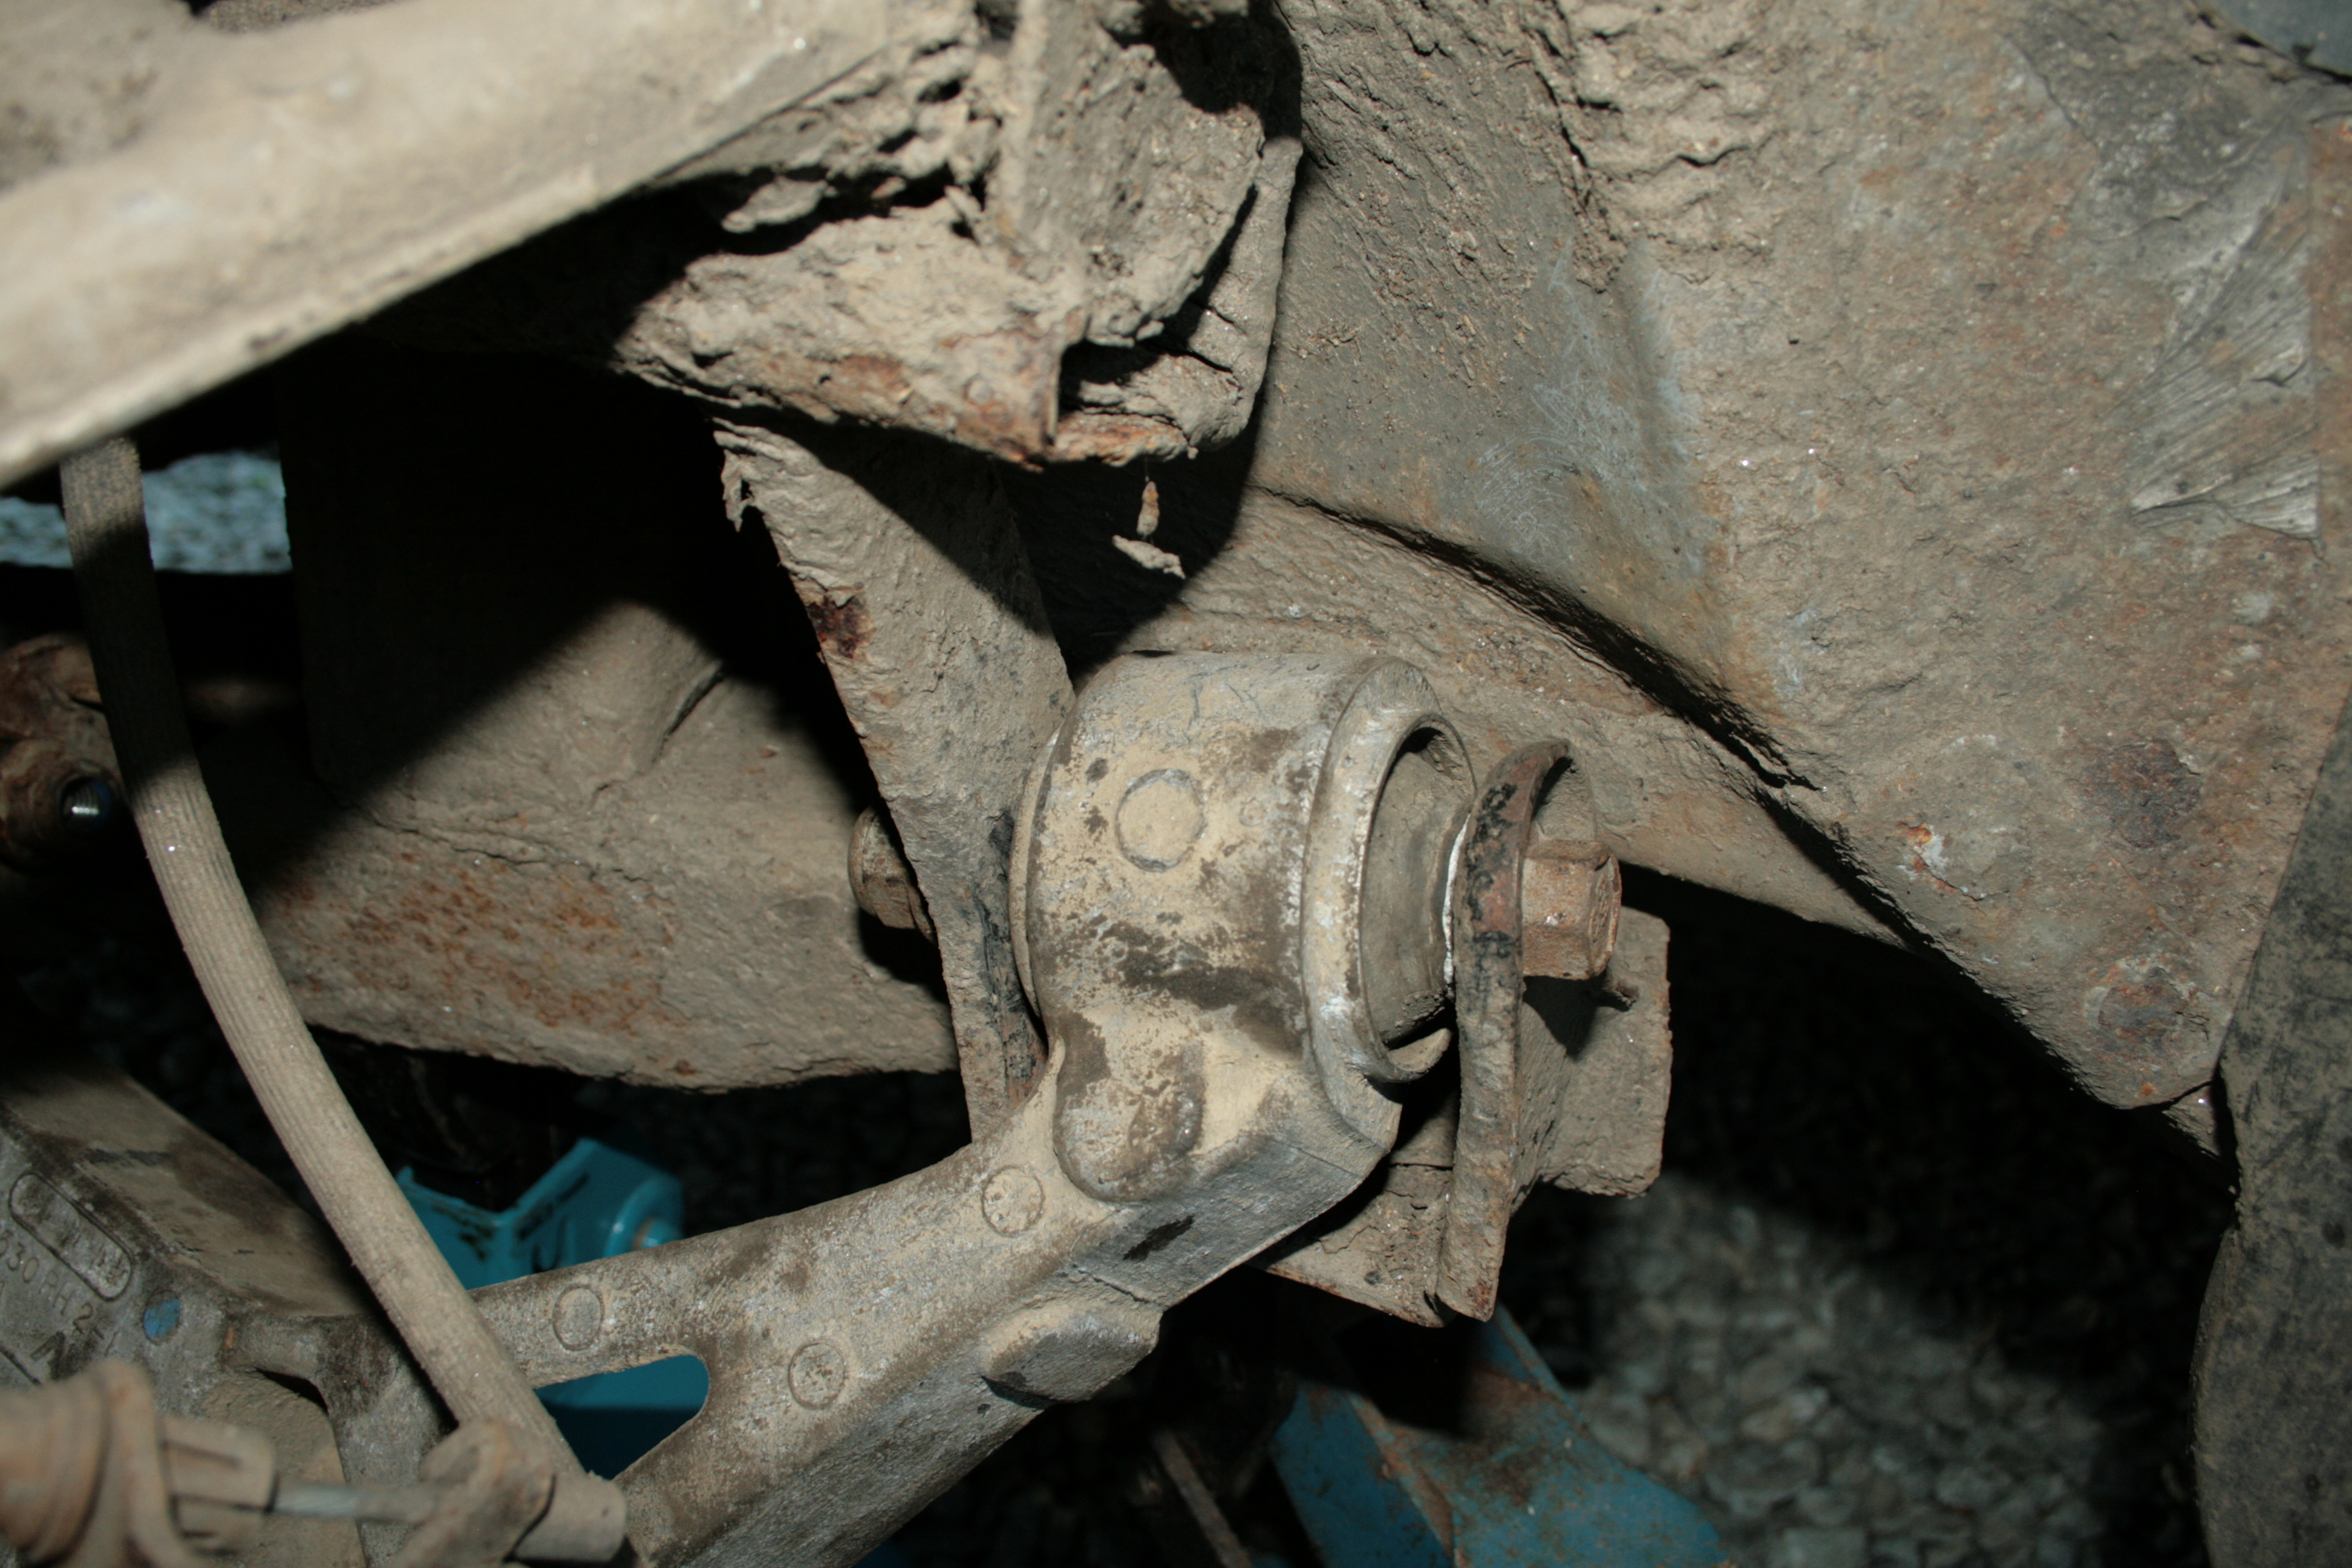
Fitting the new bushes was dead simple, "reversal of removal" as Haynes say. Again no pictures as such but there wasn't much to see, the purpose made tools were the important bit. On fitting the re-bushed arms today I found that the slider pins on one rear brake caliper carrier were seized solid. Some wrenching about in the vice freed them and they were put back together cleaned and coated in CV grease. More worryingly there was an awful of of play in the inner end ball-joints of both rear track-rods which I fitted brand new this year! They've done probably 3k miles at the most, absolutely shocking. The supplier offered to replace them but they're out of stock and I think I'll be calling back tomorrow to ask a refund instead of another set! I thought the wobbling was getting worse a quite a rate and these would be why, there was a good 5 degrees of free play in the toe of each rear wheel. I replaced the old ones because the outer bushes were worn out so I've reused the old inner ends with the new outers. All the suspension bolts came undone with no fuss save for the bottom of one drop link but even that was no real problem. The damper and the three bush bolts which are a mix of 21, 18 & 19mm. The drop link was a 7mm hex on the pin and a 15mm nut. Annoyingly the brake caliper an its' carrier have to come off to allow the outer bush bolt to come out, there's only an inch in it but it has to be done. The spare arms with two nice new bushes and one original, Well, two outta three ain't bad according to Meatloaf. Front inner bush. Outer bush, rear inner bush, drop link & damper. Fitting these arms is an easy job, even on a gravel driveway. Probably half my time was spent messing around with the other problems that I found along the way. The new bushes come with washers to pack the outer one out to fit. For some reason the original outer is about 5mm longer than the inner rear one which is otherwise identical. I'd imagine the after-market don't want to tool up for two different bushes, hence the washers, that's absolutely fine with me. I will set the tracking properly once I have new rear track-rods and a front track-rod end. Already the ride and handling is transformed from the level of a Ford Zephyr up to at least a Sierra and once I have done the front lower bushes and set up the entire geometry it should be really good! As little as I like having to replace suspension parts I do find a silver lining in the promise of a nicer, more involving drive.
1 point